
Quick Start
This is the whole workflow, condensed. Every step links to a section with the full details.
- Pick a model.On the Home page, choose from the Model panel on the left. RD Pro is the highest quality and supports reference images, RD Plus is a strong all-rounder, RD Fast is the quickest and cheapest, and RD Mini specializes in tiny, low-resolution art. The Advanced Animations, Animations, and Tilesets tabs live in the same panel.
- Pick an art style.Each model has its own set of styles in the Art Styles panel — Default, Painterly, Isometric, Top Down, and so on. Click a style to see its description, and use View Examples to preview what it produces.
- Describe what you want.Write a prompt about the subject — the style is already handled by your model and style choice. Be specific about details, colors, and setting. Stuck? The sparkle button expands a short idea into a detailed prompt.
- Set size and count, then Generate.Pick your canvas size in pixels and how many images to make. The exact price always shows on the Generate button before you commit — no surprises.
- Refine your results.Results appear on the canvas and in your History on the right. Use the editing tools next to the canvas to inpaint, expand, remove backgrounds, reduce colors, or make textures tile. Pin favorites, download as PNG, or drag any result back in as an input image.
- Go further.Build your own custom style from reference images in My Styles, or grab an API key from Developer Tools to generate images from your own code and tools.
Creating Images
The Home page has three areas: the creation panel on the left, the canvas in the middle, and your history on the right. On mobile these become the Create / Canvas / History tabs at the bottom. Here is the whole page at a glance:
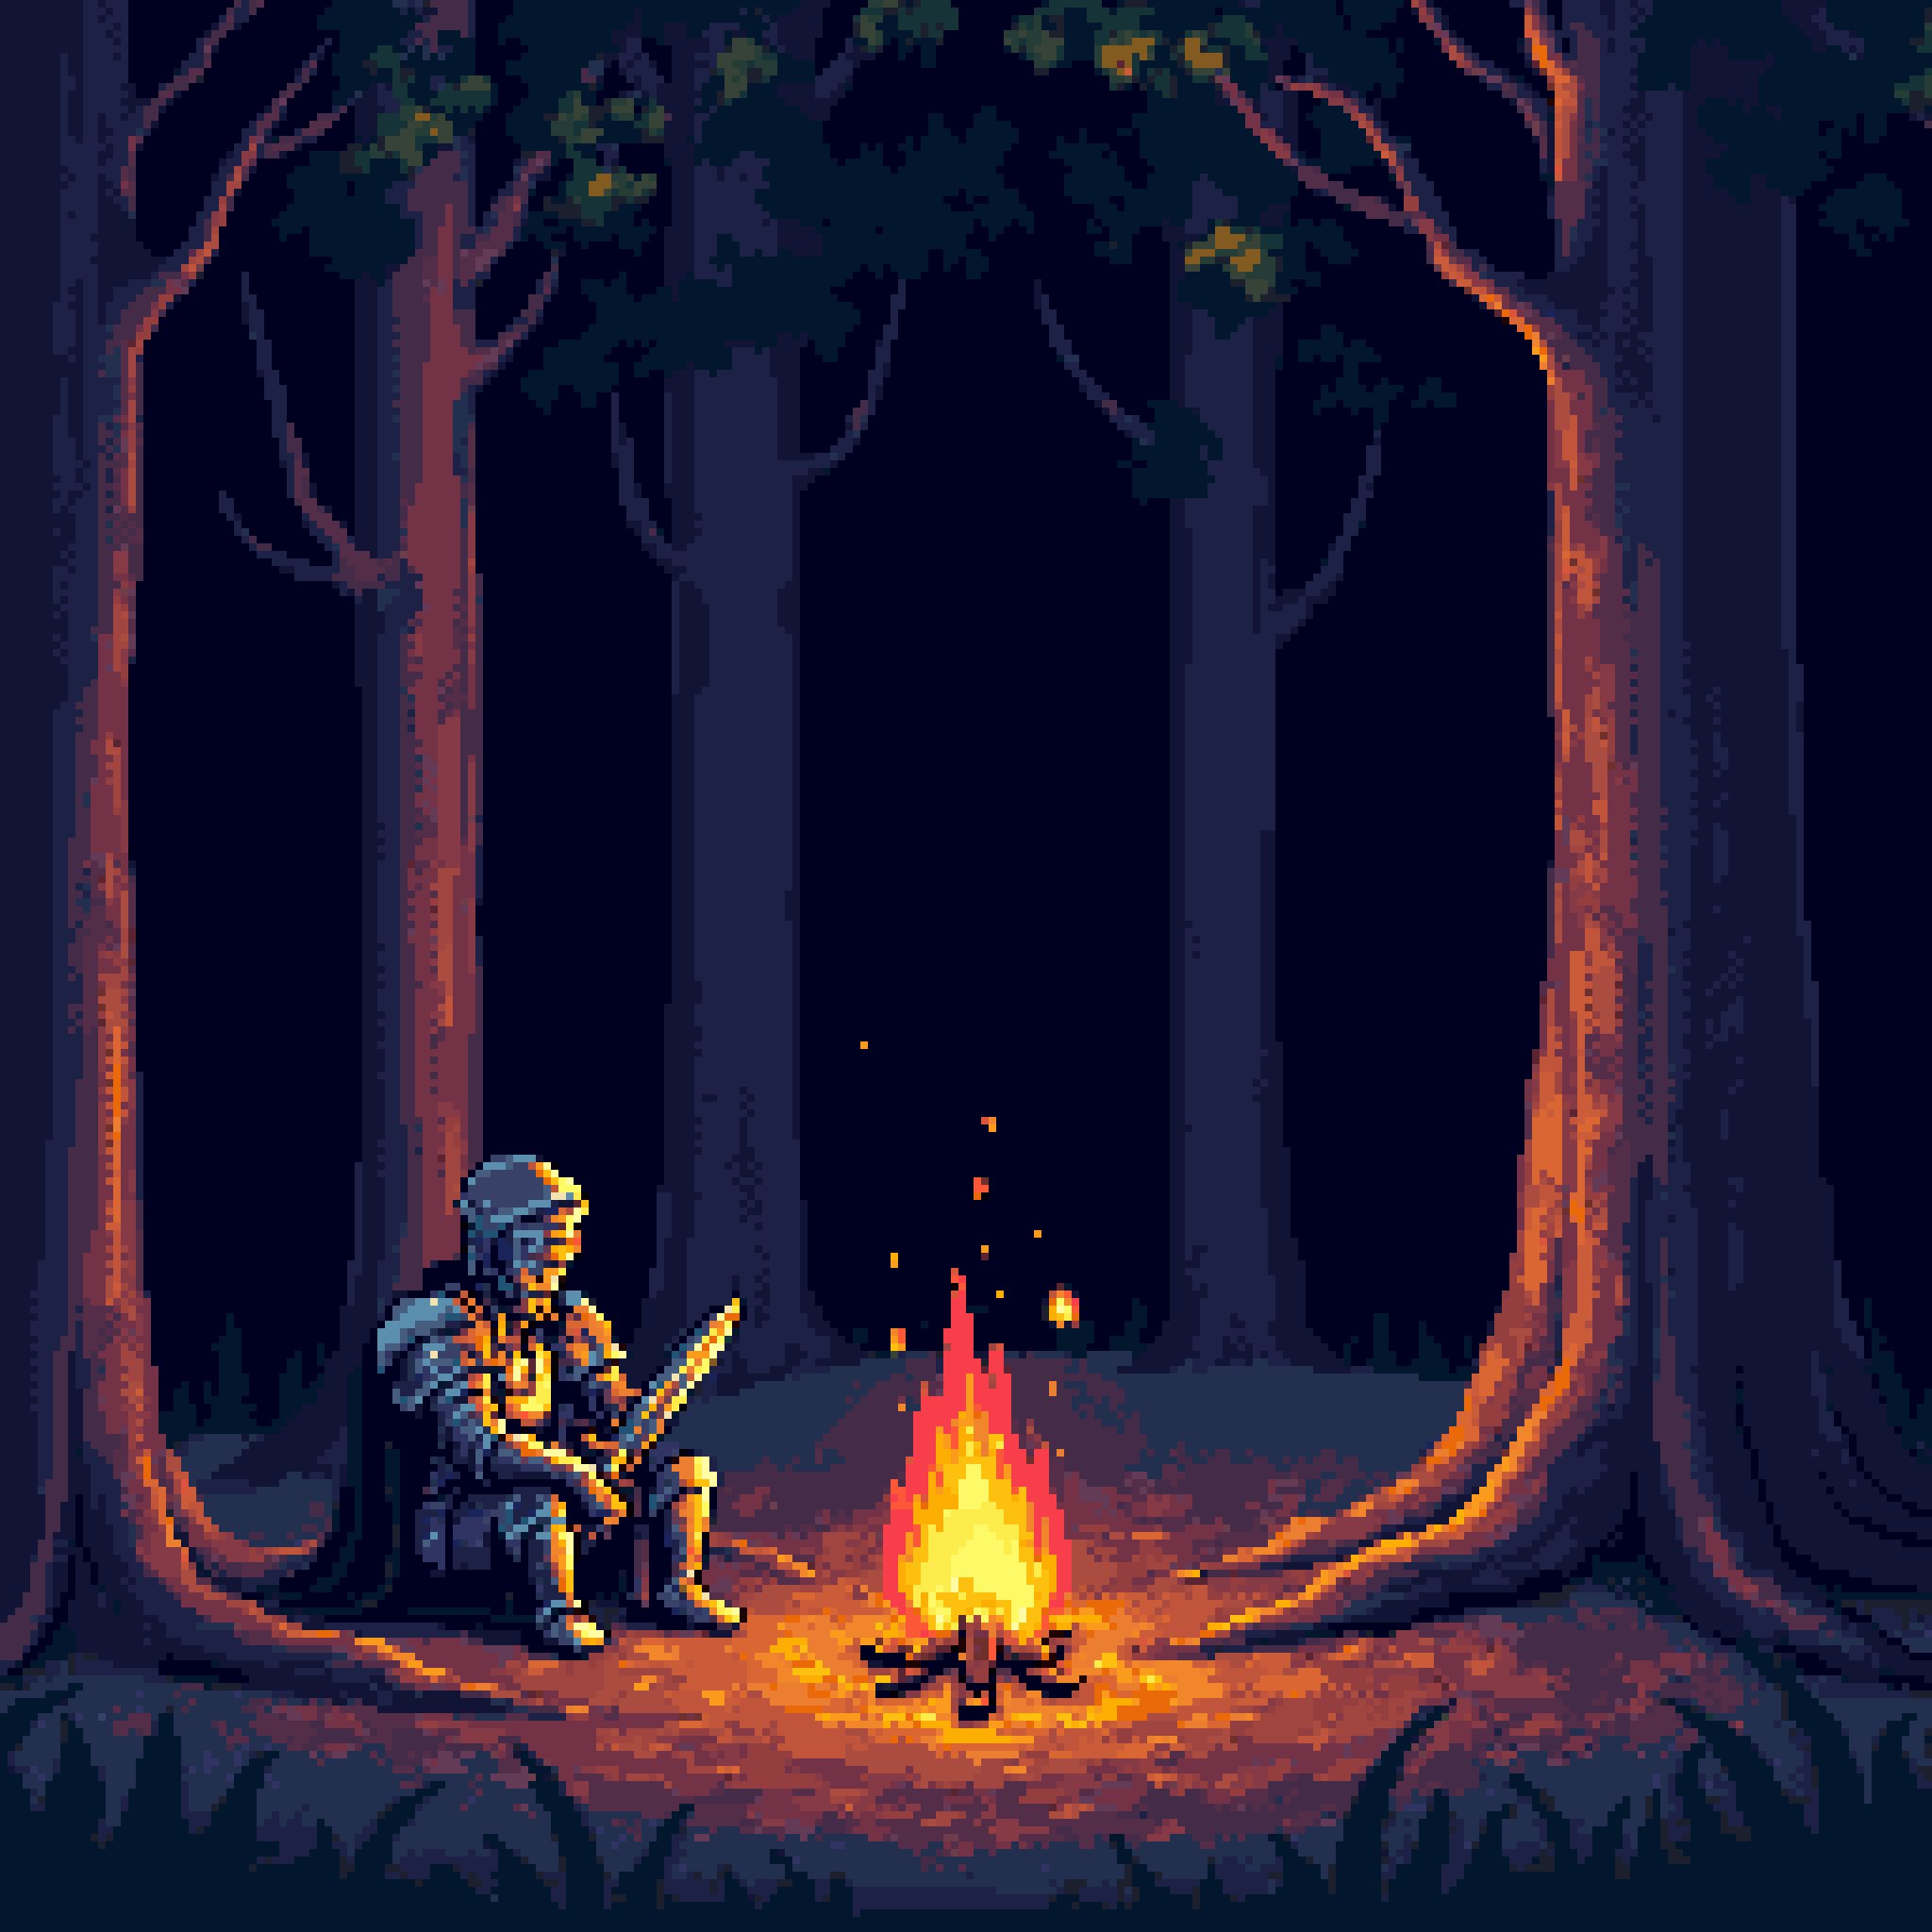
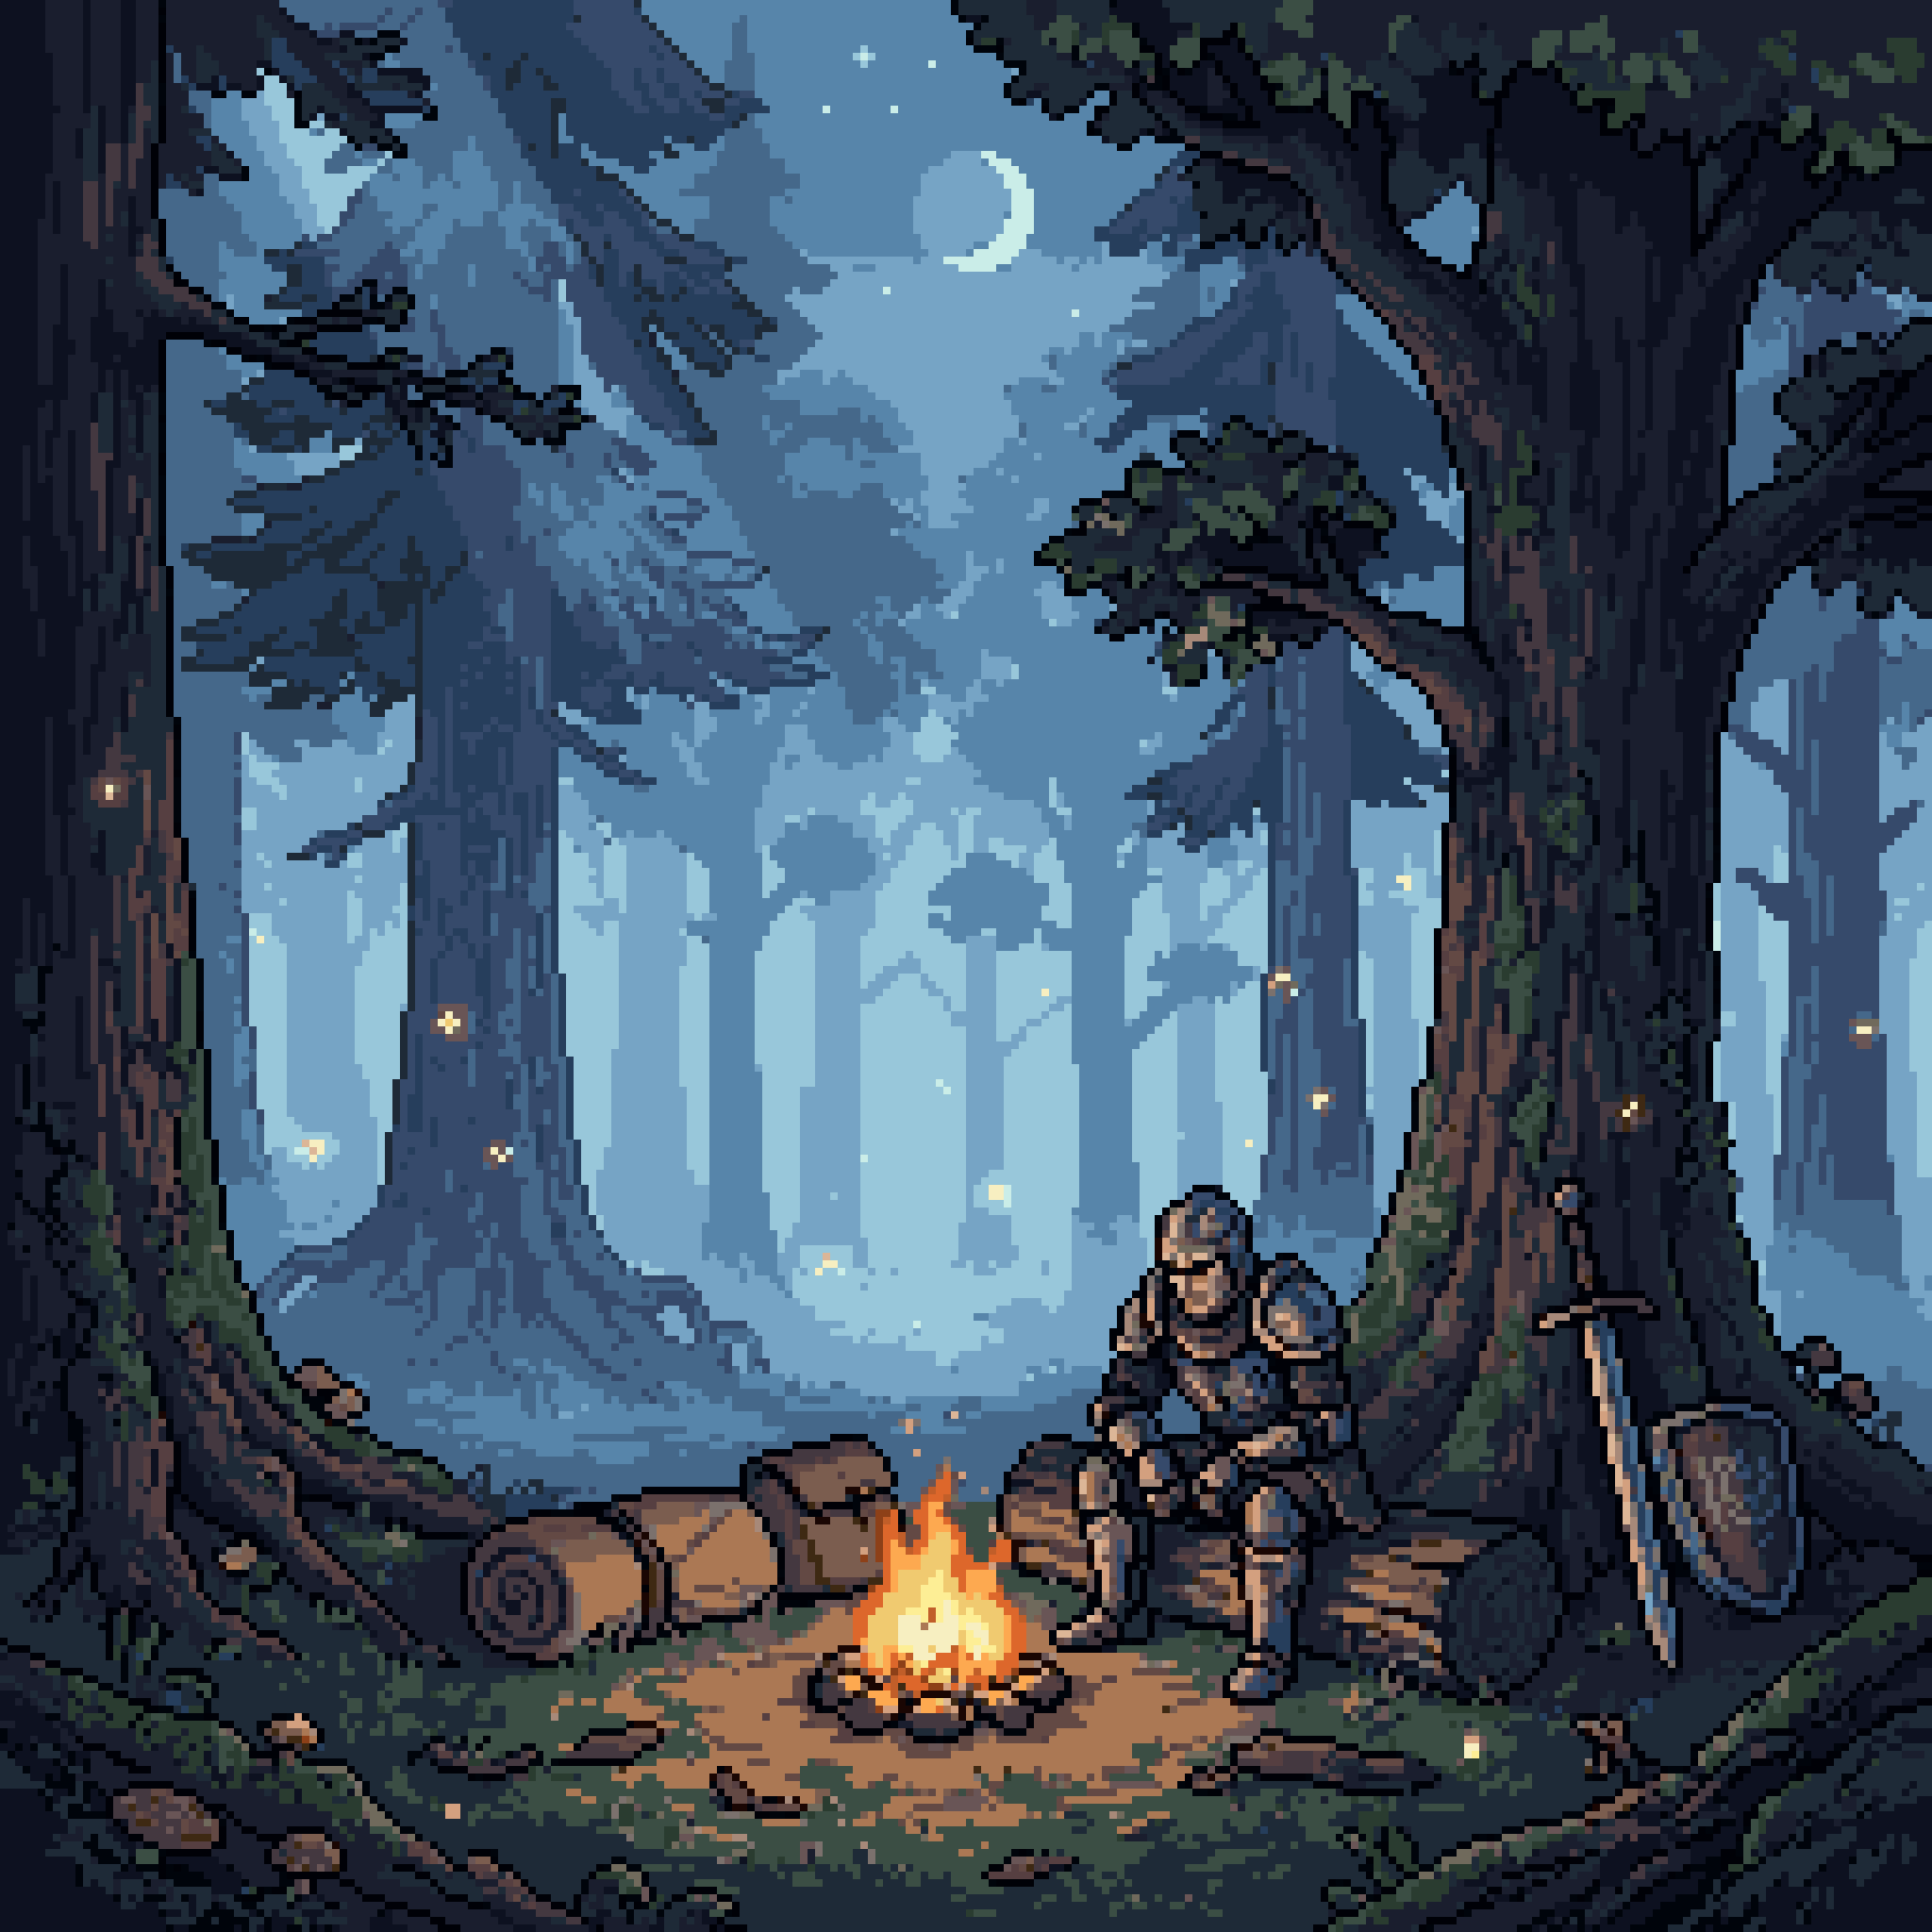
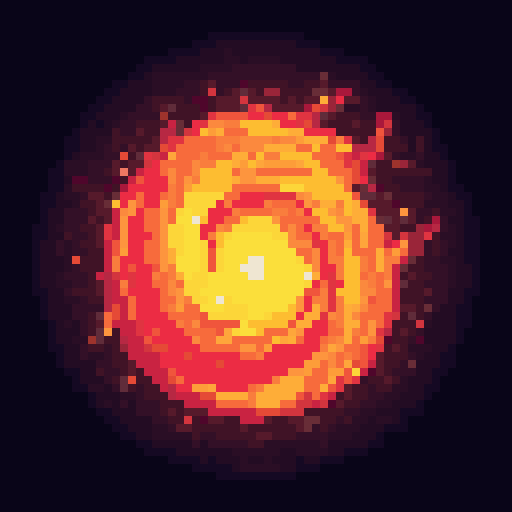 fireball orb
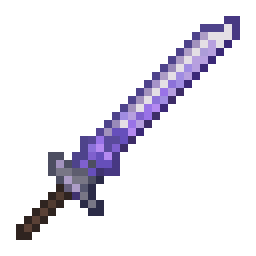 diamond sword
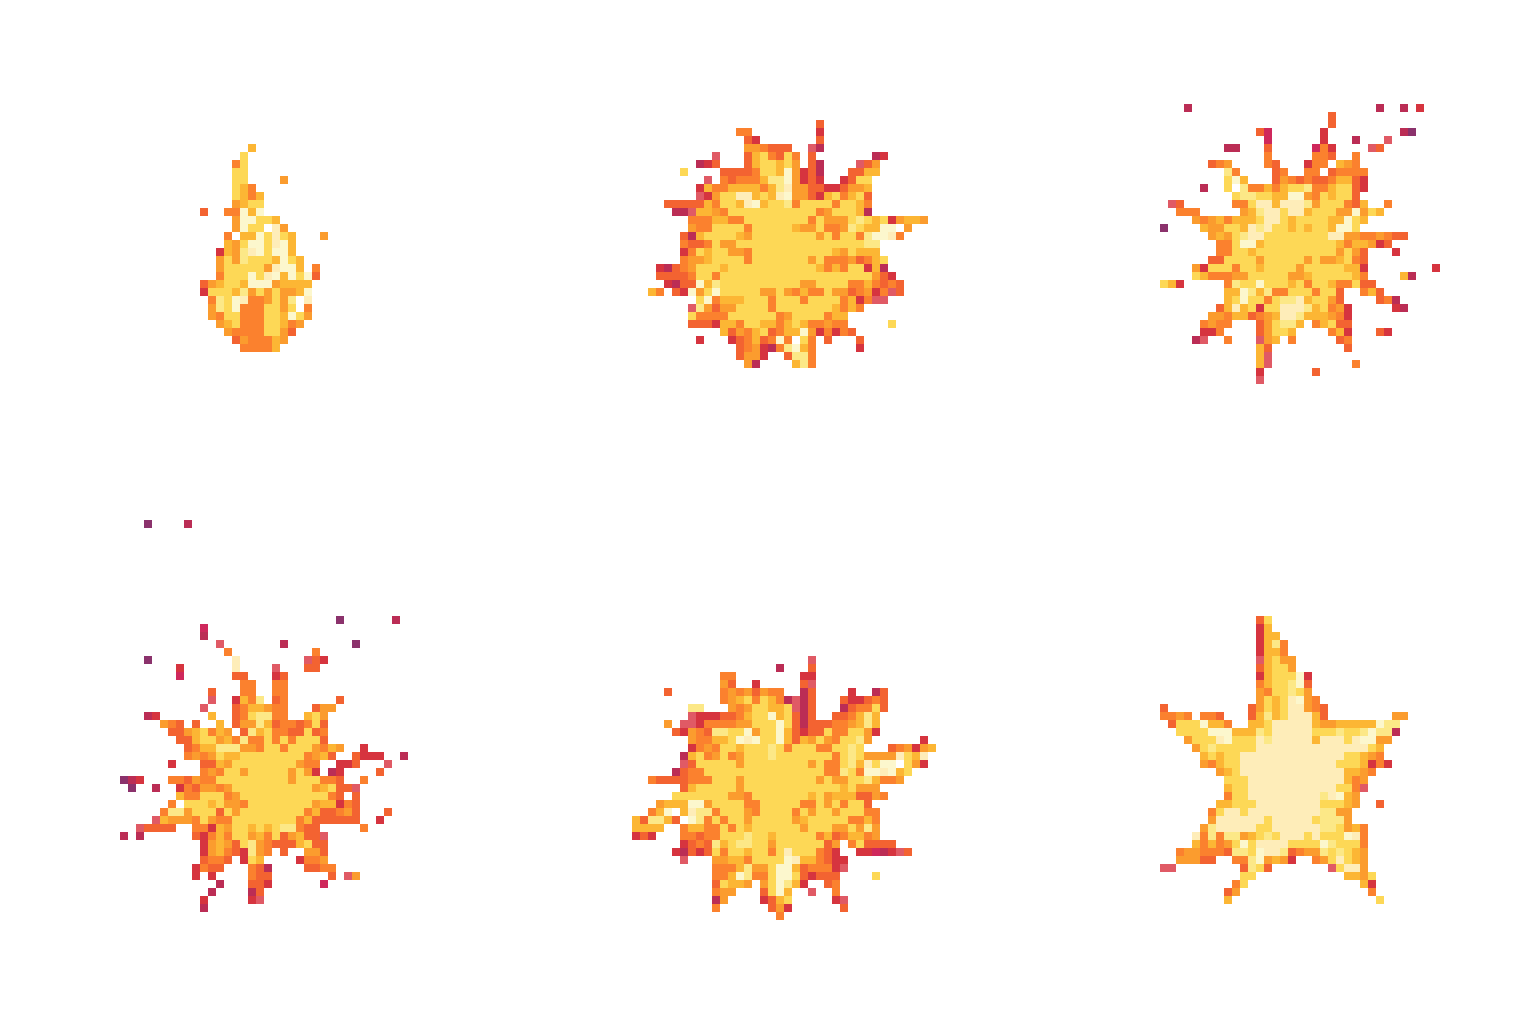 explosion vfx
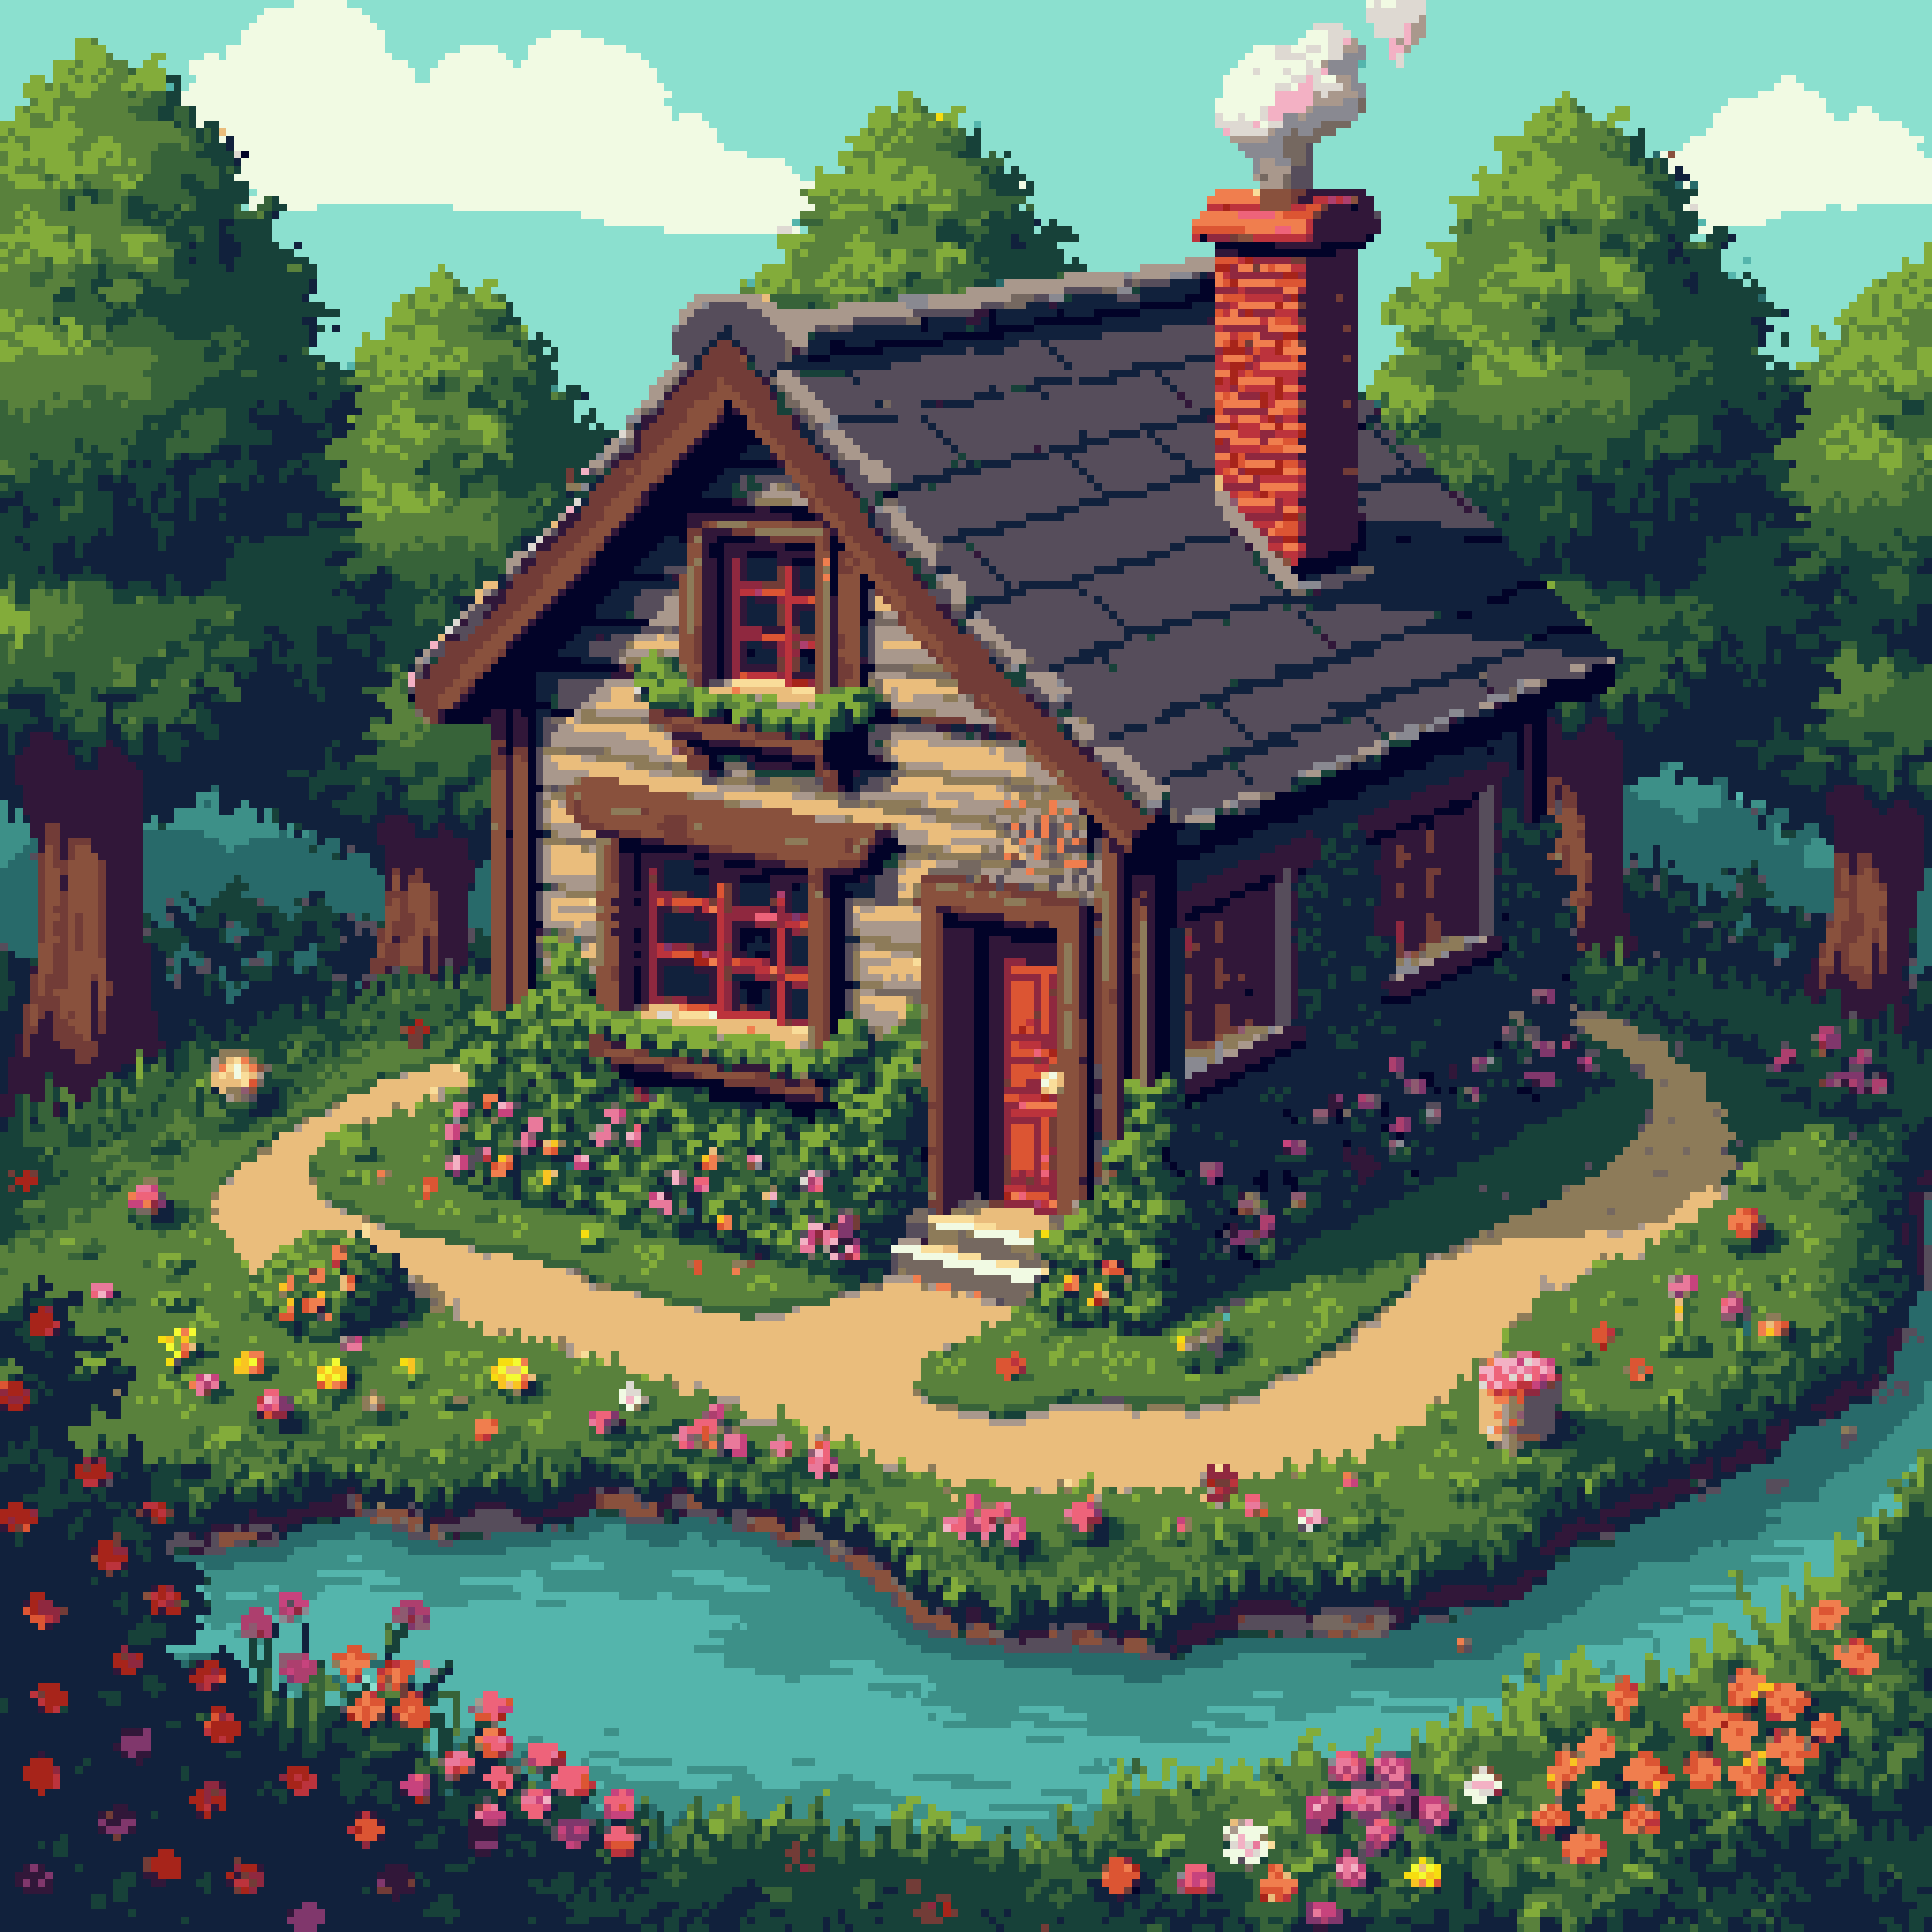 A small alchemist's cottage…
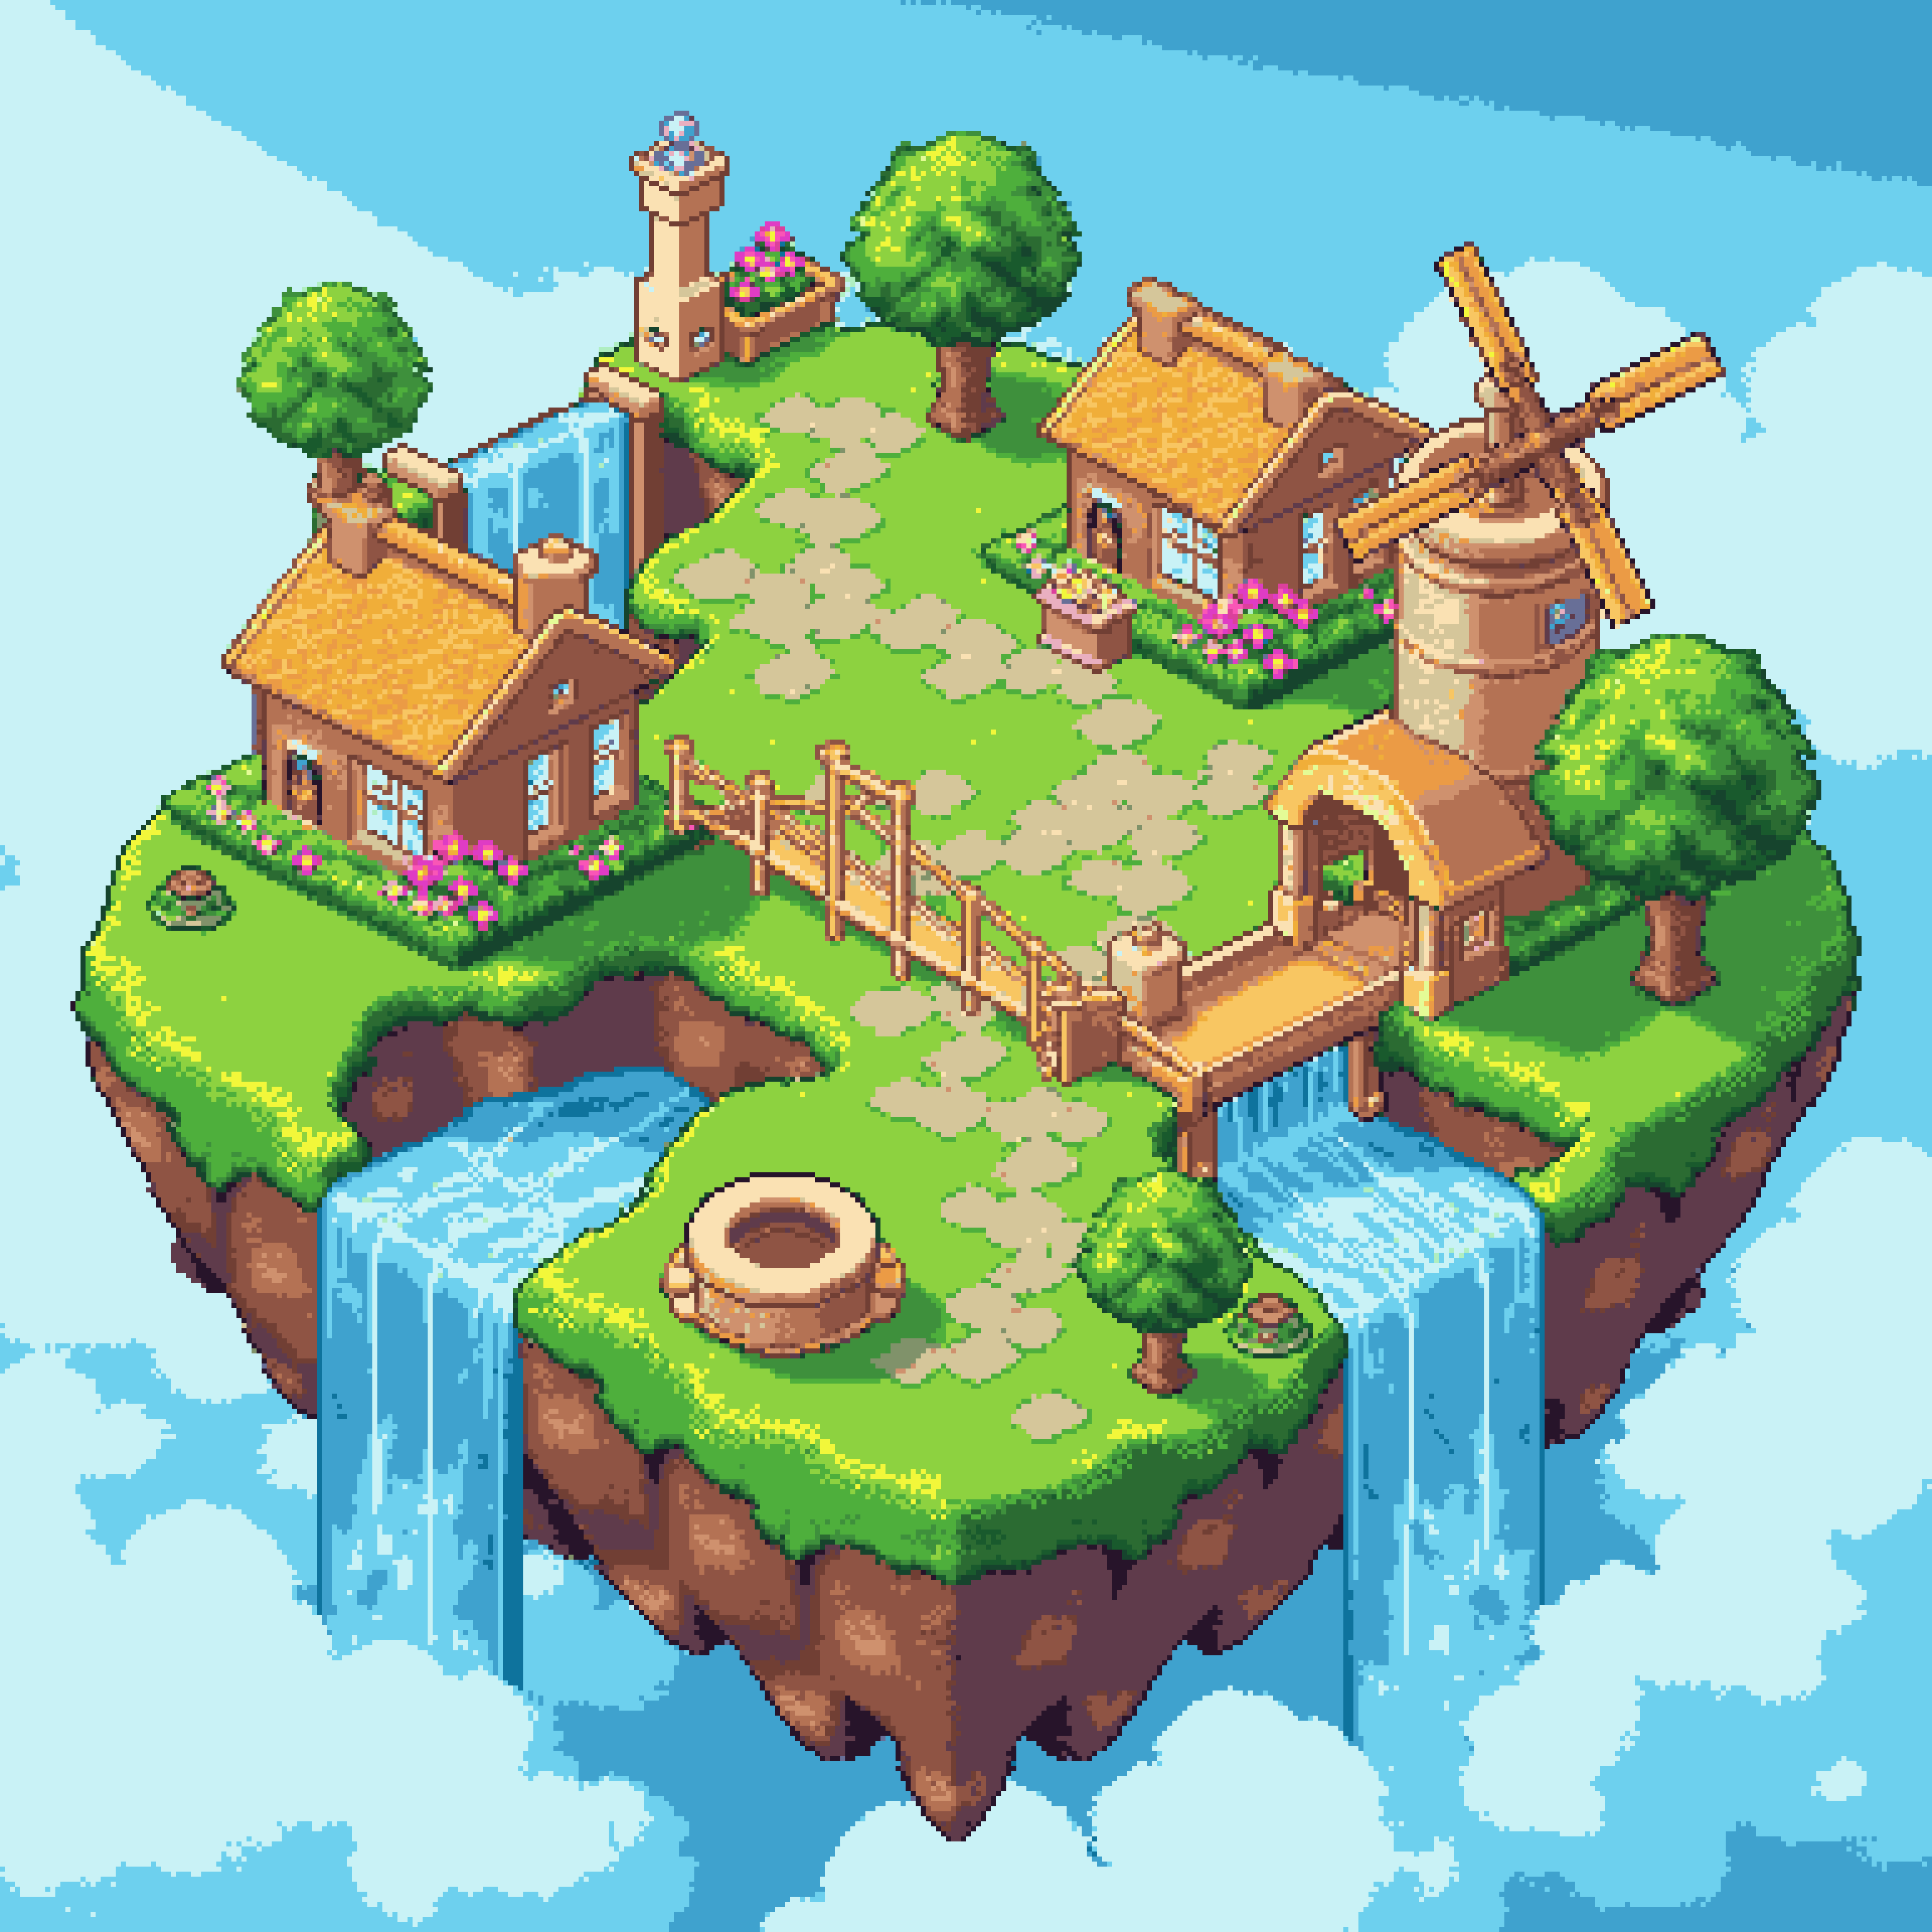 A floating sky island village…
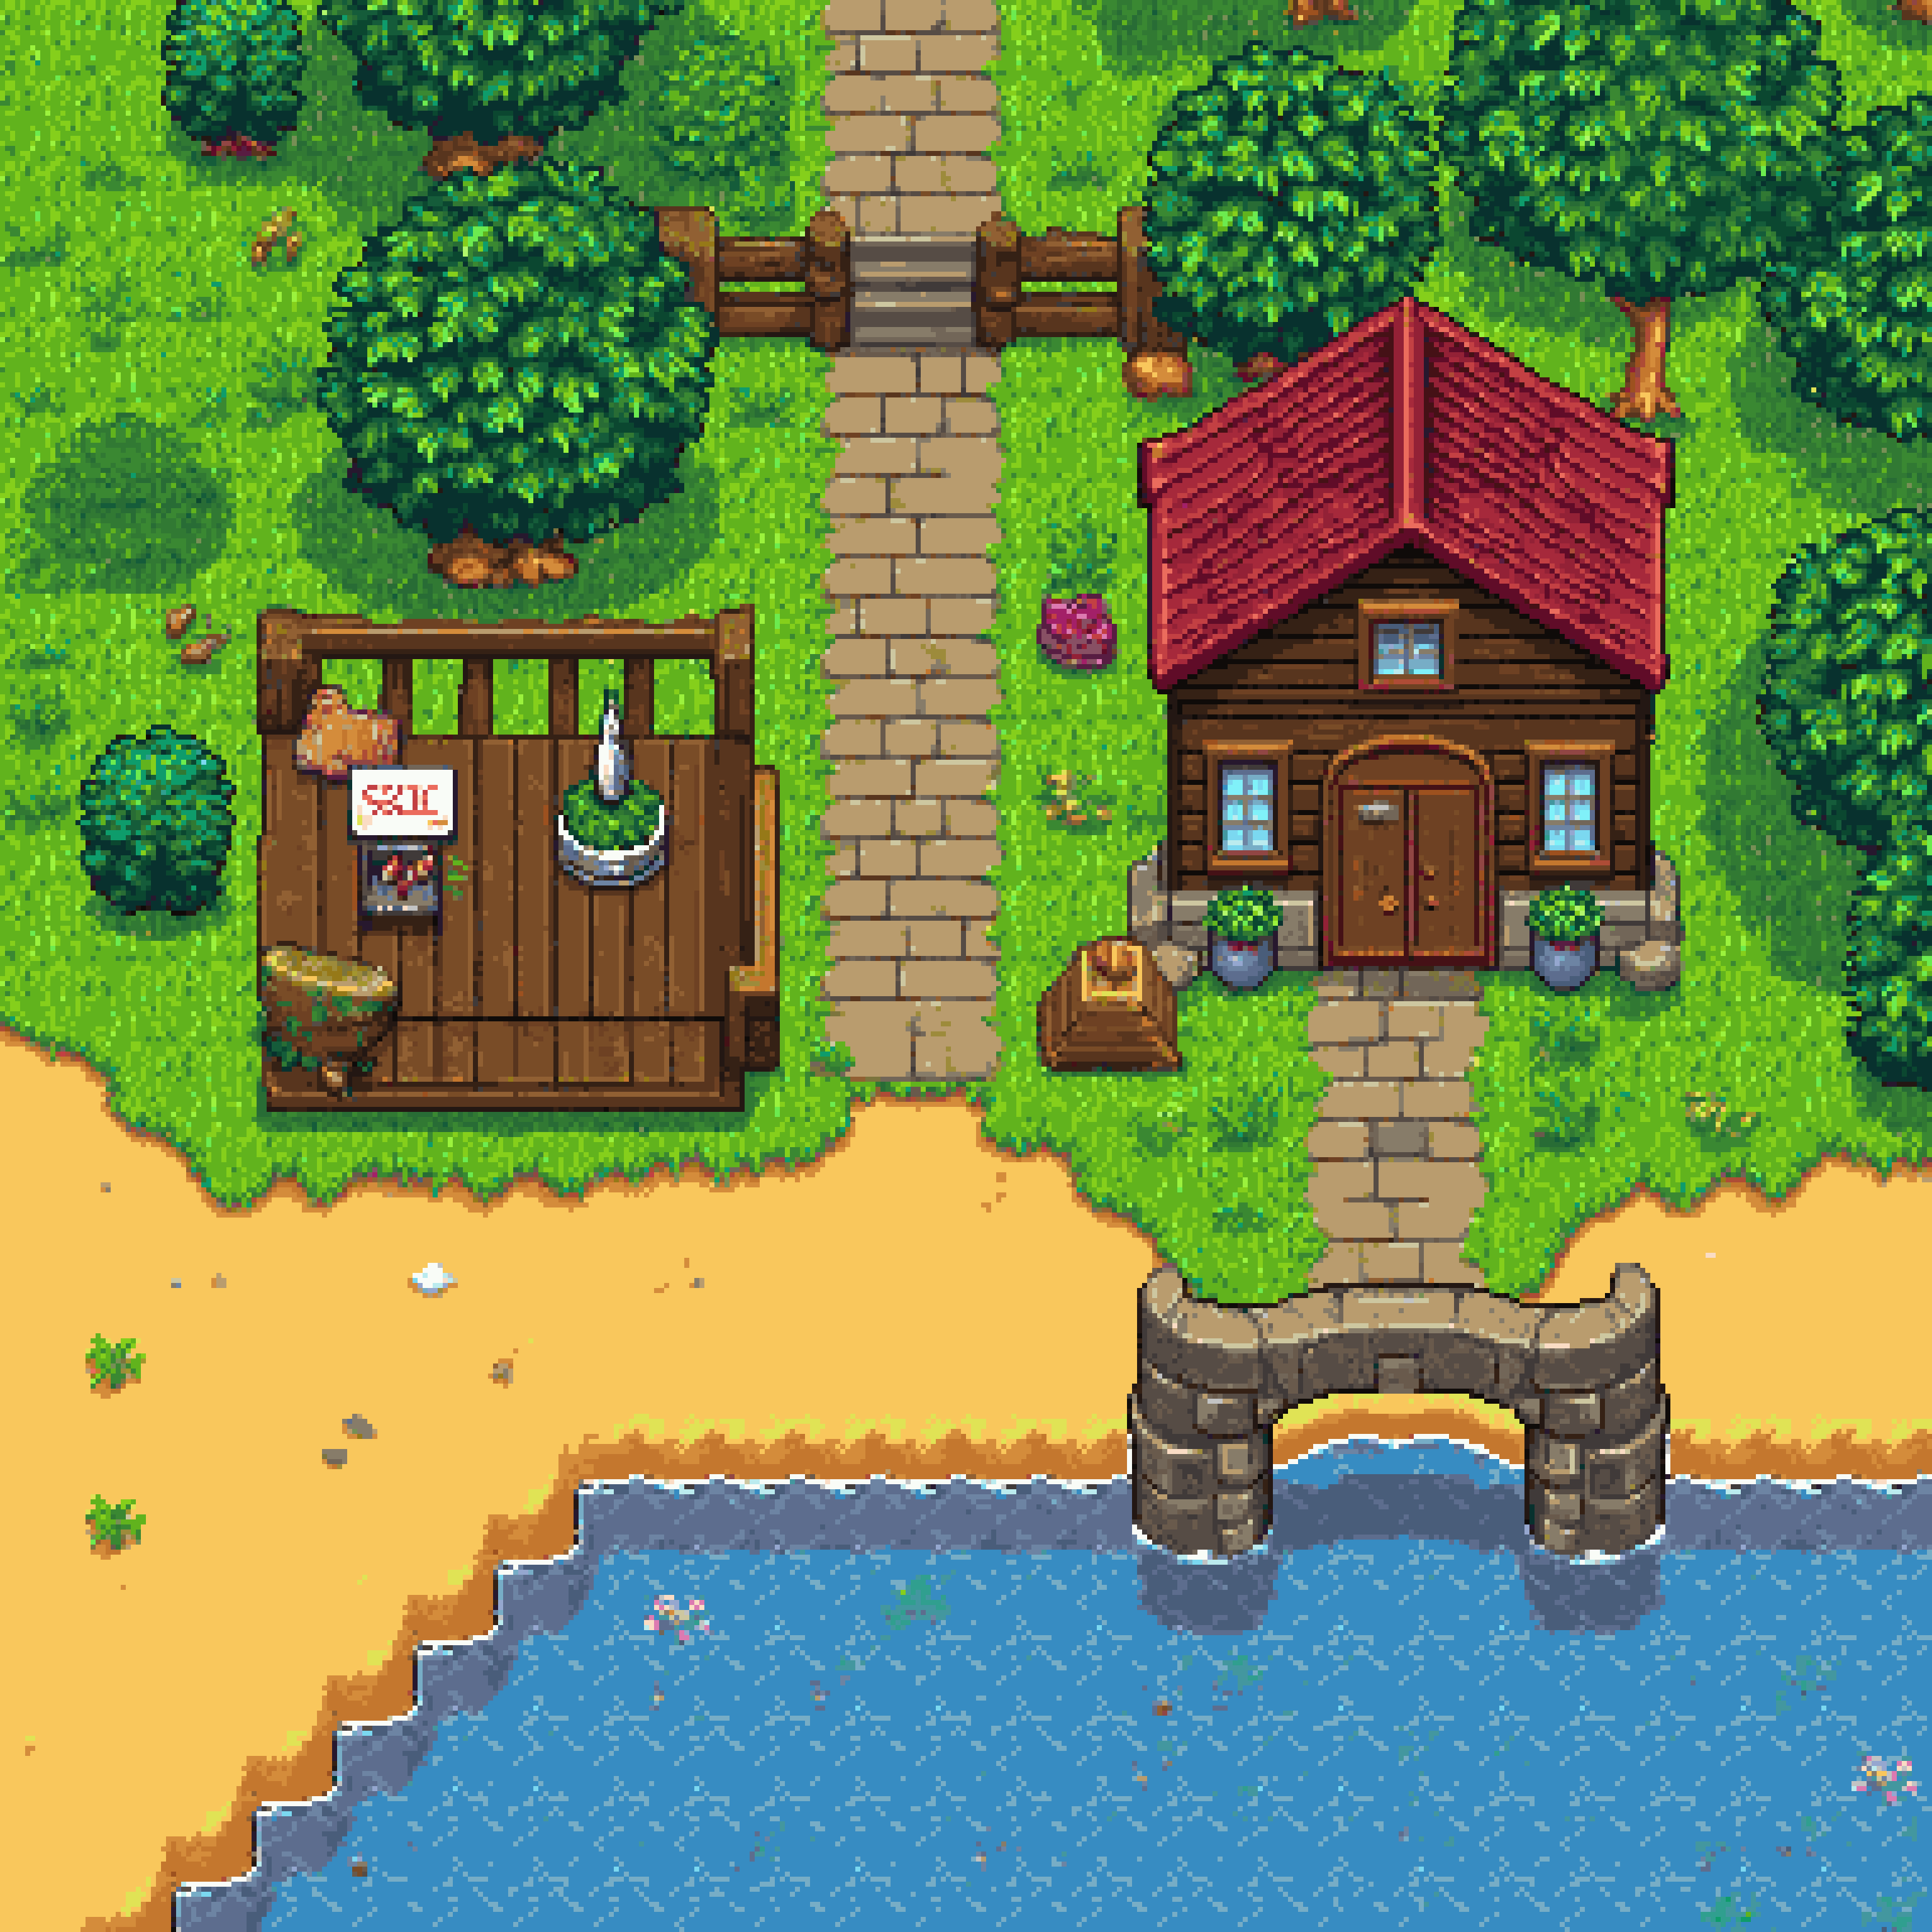 A riverside village with a market…
Left: the creation panel (2–6)
Work top to bottom: pick a Model (or the Animations / Tilesets / My Styles tab), pick an Art Style, write your Prompt, adjust Settings (size, seed, tiling, background removal), set the Image Count, and press Generate. The button shows the exact price of the batch before you click.
Generations run through a queue — you can keep queueing more batches while earlier ones are still running ("Add to Queue"), and a status line shows how many are pending and running.
Middle: the canvas (7–9)
The canvas shows your selected generation. Drag to pan, scroll or pinch to zoom, double-click to zoom in. The toolbar above the image gives you, from left to right:
- Reset Position / Zoom In / Zoom Out — view controls.
- Download Image — saves an upscaled PNG (or GIF for animations). Download at original size saves the raw pixel dimensions.
- Copy Image — straight to your clipboard.
- Apply Settings (left arrow) — loads that generation's prompt, style, size, and seed back into the creation panel. Great for iterating.
- Copy Settings Link (link) — copies a browser-only URL fragment that loads the selected image's prompt, style, size, seed, and visible options for another signed-in user. Generations that depend on uploaded or reference images cannot be copied because those assets are not embedded.
- Pin (bookmark) — keeps the image in the Pinned panel for quick access.
- Download Batch — zips all images from a multi-image generation.
- Delete (trash) — removes the generation, with a confirmation.
- Info menu (⋮) — shows the full generation details (prompt, style, seed, size) and a Show API Code button that produces ready-to-run code for recreating the generation through the API.
Along the side of the canvas is the editing tool rail — inpainting, outpainting, background removal, and more. Those are covered in
Right: history and pins (10–11)
- Every generation appears in History, newest first. Click one to load it onto the canvas.
- The bookmark icon on a history item pins it to the Pinned panel above.
- Drag and drop: history and pinned thumbnails can be dragged straight into the input image or reference image slots in the creation panel.
- Upload Image (top of History) — bring your own images into the workflow to edit, pixelate, or use as references.
Generation Assistant
The chat bar at the bottom of the canvas is the Generation Assistant. Describe what you want in plain words and it picks the model, style, size, and settings for you, shows a plan with the exact price, and runs it once you approve. It makes 2D pixel art and Low-Poly 3D models.
How it works
- Ask.Type a request like "a knight sprite, then make it walk". Paste, drag, or attach images when you want it to work from your art.
- Review the plan.Every step shows its model, size, and price, plus the total. Nothing is charged until you approve.
- Approve, deny, or ask for changes.Replying with feedback gets you a revised plan.
- Watch it run.Steps go through the same queue as your own generations, and results appear in the chat, your history, and the canvas. The assistant checks every result and tells you honestly when something came out wrong.
What it can do
- Multi-step work: a base sprite and then its animation, a set of matching items, variants of one image (seasons, palettes, outfits), and edits chained onto earlier results.
- Editing: the canvas edit tools, plus pulling single sprites out of an uploaded sheet.
- 3D, when you ask for it: build a Low-Poly model, revise it, animate it, or change one of its existing animations. Say "3D model" or "low poly"; otherwise it makes 2D art.
- The model on your canvas: when a 3D model is open, "animate this" or "make it blue" works on it directly. 3D results in the chat have an Open in 3D view button.
What it costs
Chatting is free. Approved plans bill at the normal price of each generation, edit, or 3D job, and failed steps are refunded automatically. After 20 messages without generating anything, chat pauses until something is generated. The same assistant is available to programs through the assistant API ($0.01 per message).
Prompting
Prompts describe the subject. The pixel art styling — outlines, shading, resolution feel — is handled by your model and art style choice, so you never need to write "pixel art" in a prompt.
What works
- Subject first, then details: "A raven standing on a branch, with Appalachian forests and mountains in the background."
- Name concrete visual features: materials, colors, lighting, mood. "A hammer made of obsidian with a gold handle and a red gemstone."
- Match the style's intent: asset styles (Game Asset, Top Down Item, MC Item) work best when you describe a single object and mention a plain background; scene styles (Environments, Top Down Map) want a full scene description.
- Use the placeholder as a template. Every style shows an example prompt in the prompt box — it's written to match how that style was built.
What to avoid
- Don't put sizes in the prompt ("32x32", "16 bit") — use the width and height settings instead. The prompt box will warn you if it spots this.
- Don't describe motion in image styles — for walking, attacking, or effects, switch to the Animations tab.
- Don't stack contradictions — "minimalist, extremely detailed" pulls the model in two directions.
Handy prompt tools
- Expand Prompt (sparkles button) — turns a short idea into a detailed prompt, typed out live so you can watch and edit it after.
- Clear prompt (trash button) — empties the box; Ctrl+Z brings the old text back.
- Seeds — reuse the same seed with small prompt tweaks to iterate on a composition you like. Find a generation's seed in the canvas info menu (⋮).
Models
Models are the generation engines; each has its own strengths, price range, and set of art styles. Tabs like Animations and Tilesets are specialized workflows that sit alongside them in the same panel.
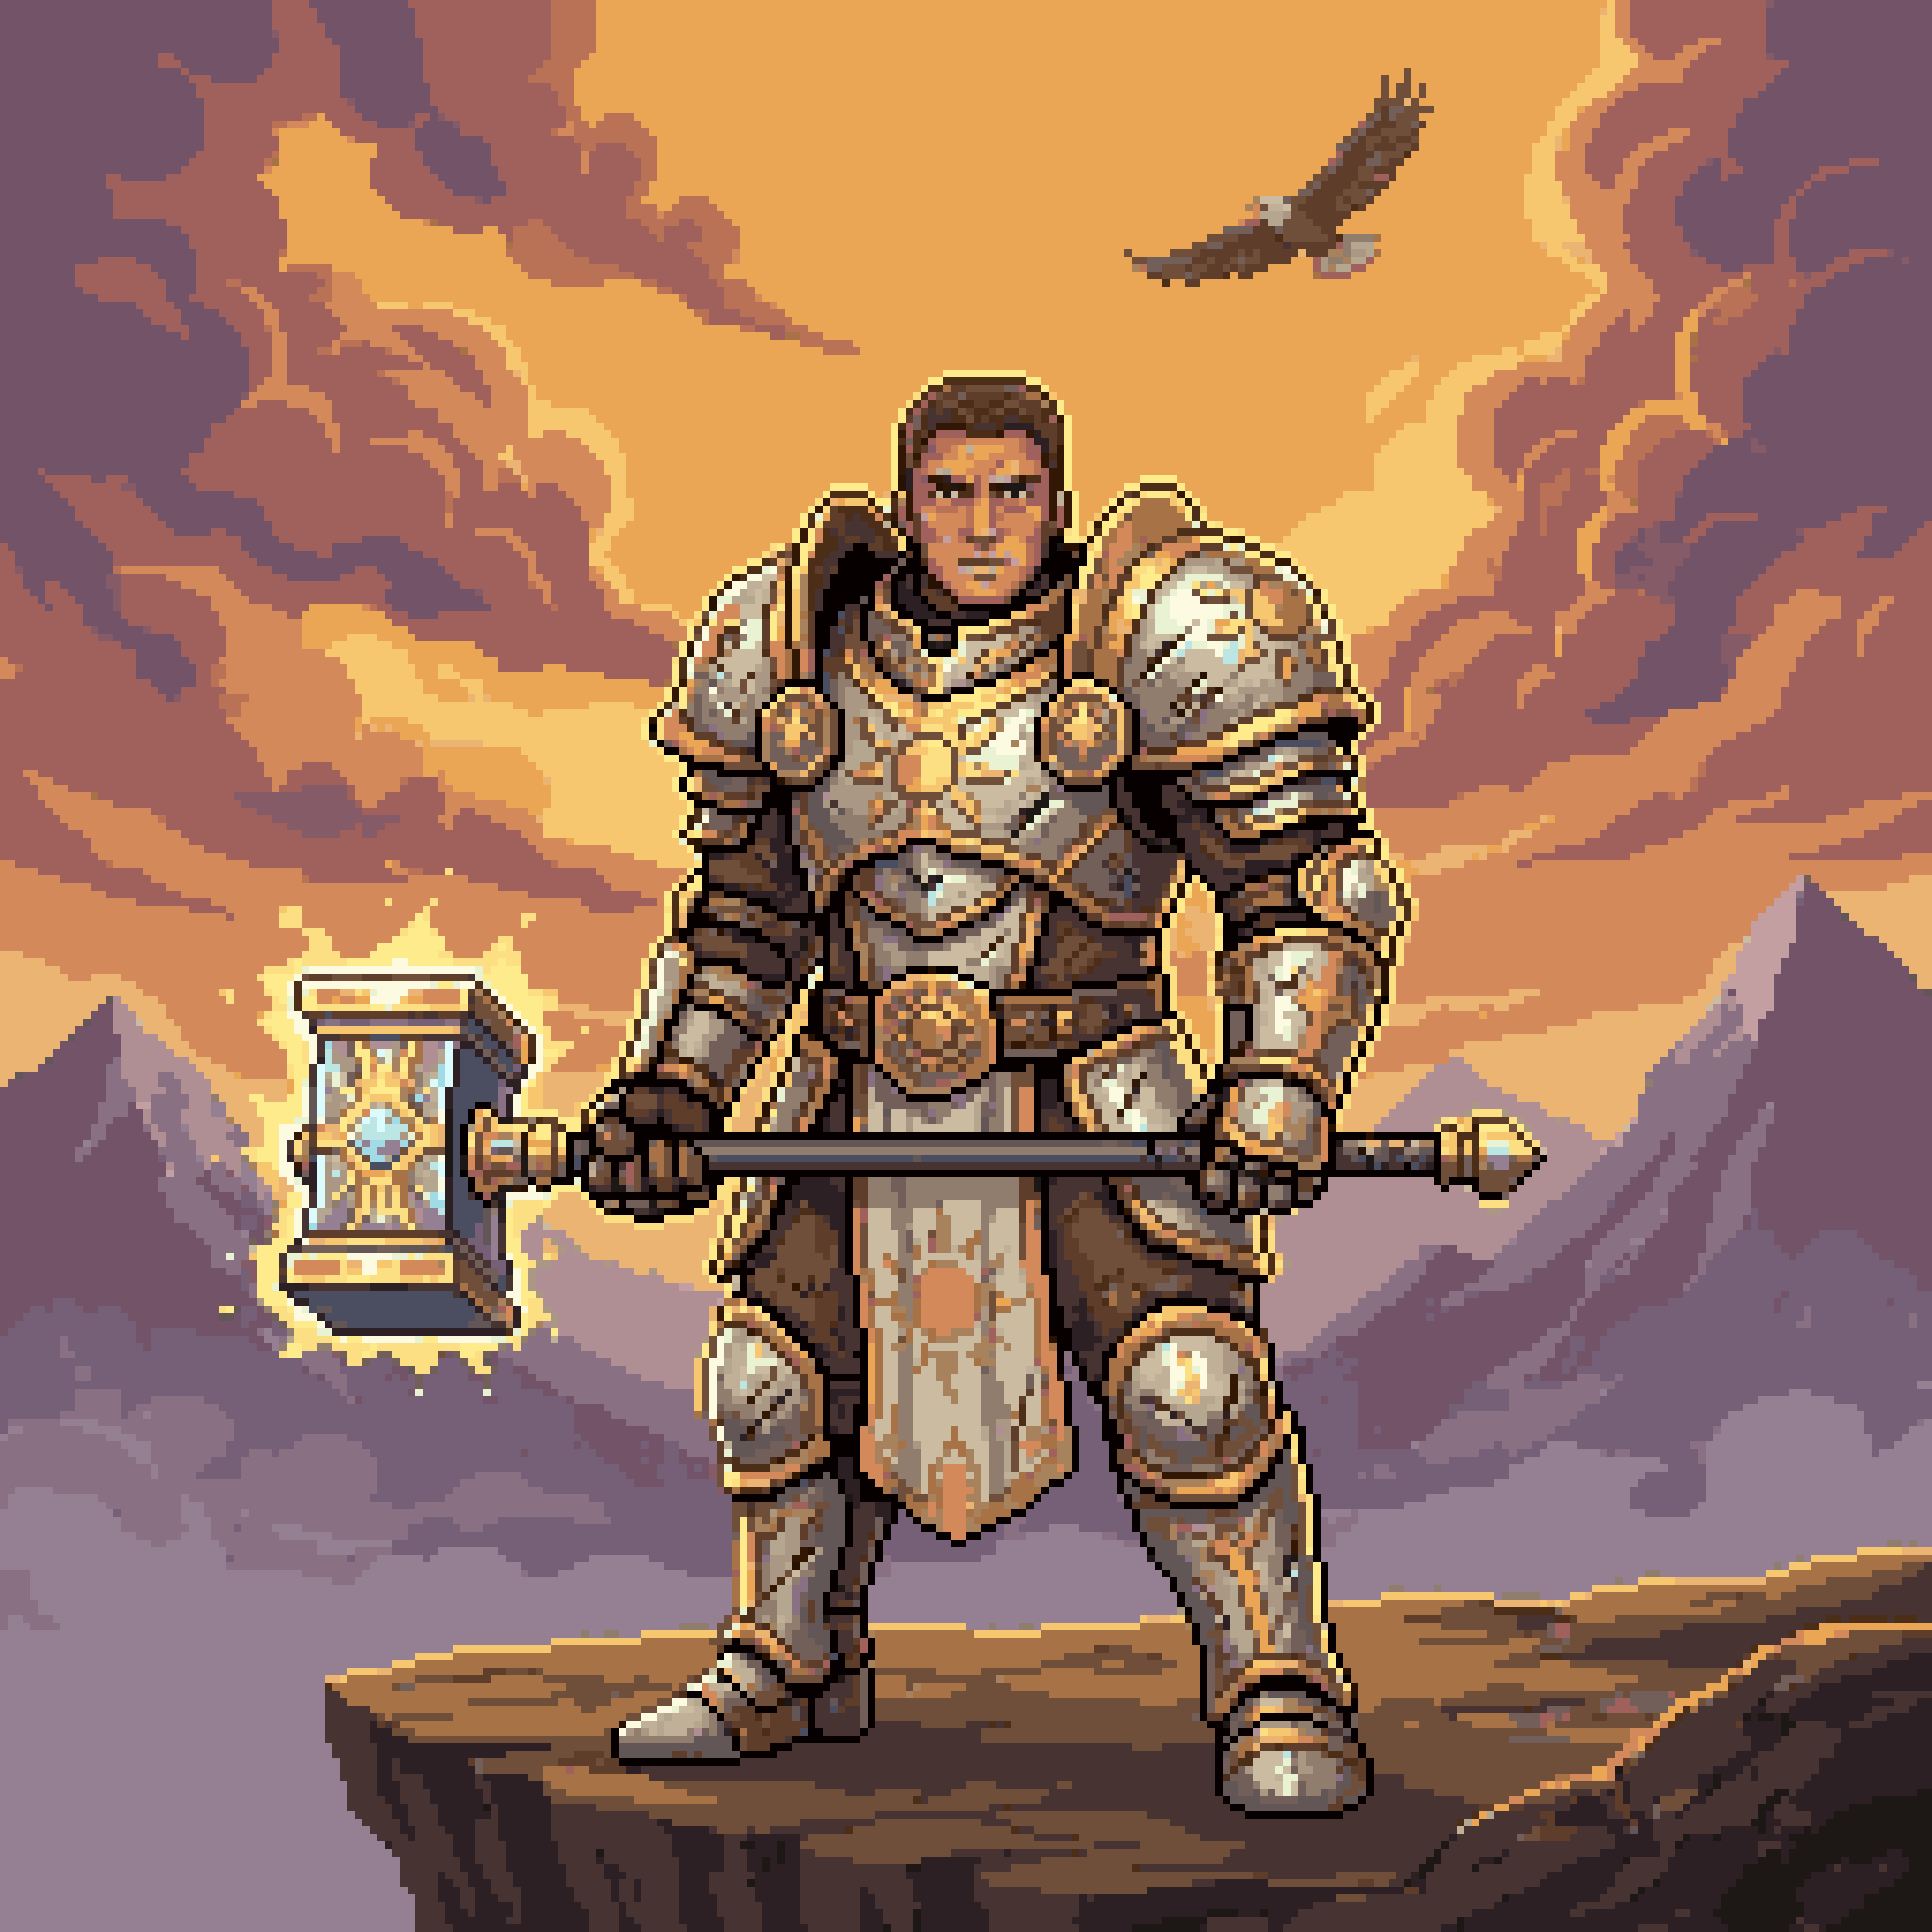
The professional-grade model. Extremely detailed prompt following, the cleanest pixel work, and support for up to 9 reference images to guide style and content. Includes the Edit and Pixelate styles for transforming existing images. Best for hero assets, portfolio pieces, and matching an existing art style.
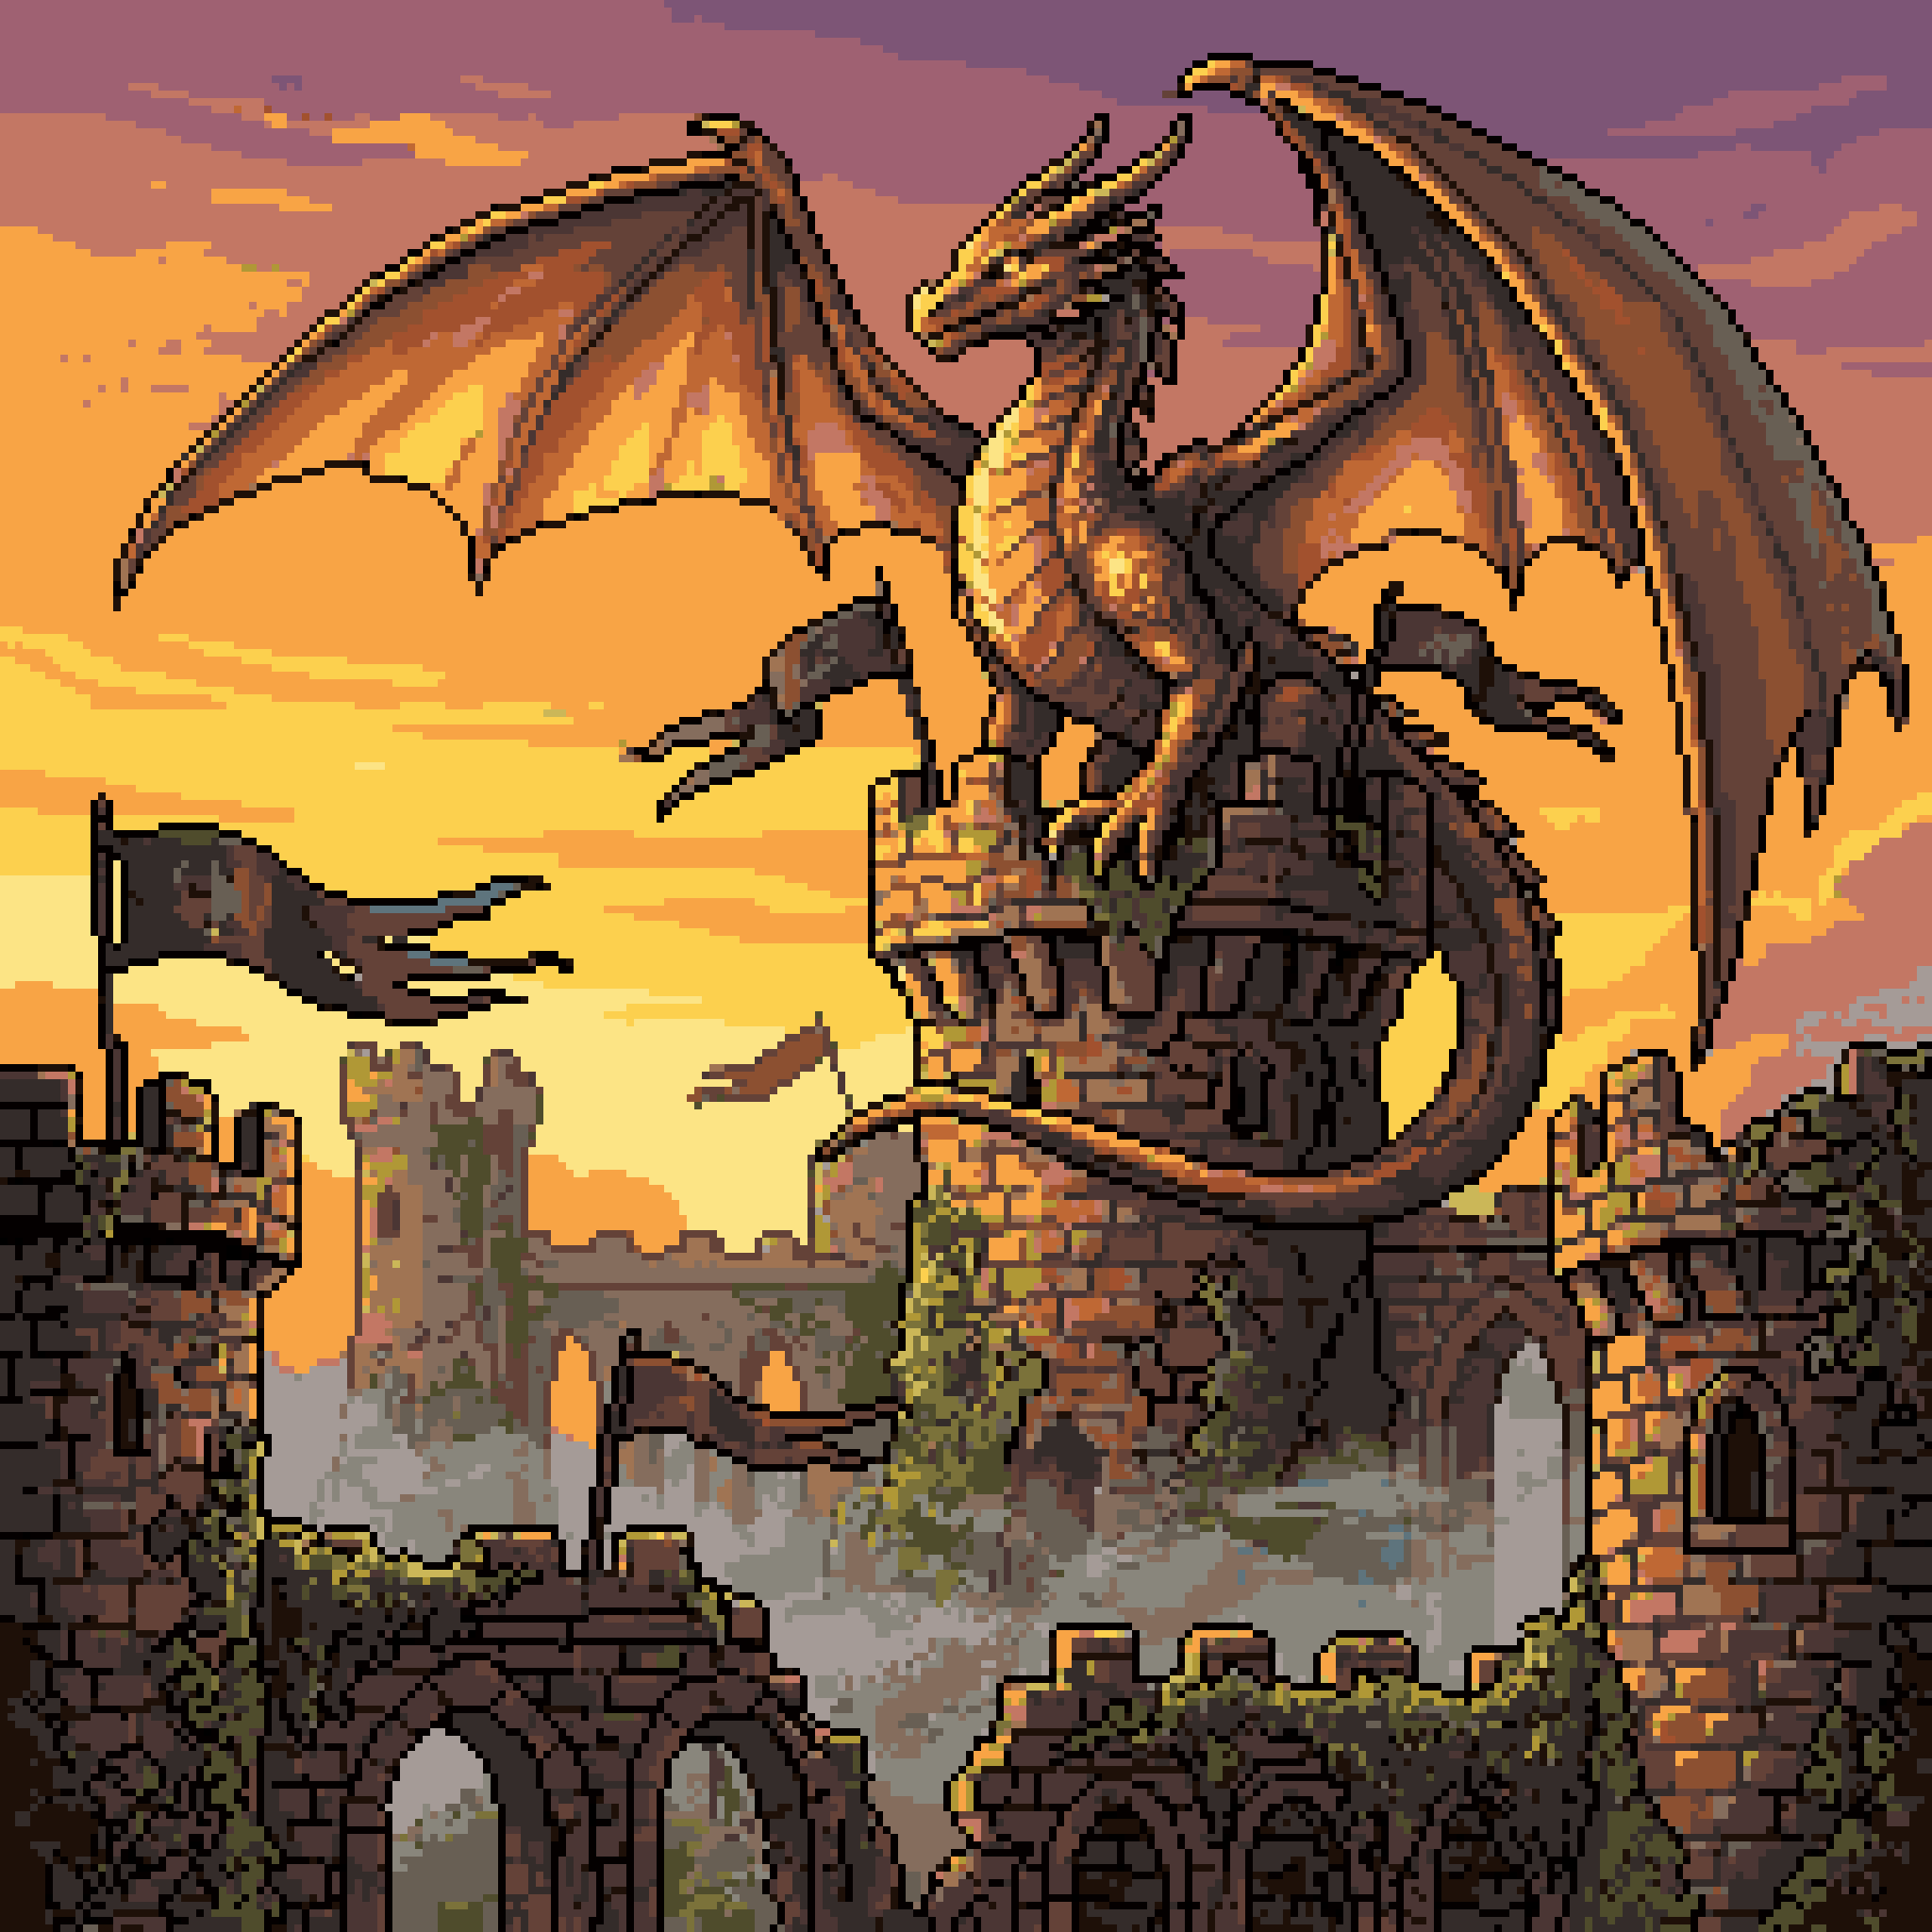
The advanced general-purpose model with the largest style library — from Watercolor and Cartoon to Isometric, Top Down maps, Environments, and Minecraft textures. Great quality at moderate cost, with large batches for exploring variations.
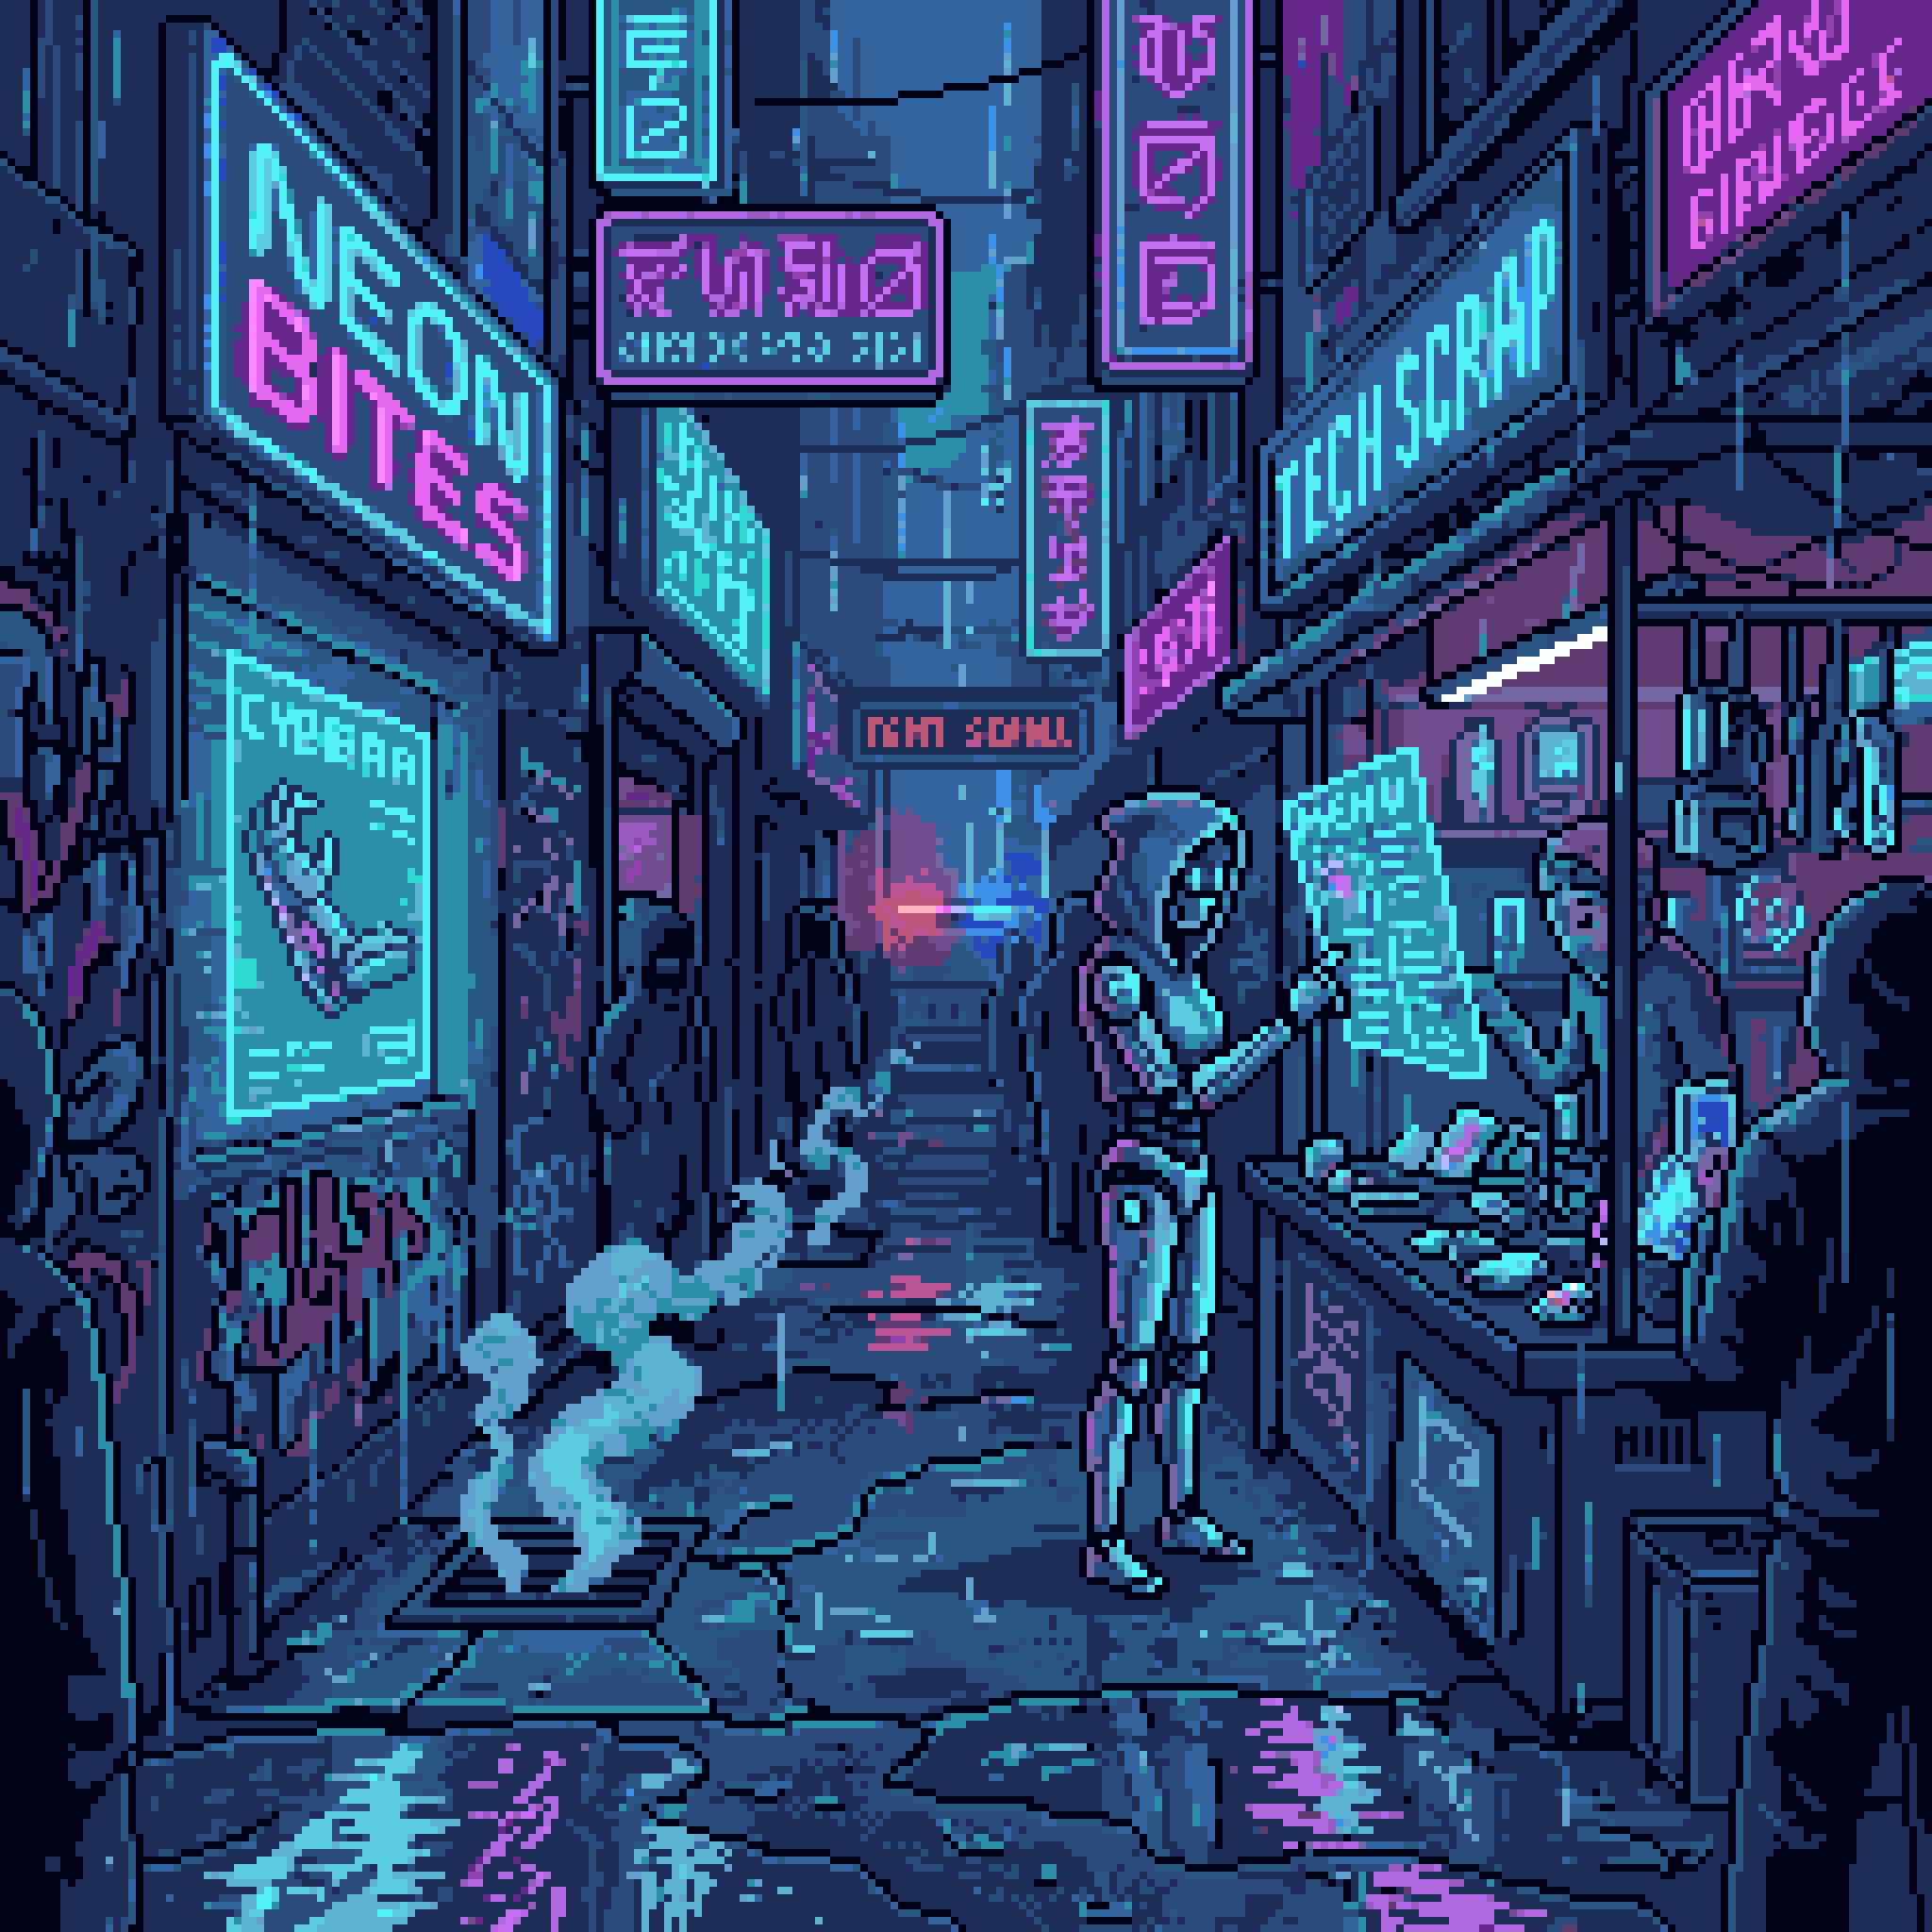
The standard model, tuned for speed and price. Ideal for brainstorming, iterating on prompts, and generating lots of options cheaply before refining the winners with a bigger model.
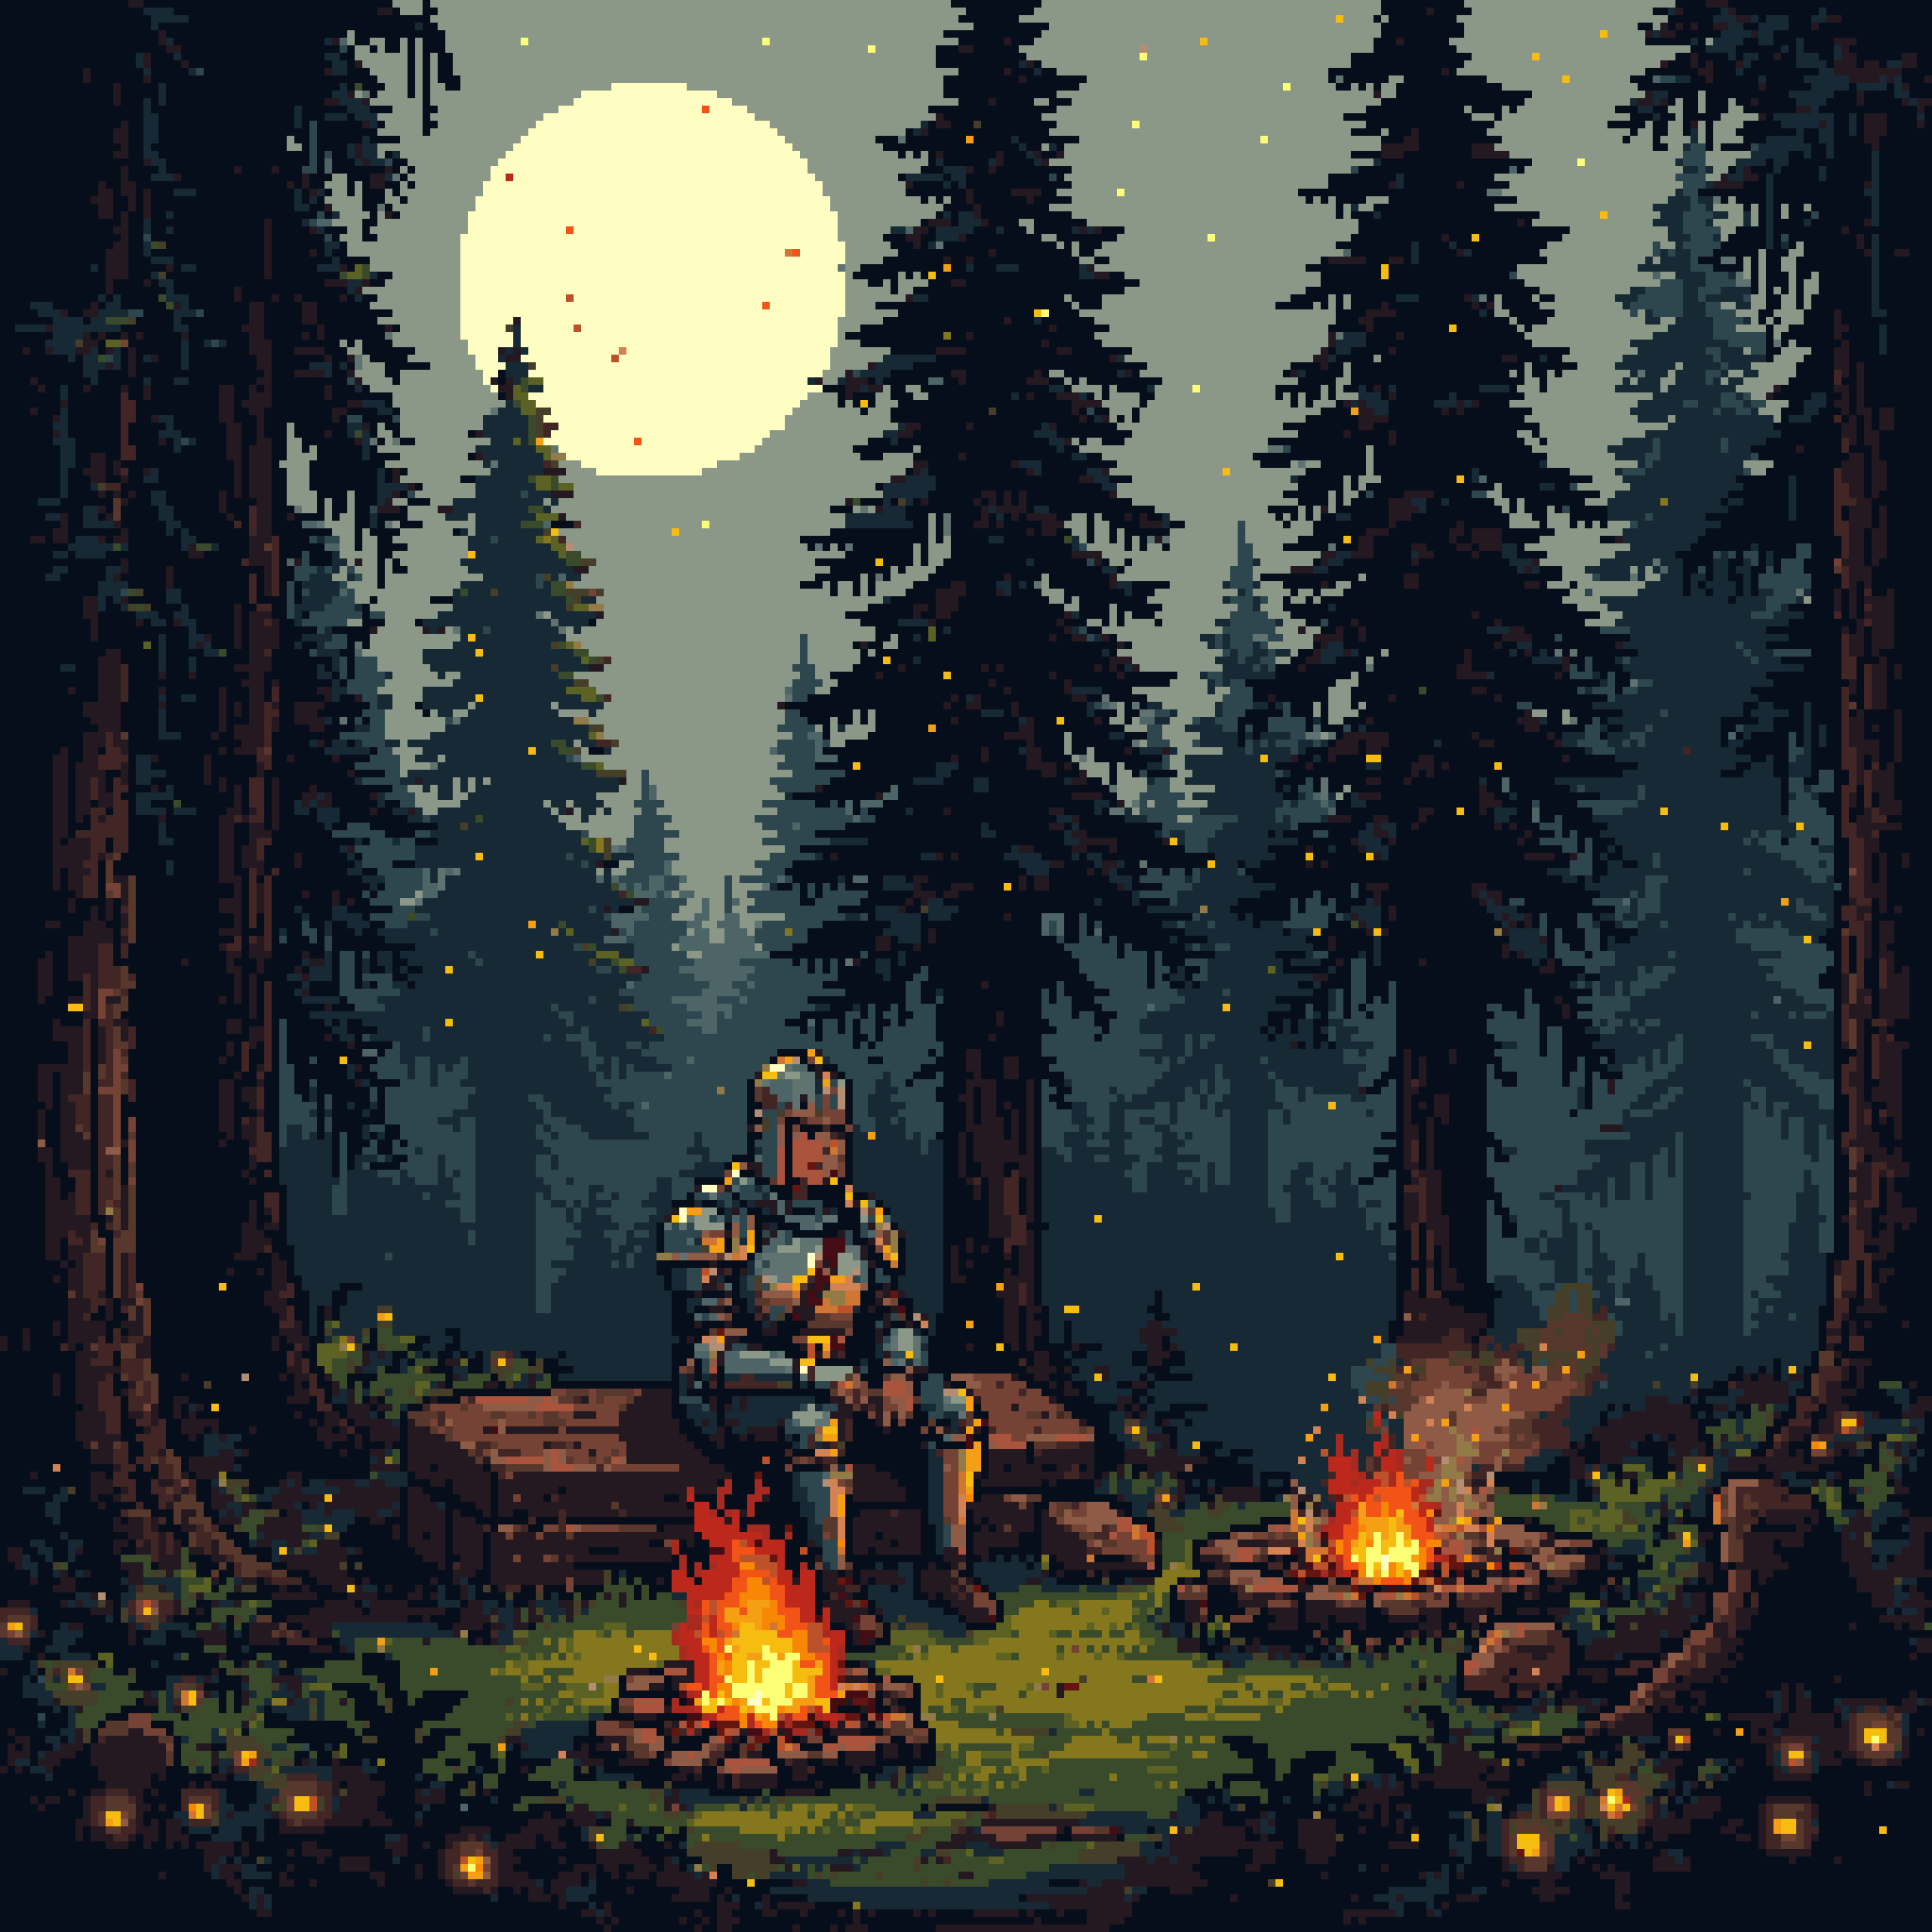
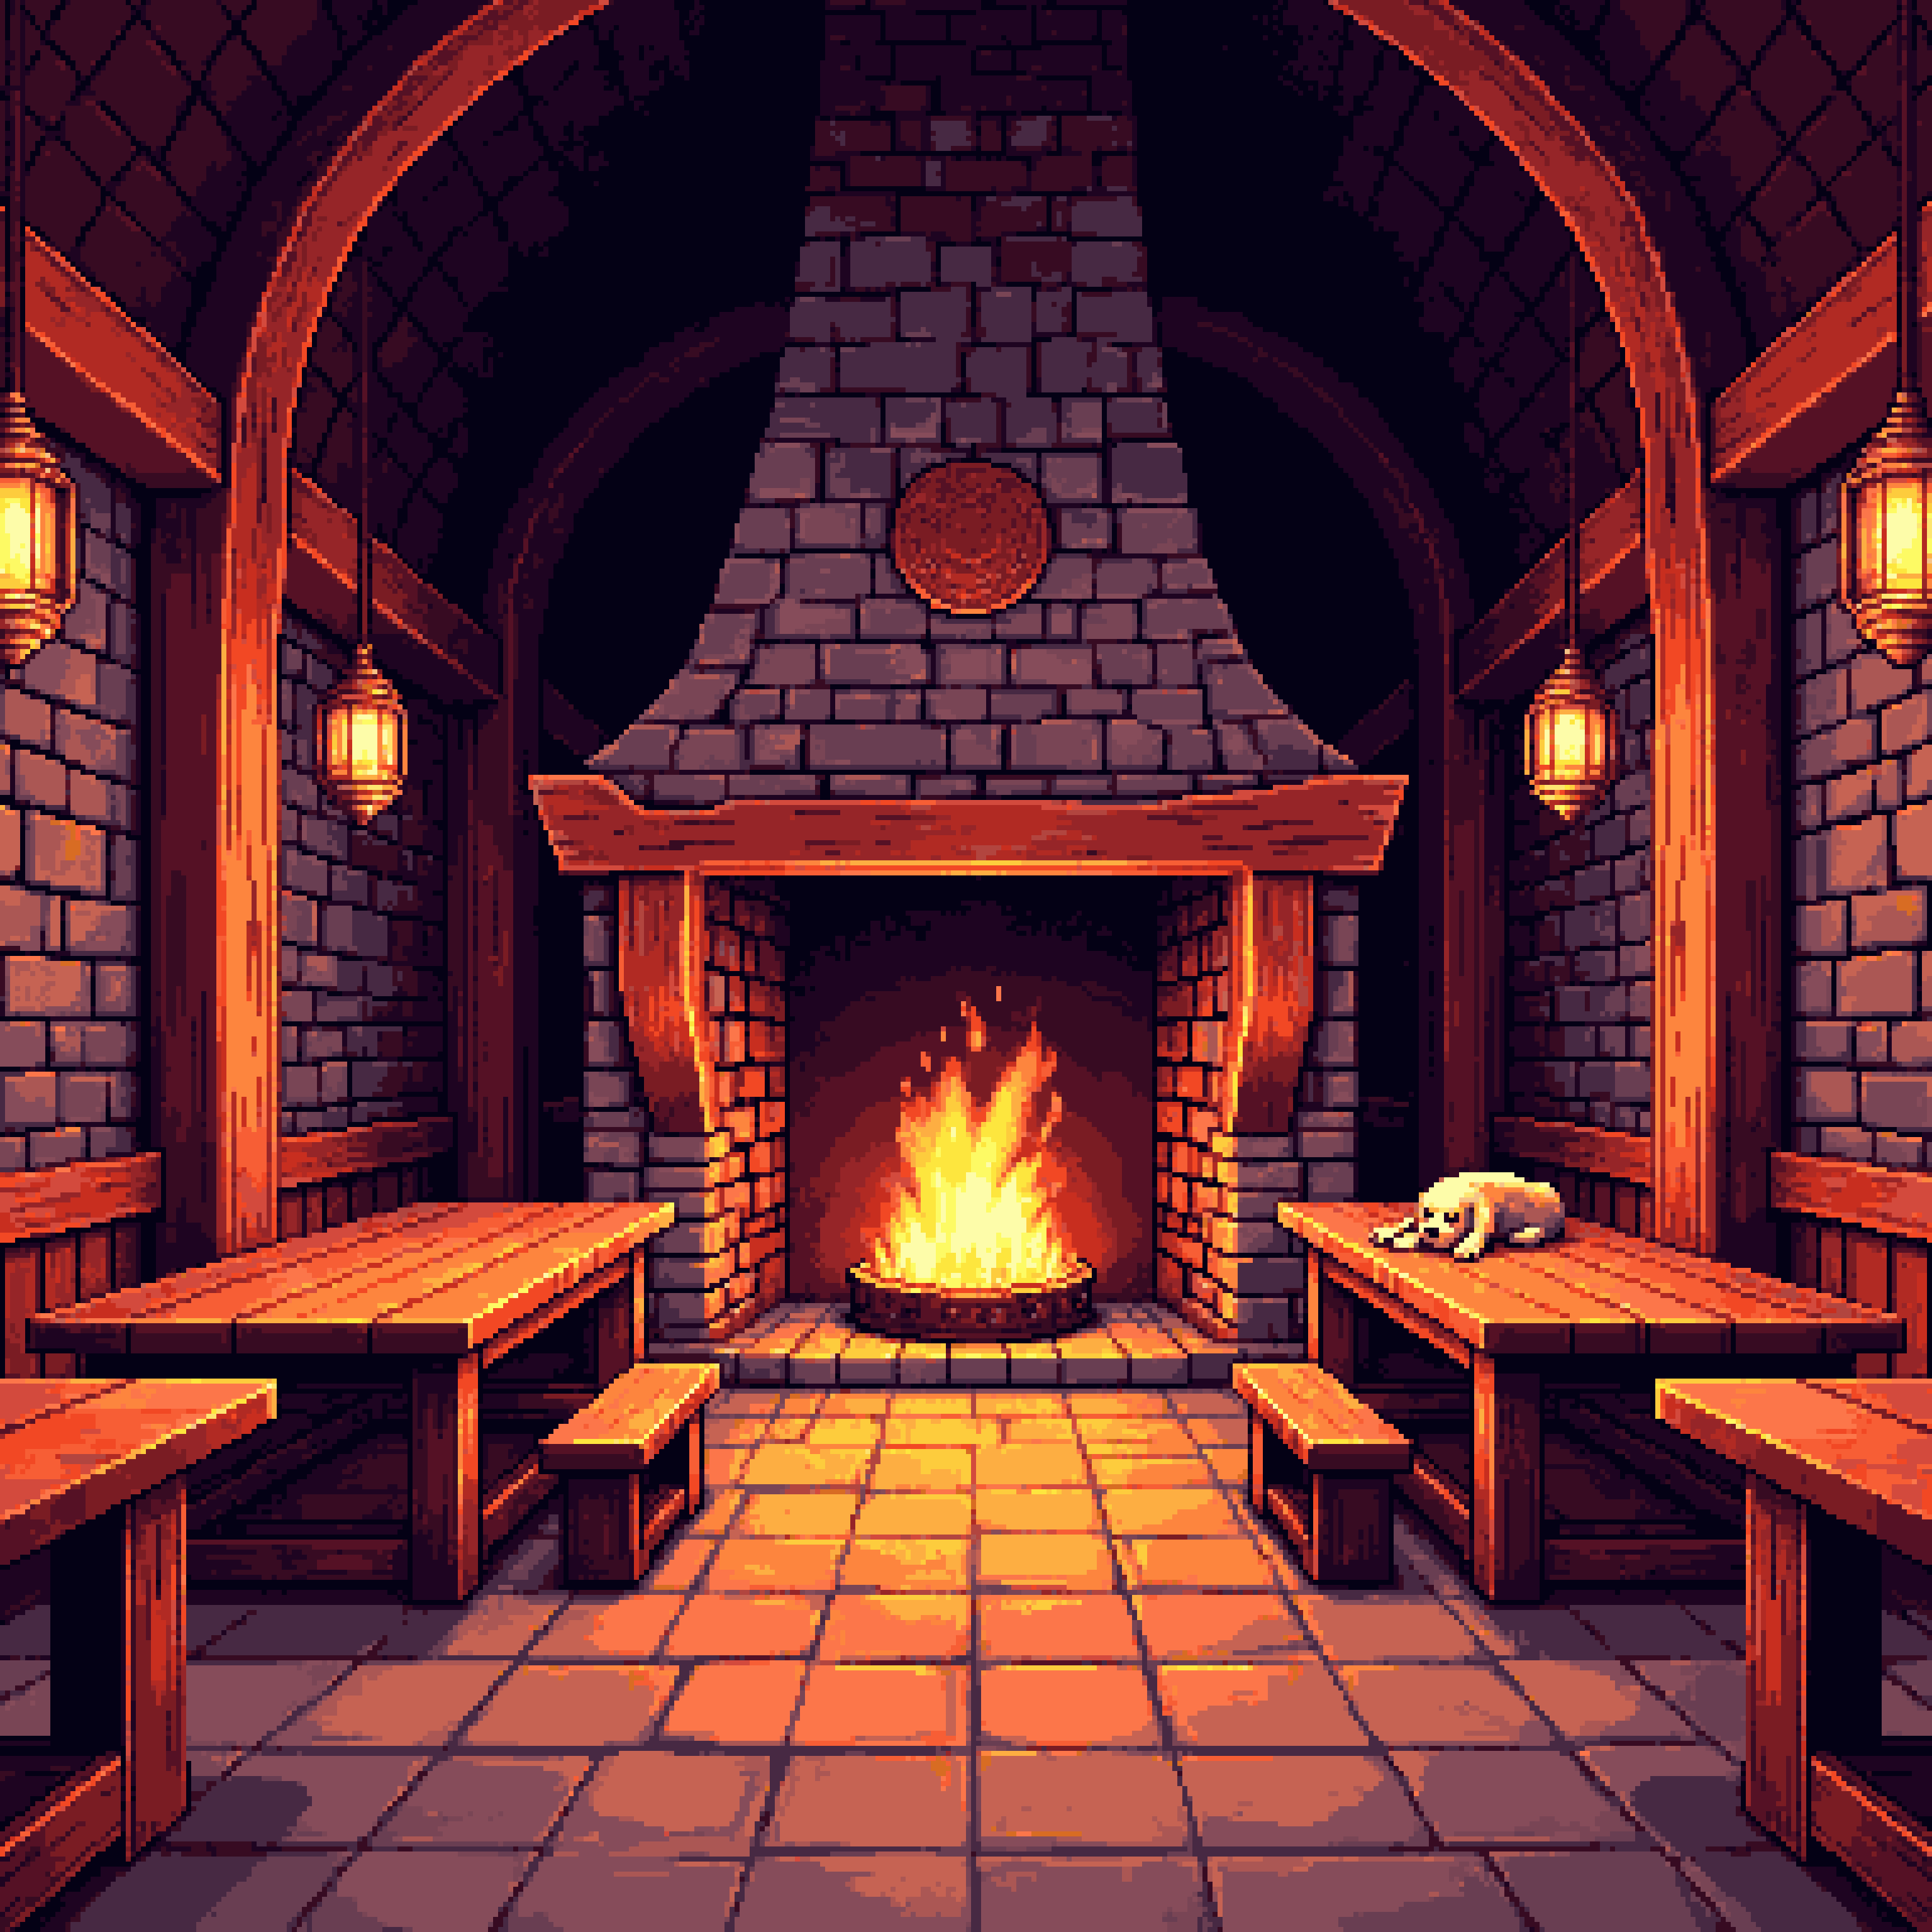
Optimized for genuinely low-resolution art — 16 to 192 pixels. Icons, items, Minecraft-style textures, and small assets where every pixel counts. Includes fast variants of its styles for quick drafts.
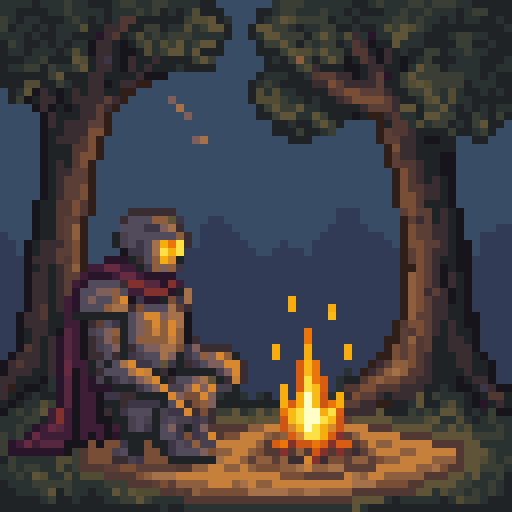
Each card above ends with the same prompt and seed run on that model, so you can compare them directly.
Every scale, one site
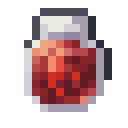
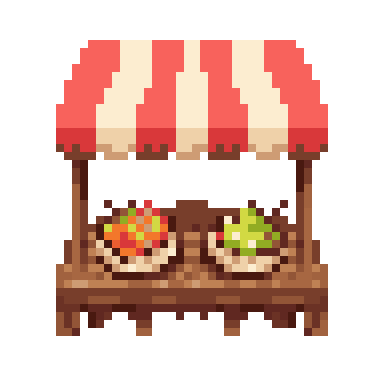
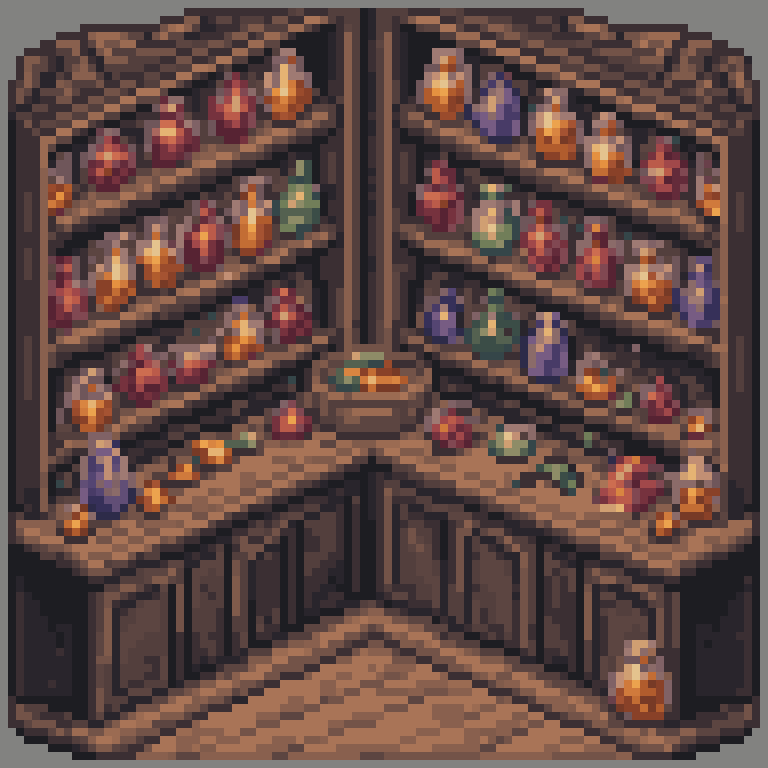
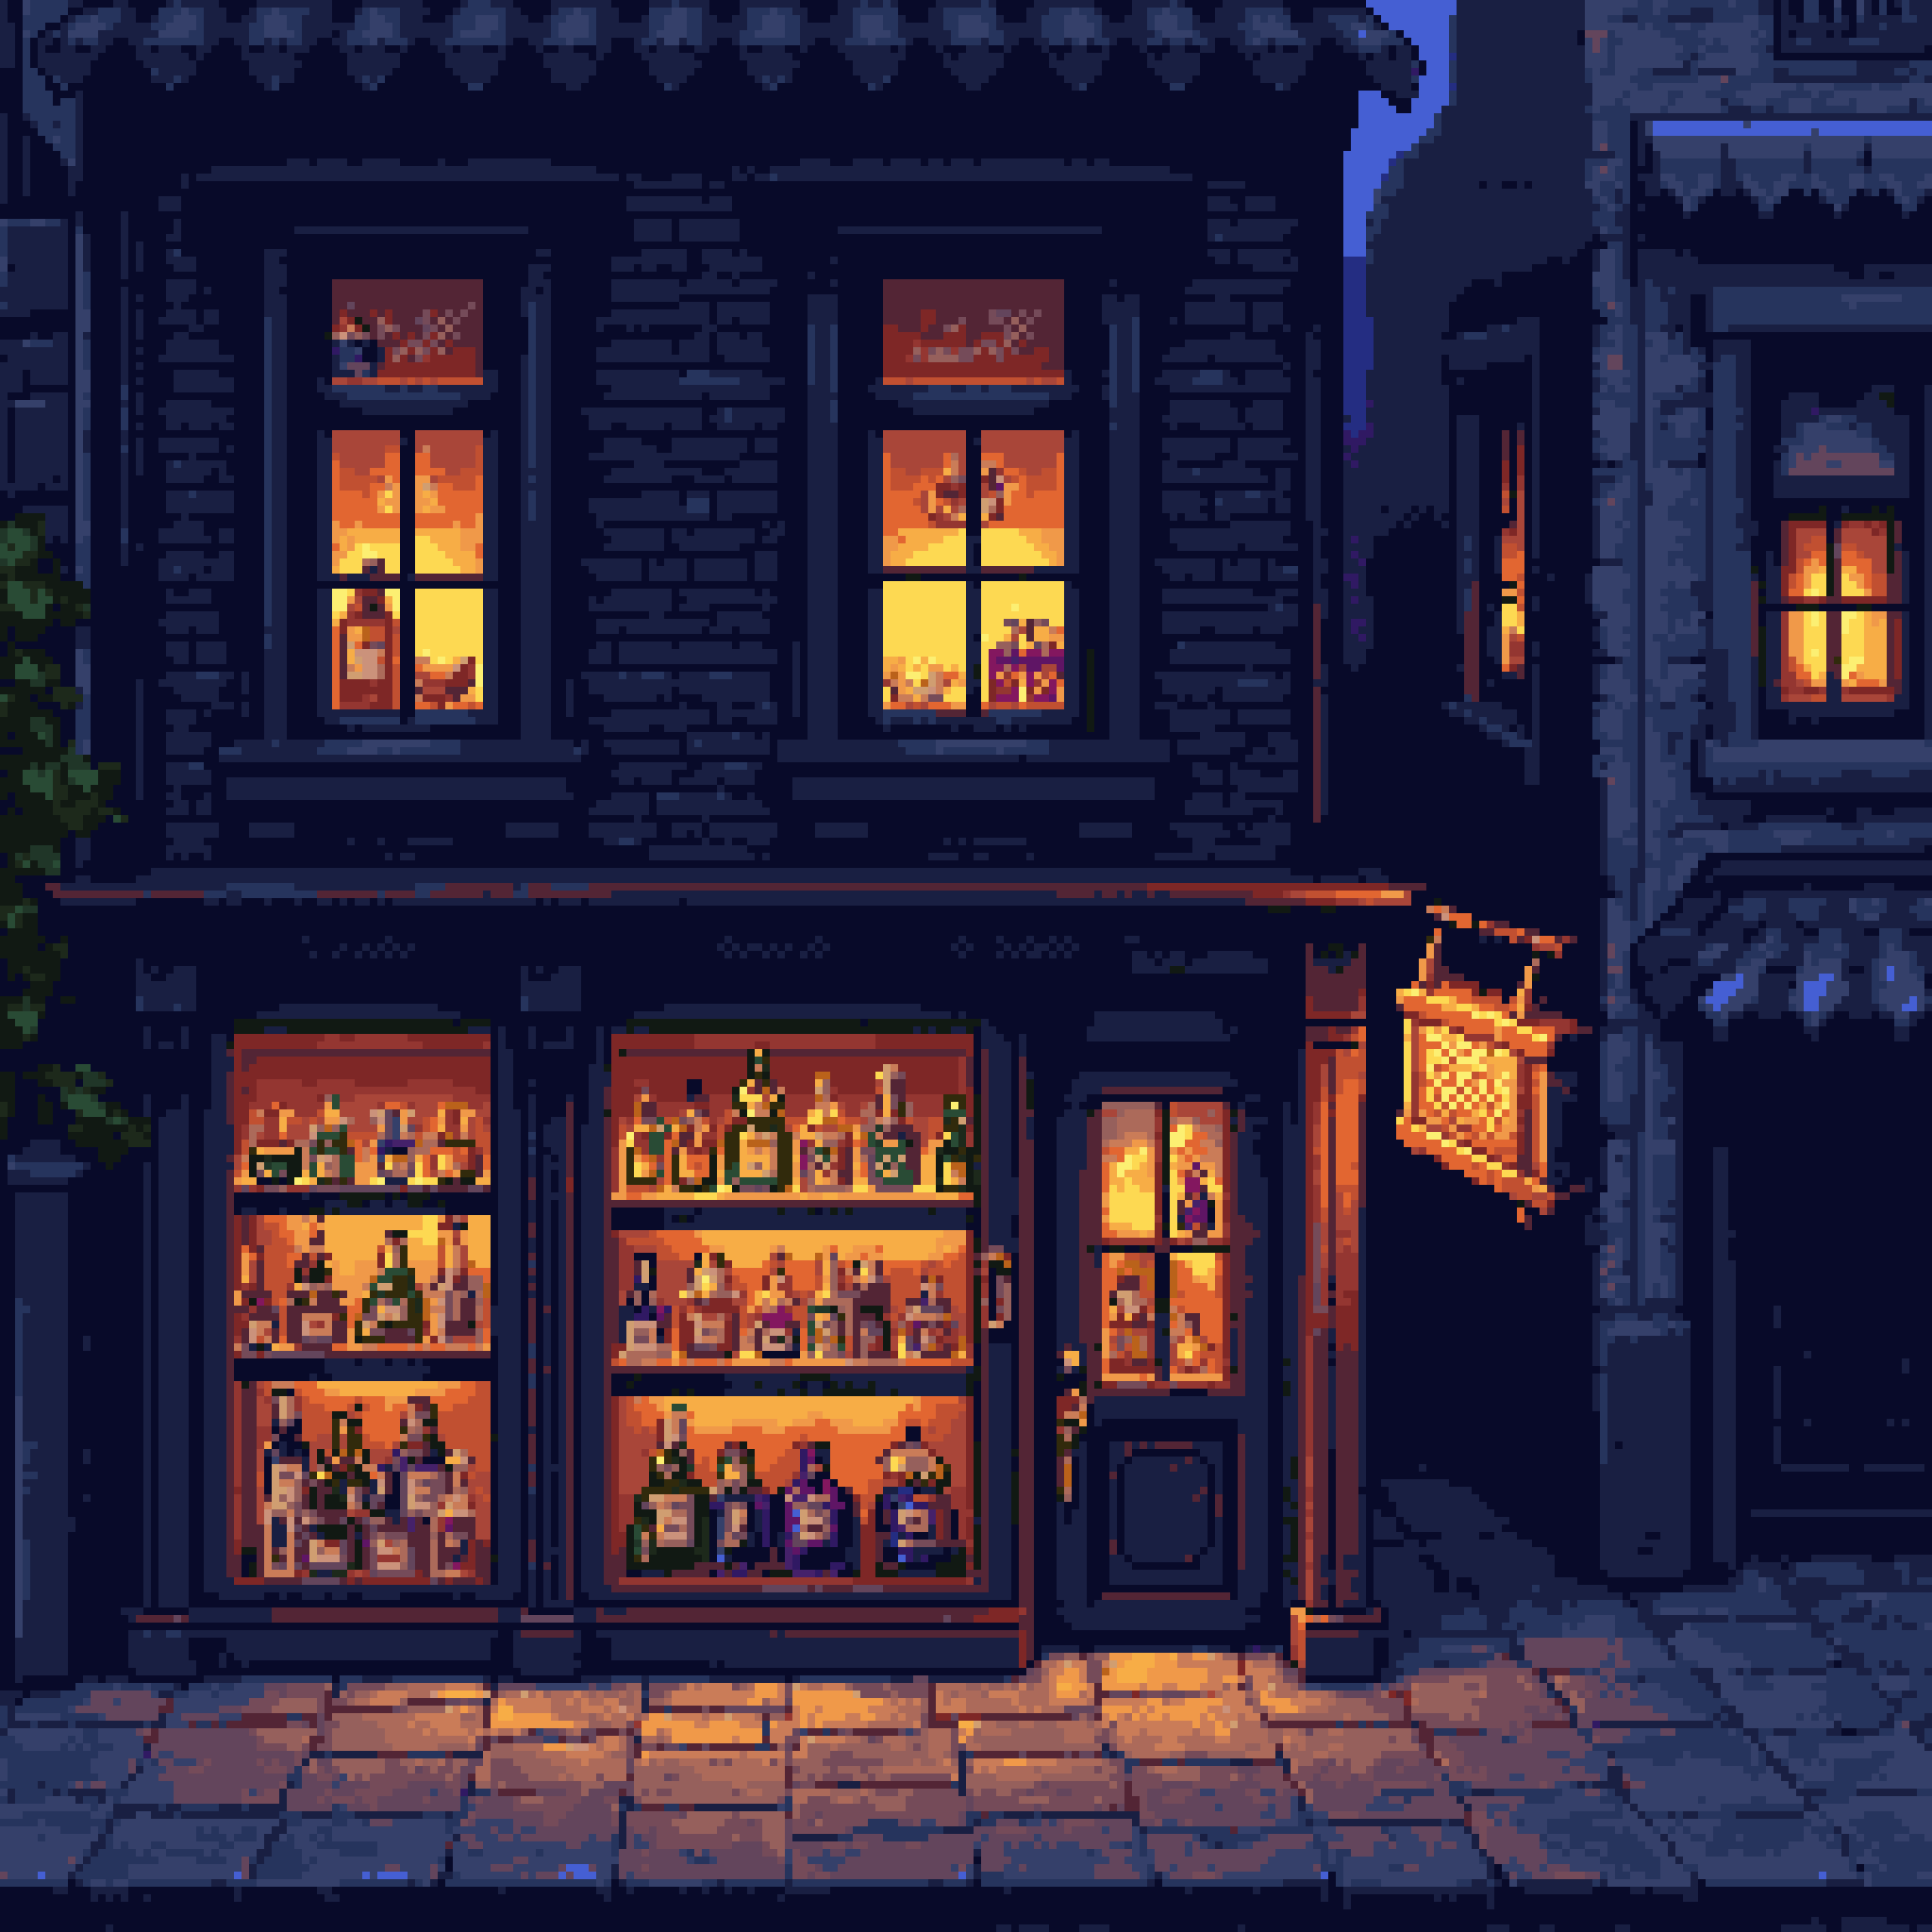
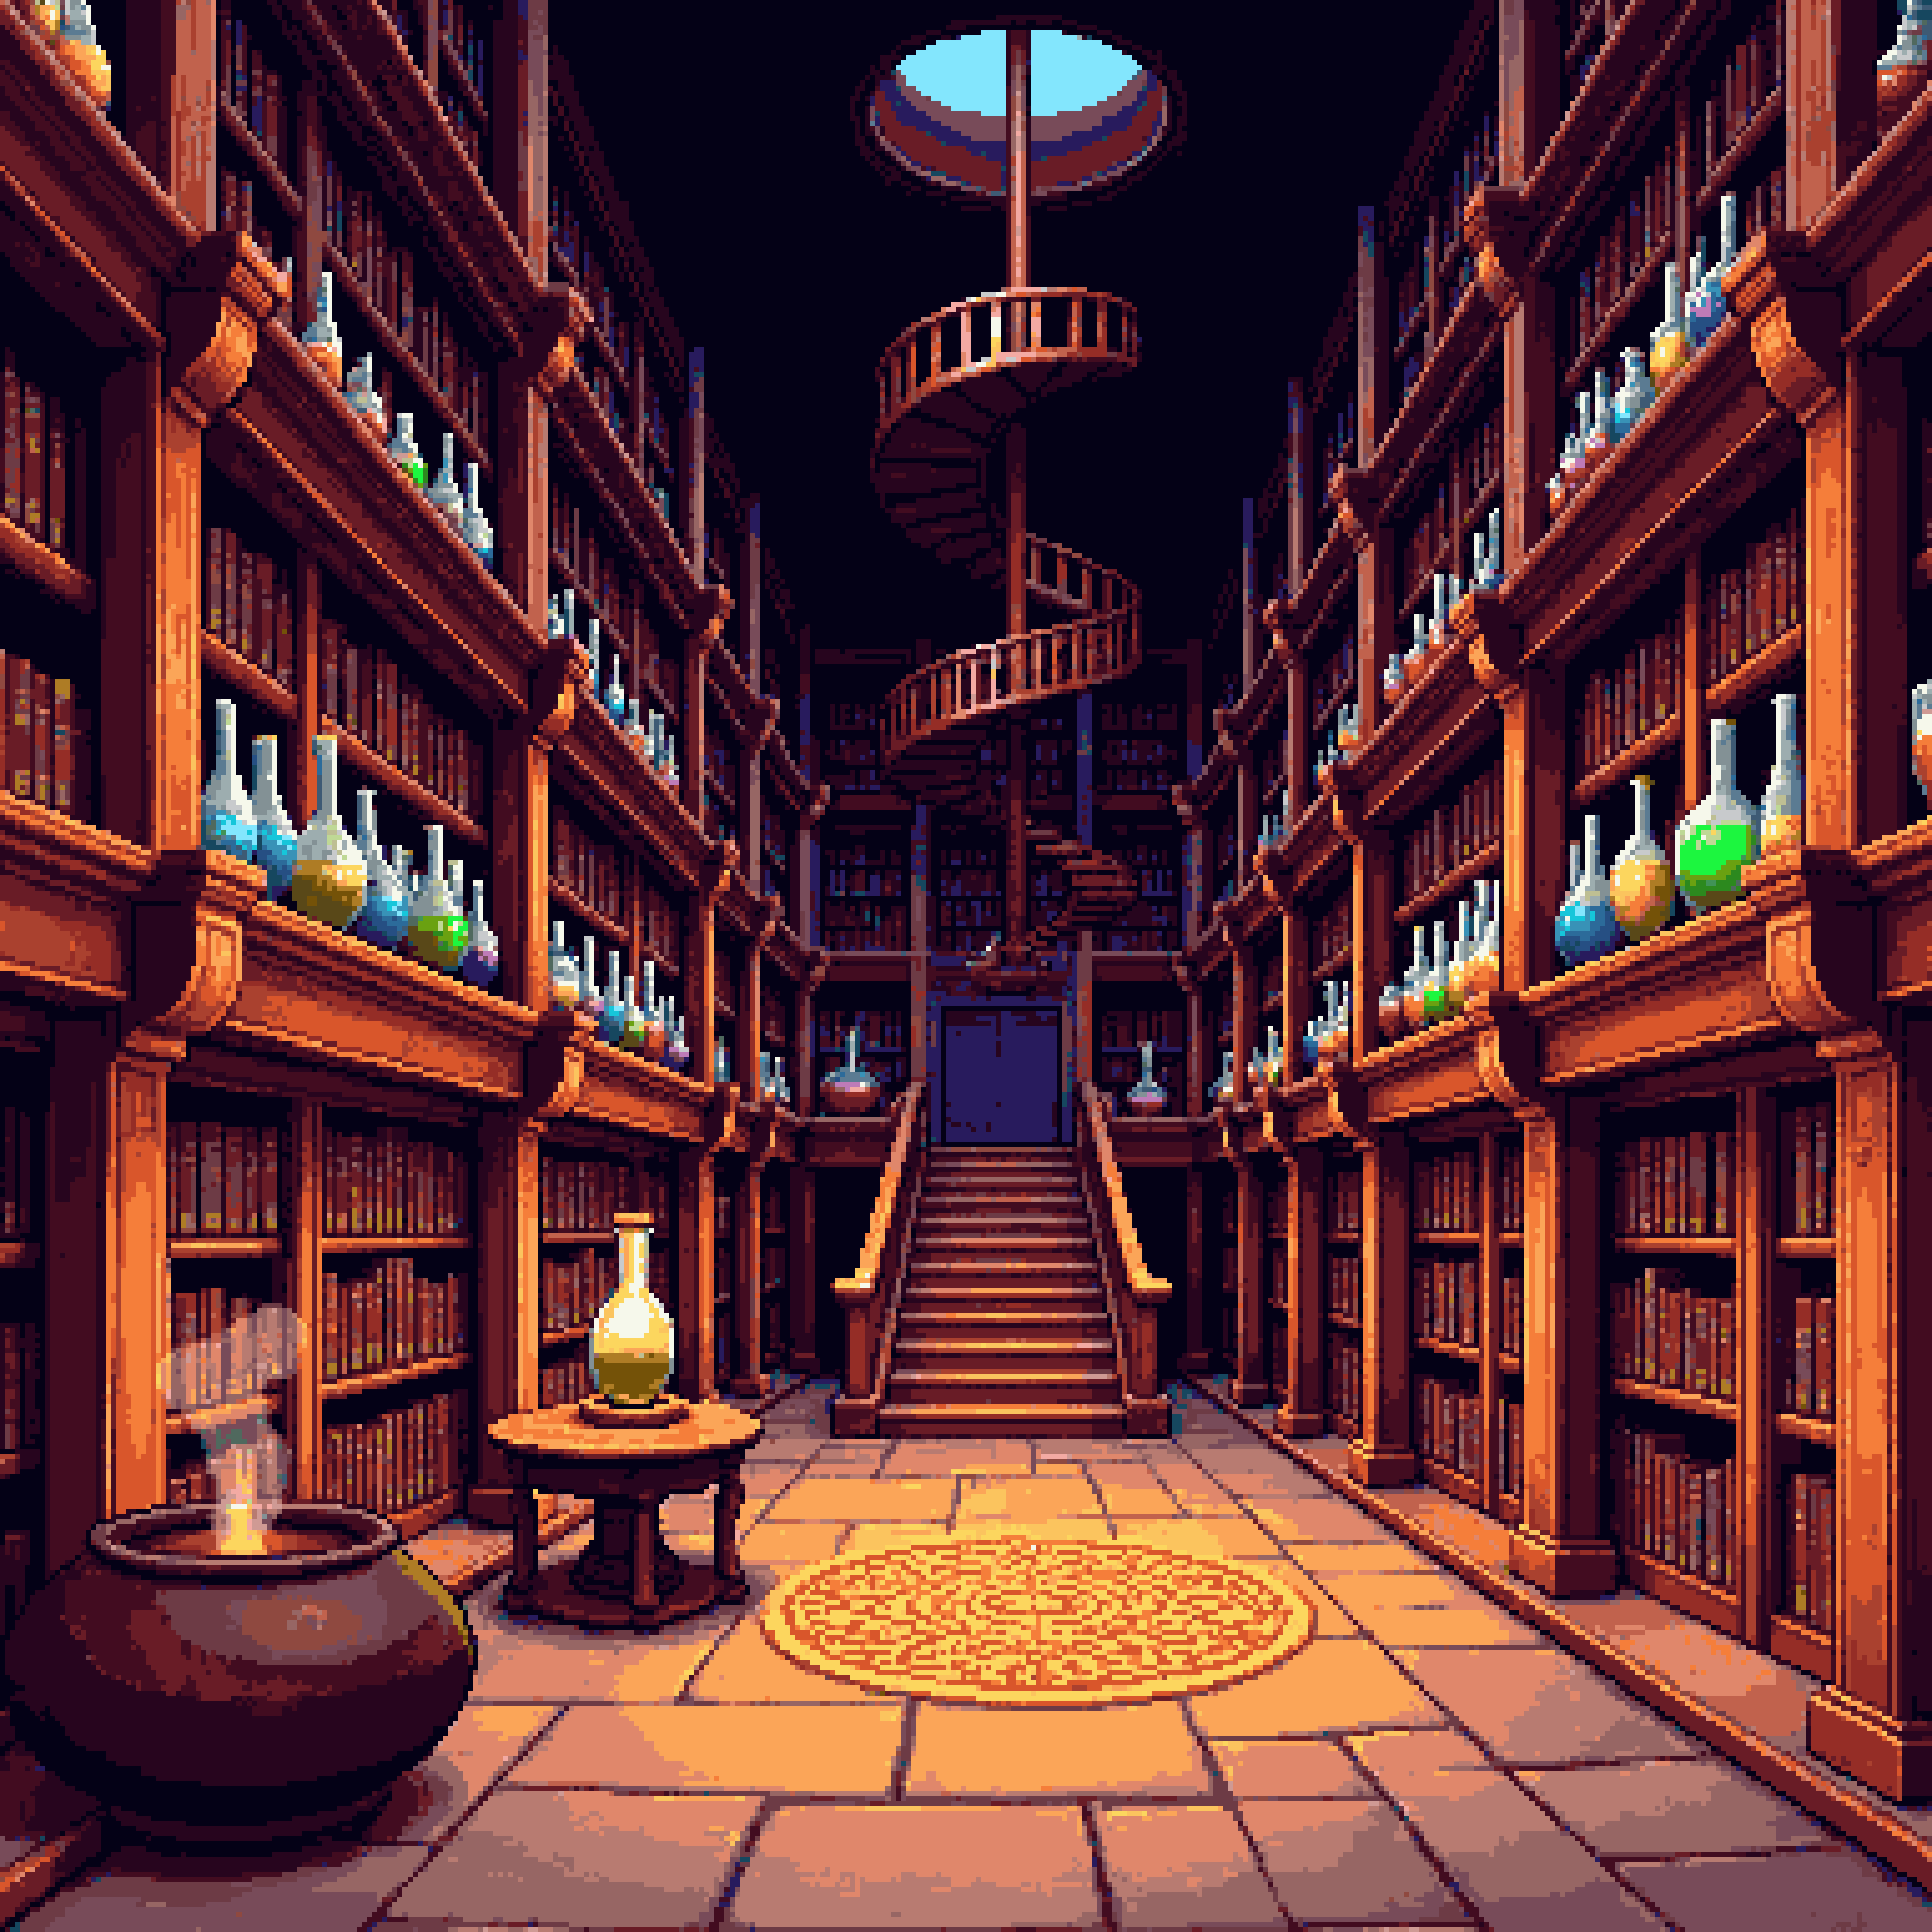
From a 16×16 inventory item to a 384×384 scene — shown here at actual pixel size:
Specialized tabs
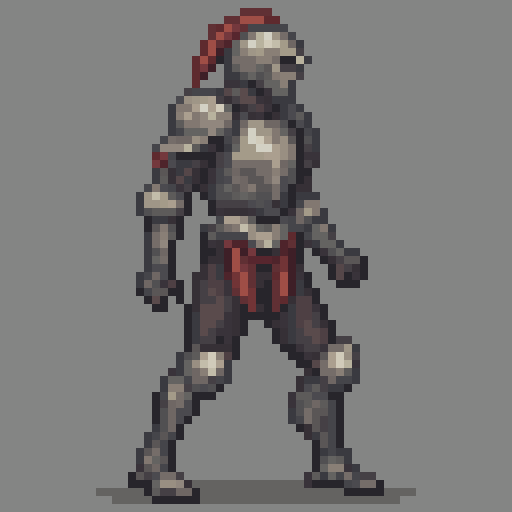
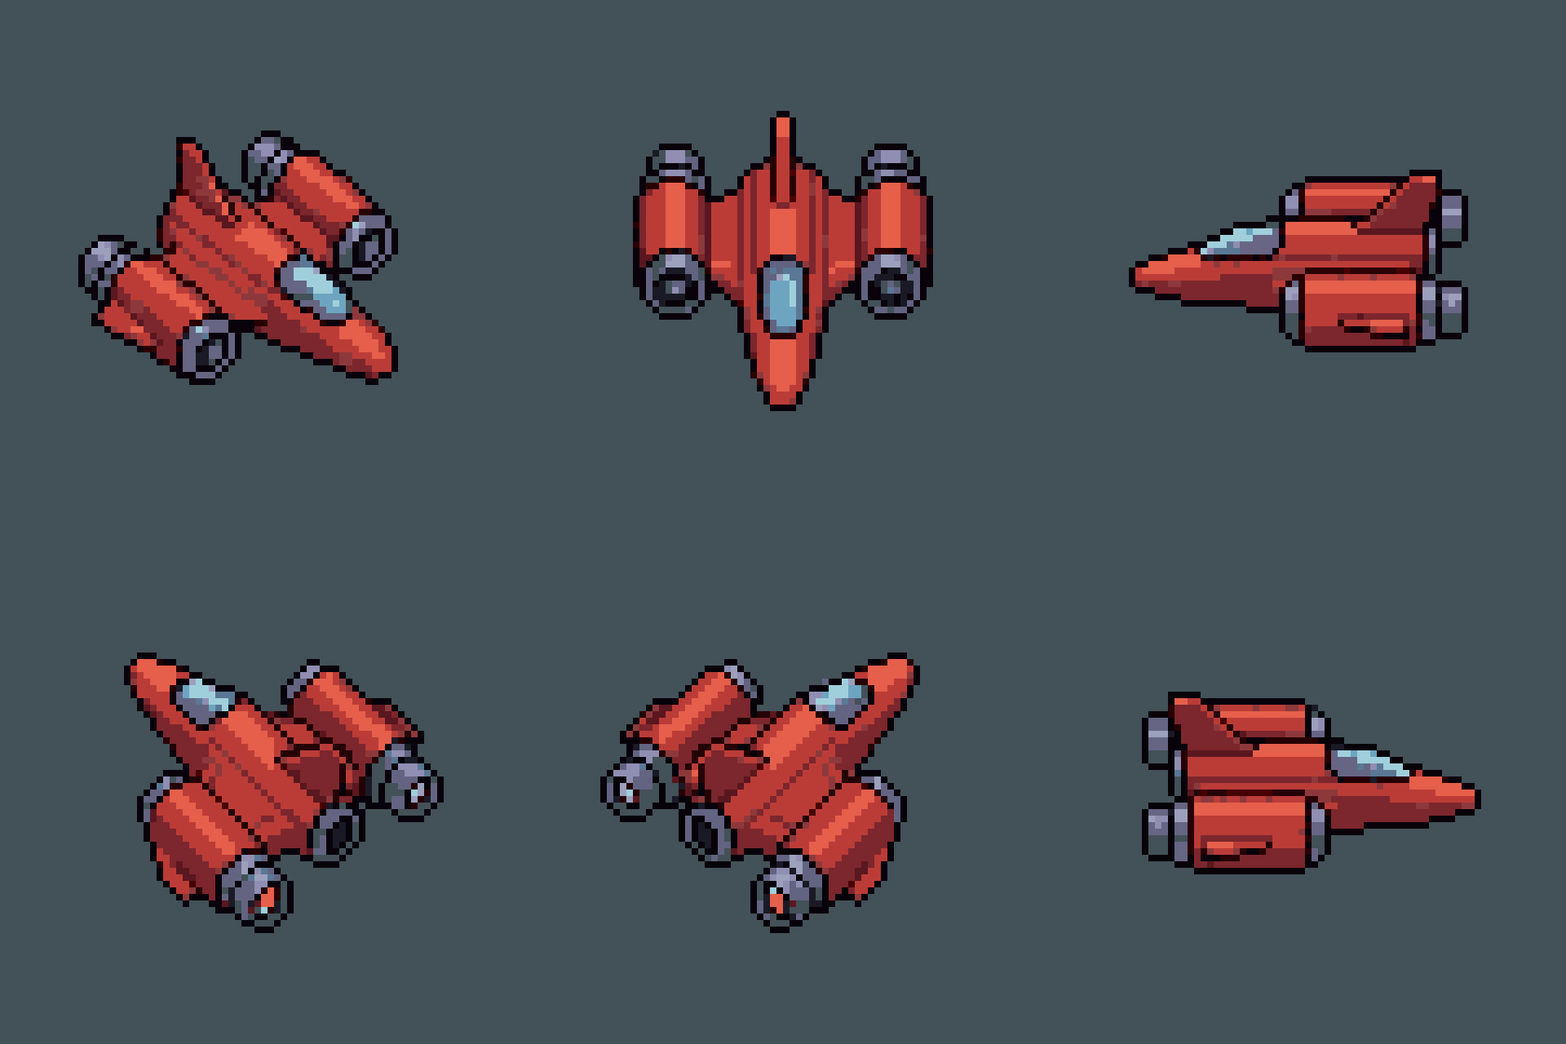
The strongest animation workflow on the site. Upload any pixel art image as a starting frame — up to 256×256 — and it comes to life: Walking, Idle, Jump, Crouch, Attack, and Destroy actions for characters, Subtle Motion for living landscapes (drifting rain, rustling leaves), and Custom Action where you simply describe any animation you can imagine. Rotate skips the motion and instead generates the other directional views of your sprite as an 8 direction rotation sheet. Your art stays on-model; the motion is generated around it.
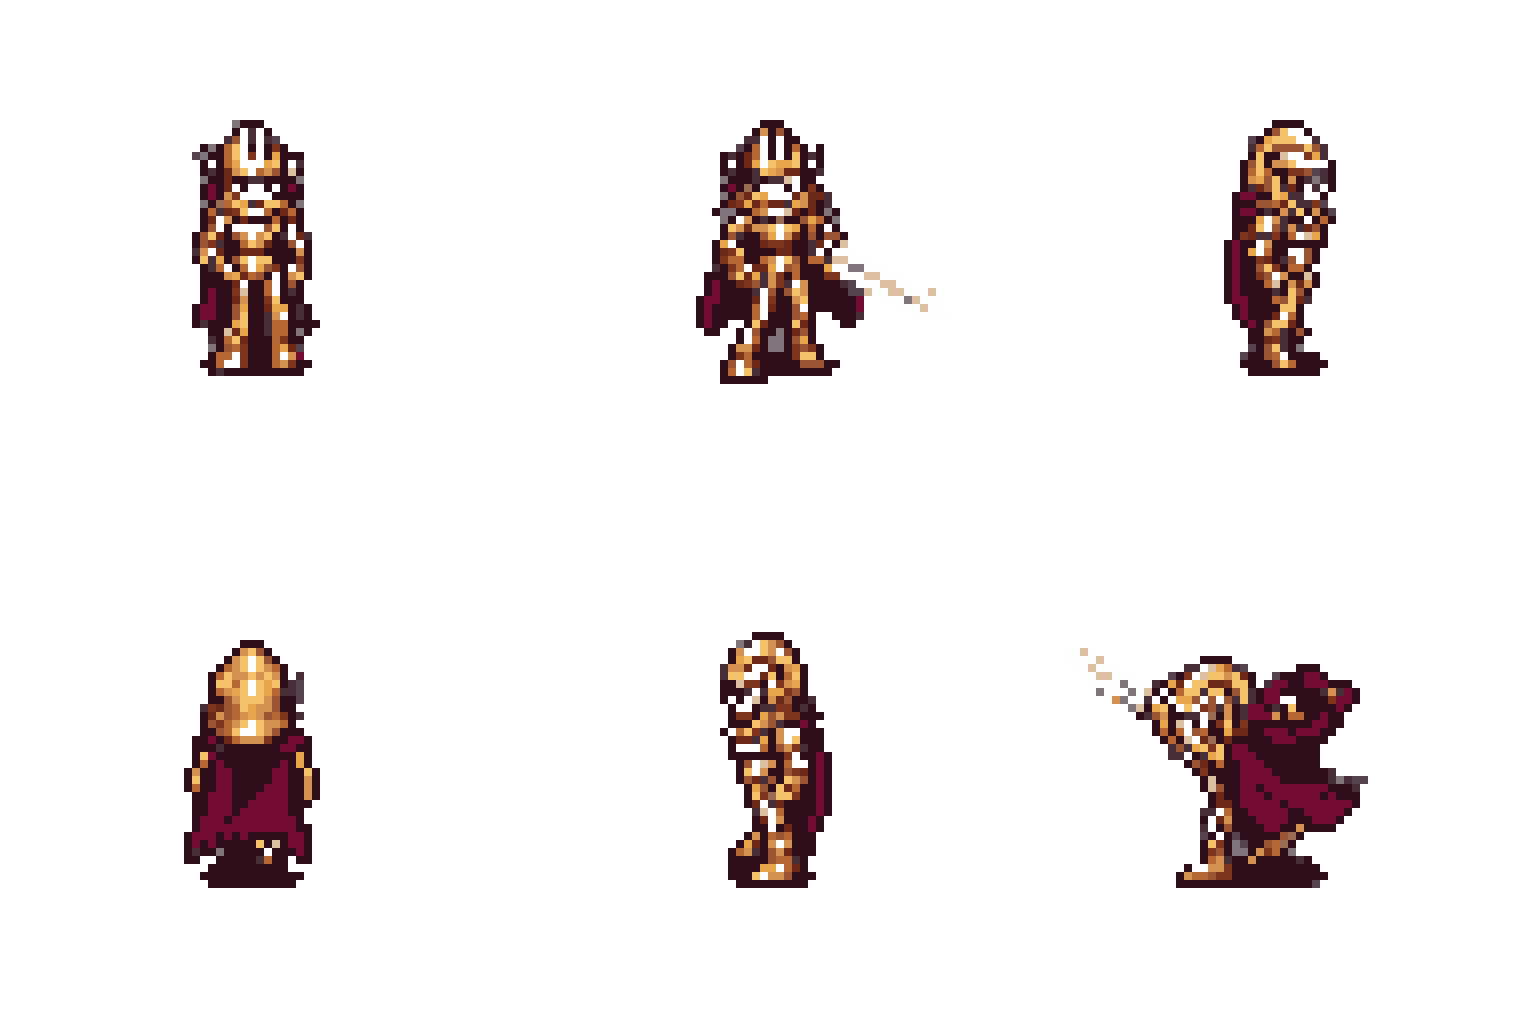
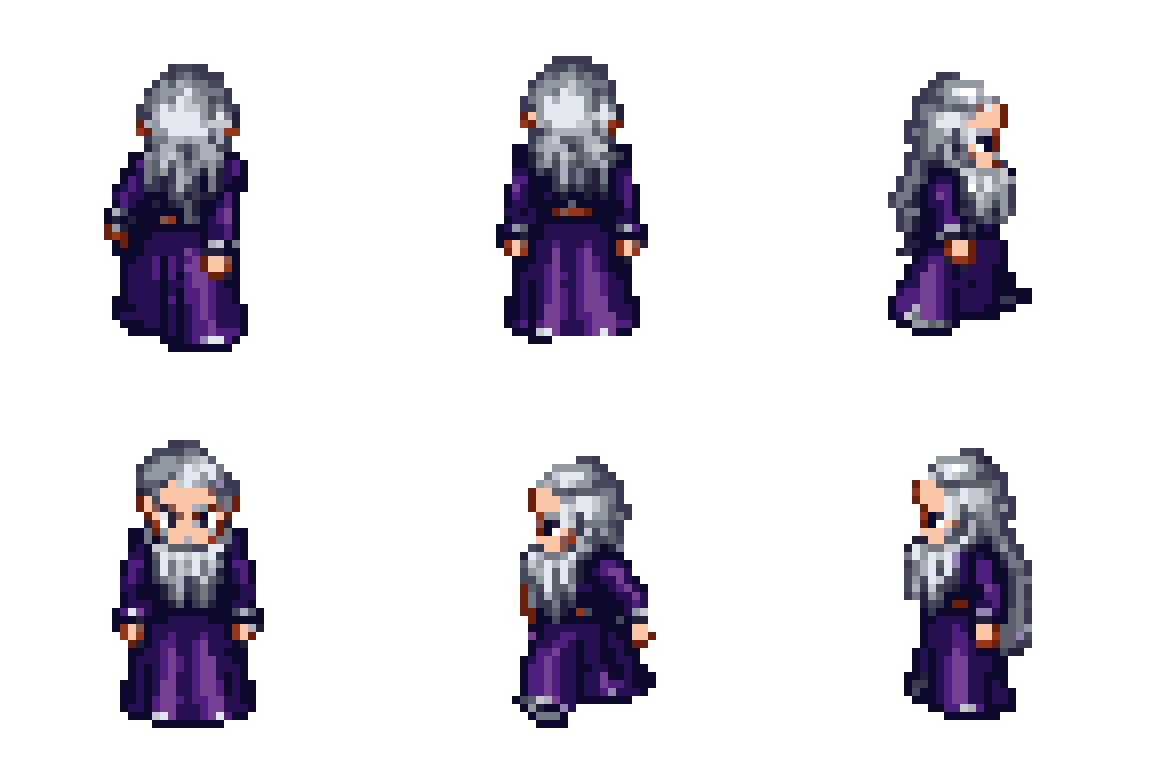
Ready-made sprite animation formats: 4-direction walk cycles, walk + idle sets, battle sprites (idle/walk/jump/attack), visual effects like fire and explosions, 8 direction rotations, and free-form "Any Animation" / "Big Animation" styles. Great when you want a standard sprite sheet layout from just a prompt. Sizes are fixed per style (typically 32–128 px), with frame duration and loop controls.
Game-ready tile workflows: full "wang-style" tilesets from one prompt (or two textures with Tileset Advanced), single tiles, variations of an existing tile, and scene/tile objects to decorate maps. Tileset results include extra downloads and a SpriteFusion export.
Your custom styles, built from your own reference images — plus any styles shared with you. Covered in depth below.
Real low-poly 3D models with hand-painted pixel textures, from a prompt and/or reference images. Orbit them, revise them, animate them, and export them for your engine or modeling tool. Covered in its own section below.
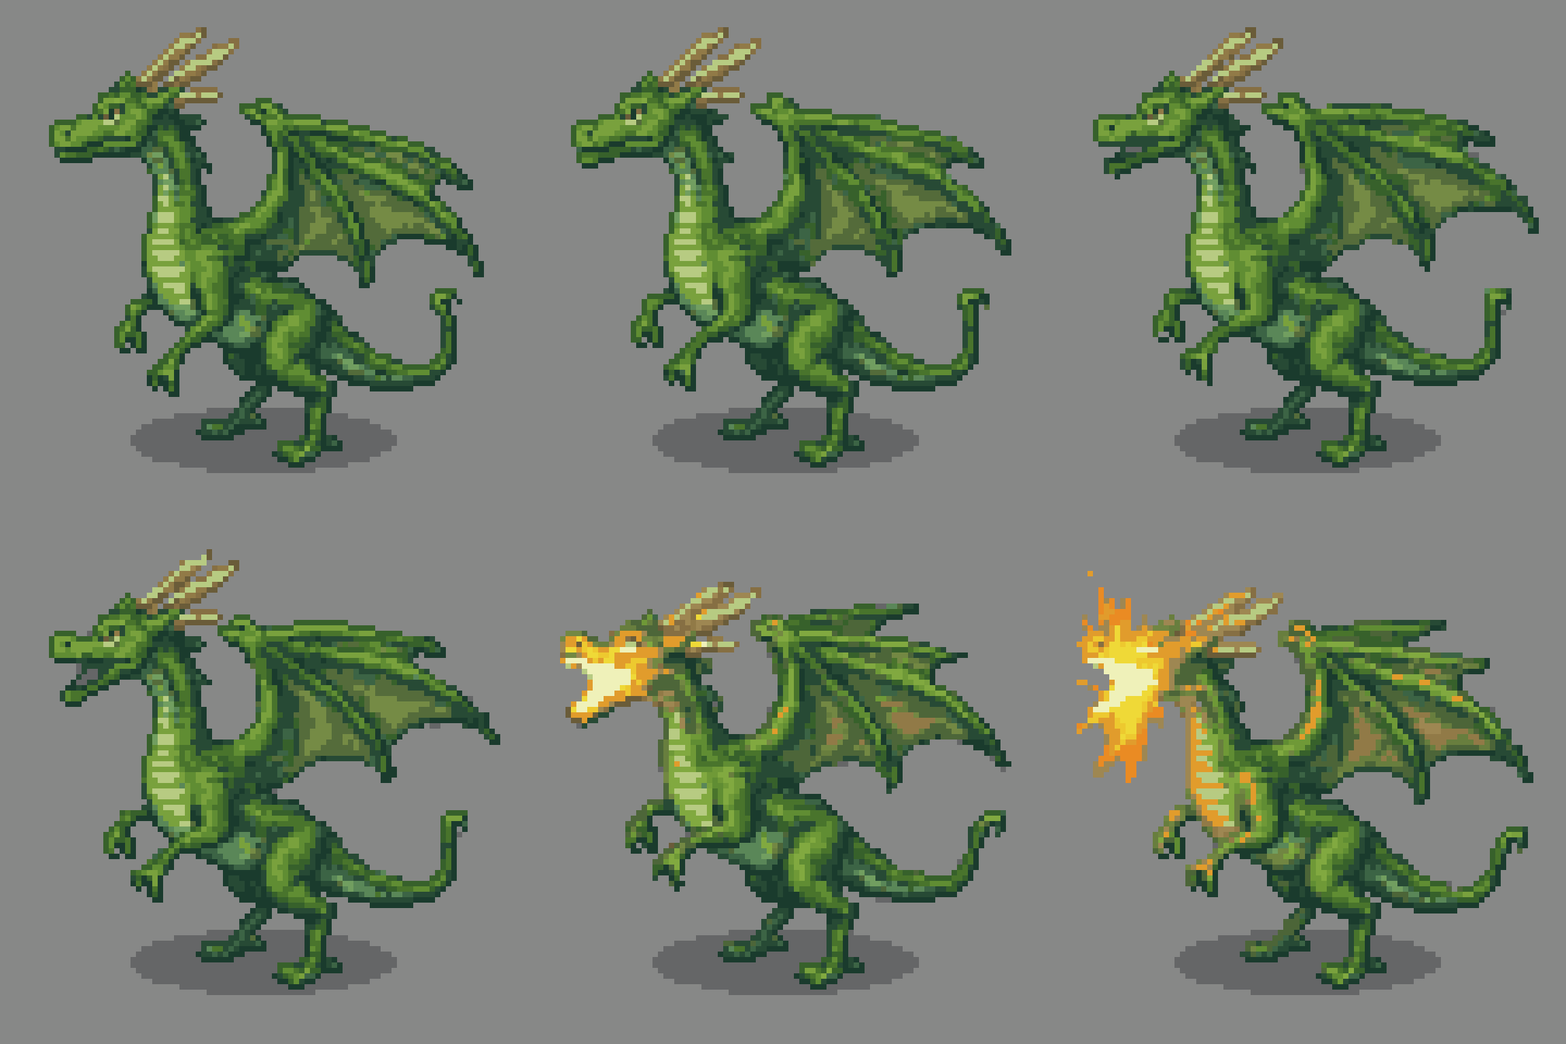
Advanced Animations in action — a still frame in, a living animation out:
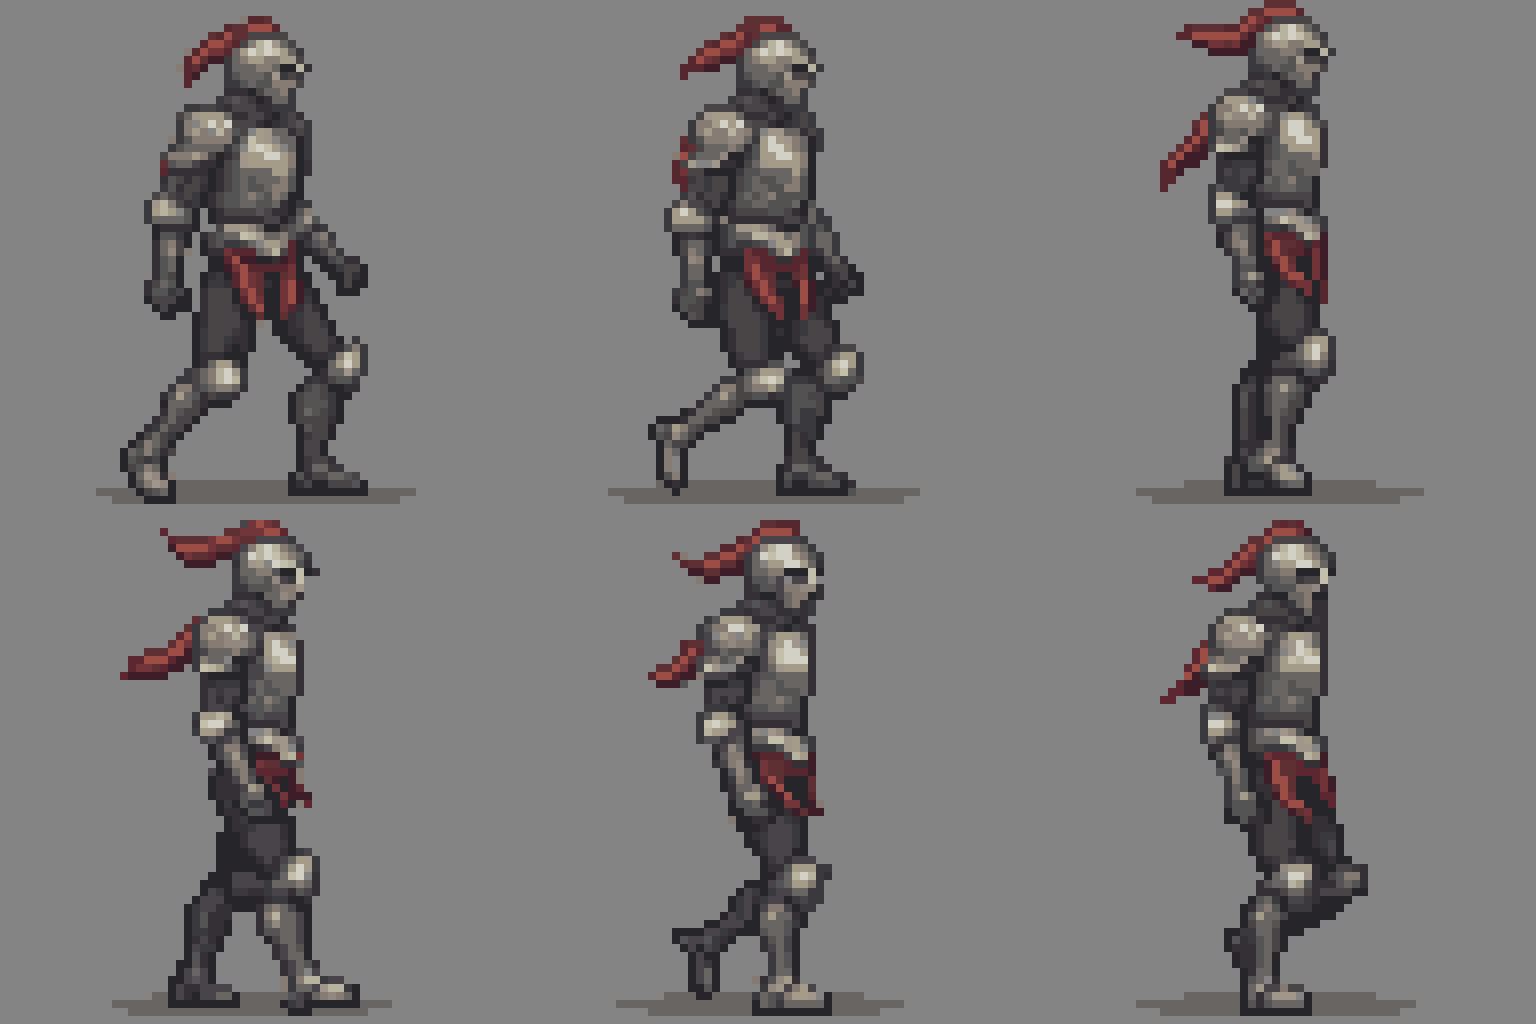
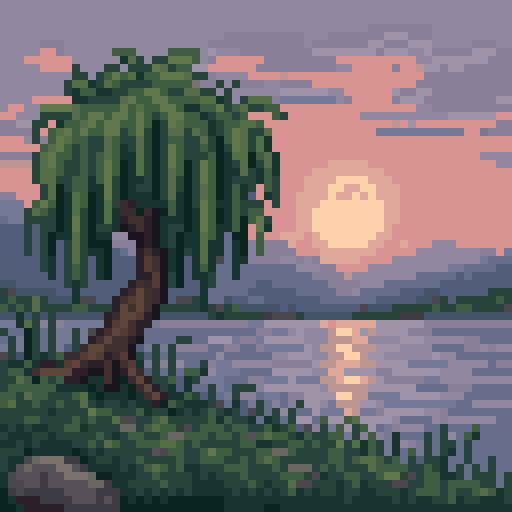
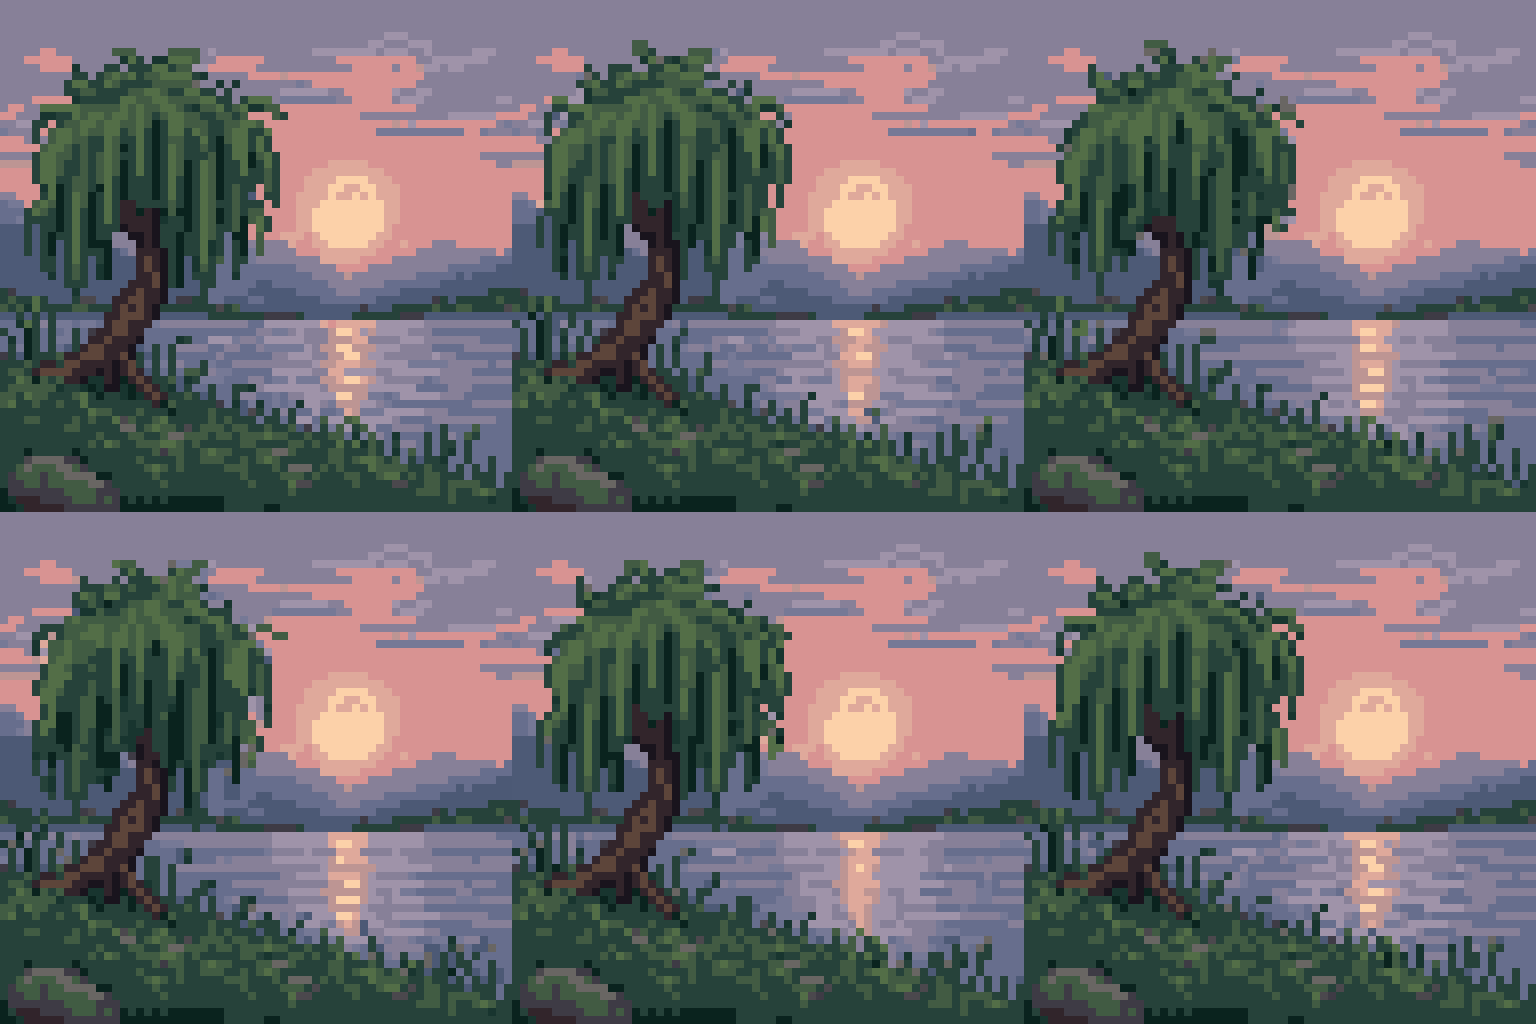
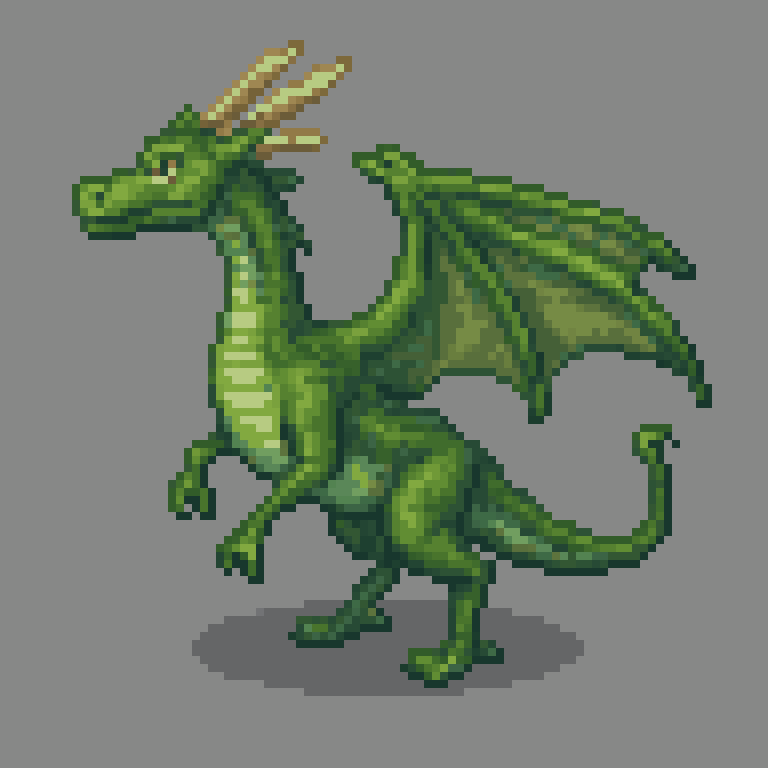
And from the regular Animations tab — full sprite formats from nothing but a prompt:
Low-Poly 3D
The Low-Poly model builds real low-poly 3D models with hand-painted pixel-art textures. Every texture pixel is the same size on every face, so a model looks like pixel art from any angle, and it lives alongside your 2D work: same queue, same history, same canvas, same assistant.
Making a model
- Pick Low Poly 3D in the model selector, then a style: Detailed (free-form shapes) or Blocky (boxes only, like a Minecraft model; boxes can be tilted for slopes like a windshield or roof, and it is best for Blockbench and Minecraft exports). Their Lite versions make simpler models for $0.10 at any size, great for props and drafts; editing or animating a Lite model is $0.08.
- Describe the object (up to 250 characters), add up to 4 references, or both. Images guide the look (several views of the same object work best). Drag a 3D model from your history into References to use that exact model, textures and all: it is placed where your prompt puts it (a table in a tavern) or adapted to fit.
- Optionally add a Palette (the same palette input as for images): the model is built with only its colors, and revisions and animations keep them.
- In Settings, choose a Size, the model's largest dimension in texture pixels. Auto reads your prompt (a coin is small, a castle is big); image-only requests use 64³. Simple requests ("a crate", "remove the text", "spin slowly") are built in a quicker mode automatically; anything detailed gets the full treatment. The price is the same either way.
- Generate. 3D models take a few minutes (large sizes can take 10 or more). They wait in the queue like any generation, and the finished model opens in the canvas.
The 3D canvas
- Drag to orbit, right-drag to pan, and scroll to zoom. The toolbar has reset, turntable, perspective/orthographic, X / Y / Z view snaps (click again for the opposite side), bones,wireframe, and copy (a square image of the current view, on your clipboard for sharing).
- Switch between the 3D view and the texture atlas, the flat image every face is painted from.
- Export for… Godot, Unity, Unreal, the web, or Blender (.glb), Blockbench (.bbmodel), other 3D apps (.obj), a Minecraft Java resource pack, the atlas, a turntable sprite sheet, or any animation as a GIF, sprite sheet, or high-res MP4 video. The .glb and Blockbench files carry every animation, ready to play in the engine.
- Re-rig (in the tool sidebar, on rigged versions) rebuilds the skeleton: move a pivot, add bones, or leave the prompt empty for a fresh rig. Animations whose bones stay keep working.
- Split (in the tool sidebar) breaks the model into separate models: a desk with things on it becomes the desk, the candle, each book, and so on, each its own history item facing the front, with its own textures and every animation it was in. Leave the prompt empty to split off every object, or say how ("only the books", "each drawer too").
- Color Reducer, Palette Converter and Color Style Transfer (in the tool sidebar, the same tools as on the image canvas) recolor the model's textures: reduce the number of colors, convert to a palette, or take another image's color style. The result is a new version, and later revisions and animations keep the colors.
Revising and animating
- Revise (left toolbar): describe what should change. The result is saved as a new version, and you can switch between versions at the bottom of the canvas.
- Animate: describe a motion ("a bouncy walk cycle", "swing the sword"). It is added to the version you're viewing, and the first animation adds a skeleton for free. Every animation plays as a live preview in the list on the right of the canvas; click one to view it.
- Changing an animation: pick it in the animation list on the right, then open Revise. The tool switches to animation editing (the banner says which animation), and only the motion changes.
| Size | Good for | Generate | Revise | Animate |
|---|---|---|---|---|
| 16³ | coins, potions, keys | $0.25 | $0.20 | $0.15 |
| 32³ | props: swords, chairs, chests | $0.50 | $0.35 | $0.25 |
| 64³ | characters, creatures, vehicles | $0.85 | $0.65 | $0.35 |
| 128³ | buildings, large vehicles | $1.20 | $0.90 | $0.50 |
| 256³ | landmarks and scenes | $3.00 | $1.50 | $1.00 |
Art Styles
Styles decide how your subject is drawn: the shading, outlines, perspective, and purpose of the output. Each model has its own style list, and each style adjusts the available settings — size limits, batch size, reference image support — to fit what it makes. Click any style to read its description, and press View Examples to see real output before you spend anything.
One prompt, one seed, four RD Plus styles:
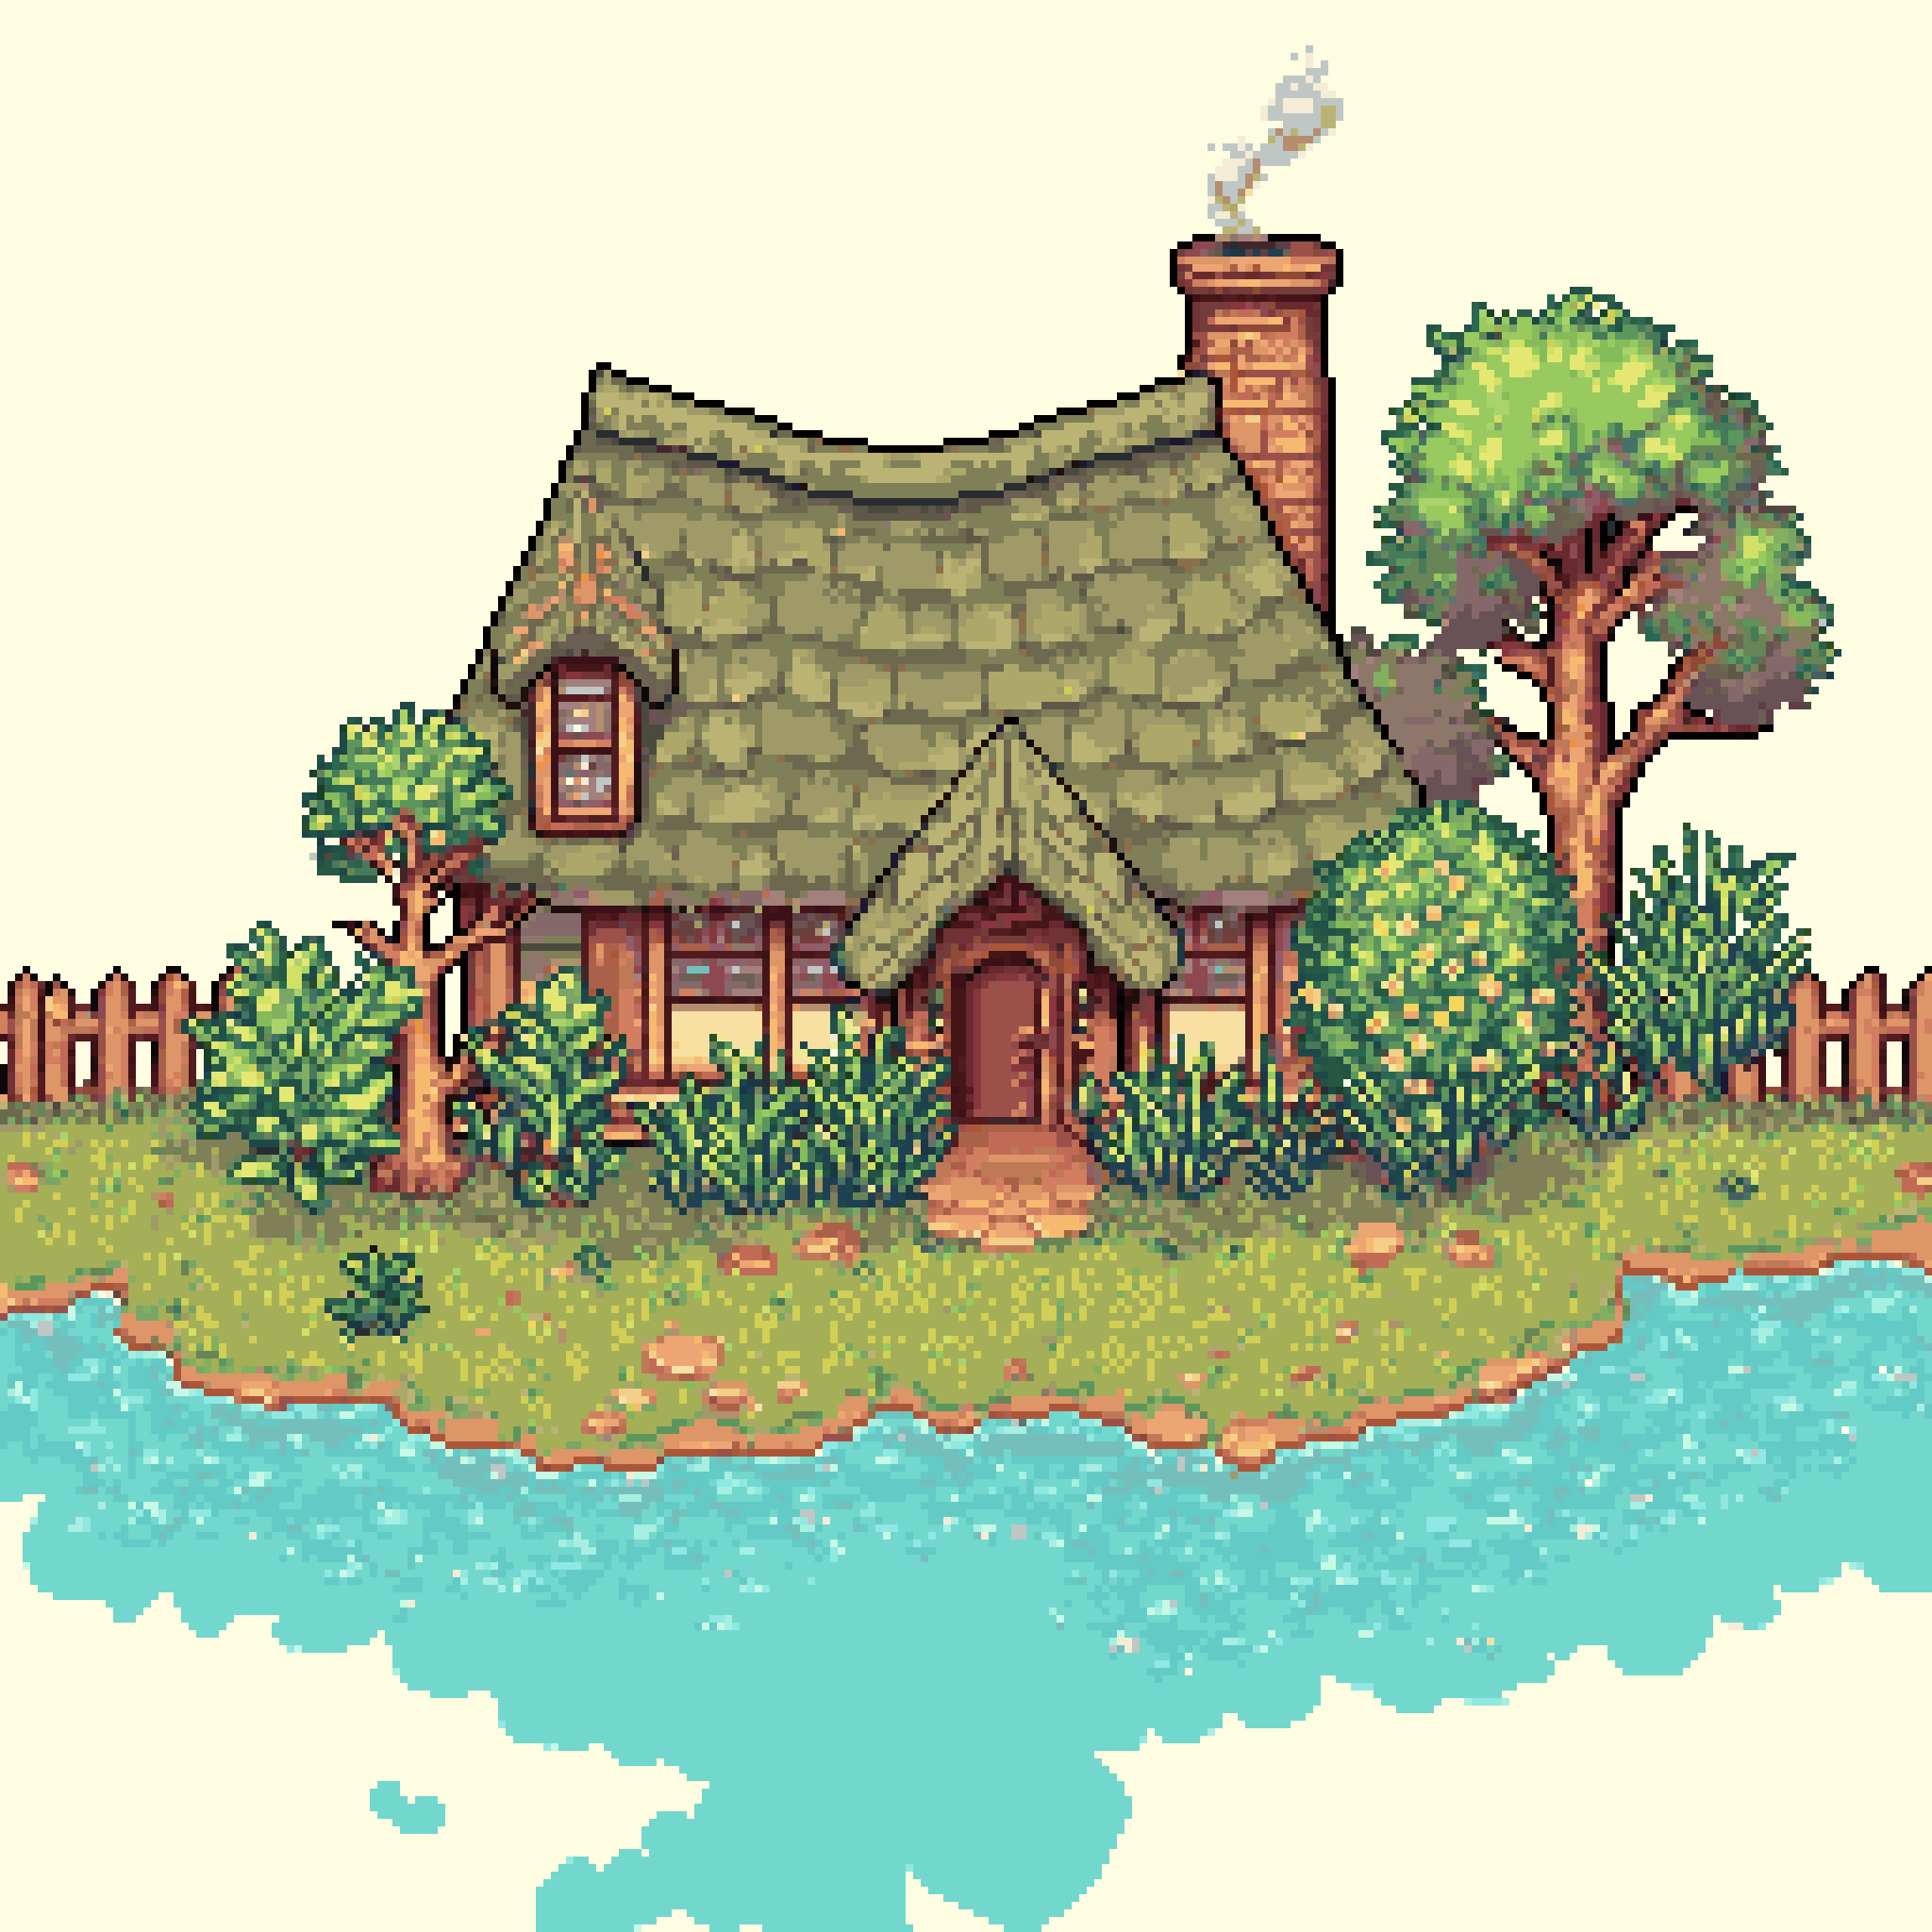
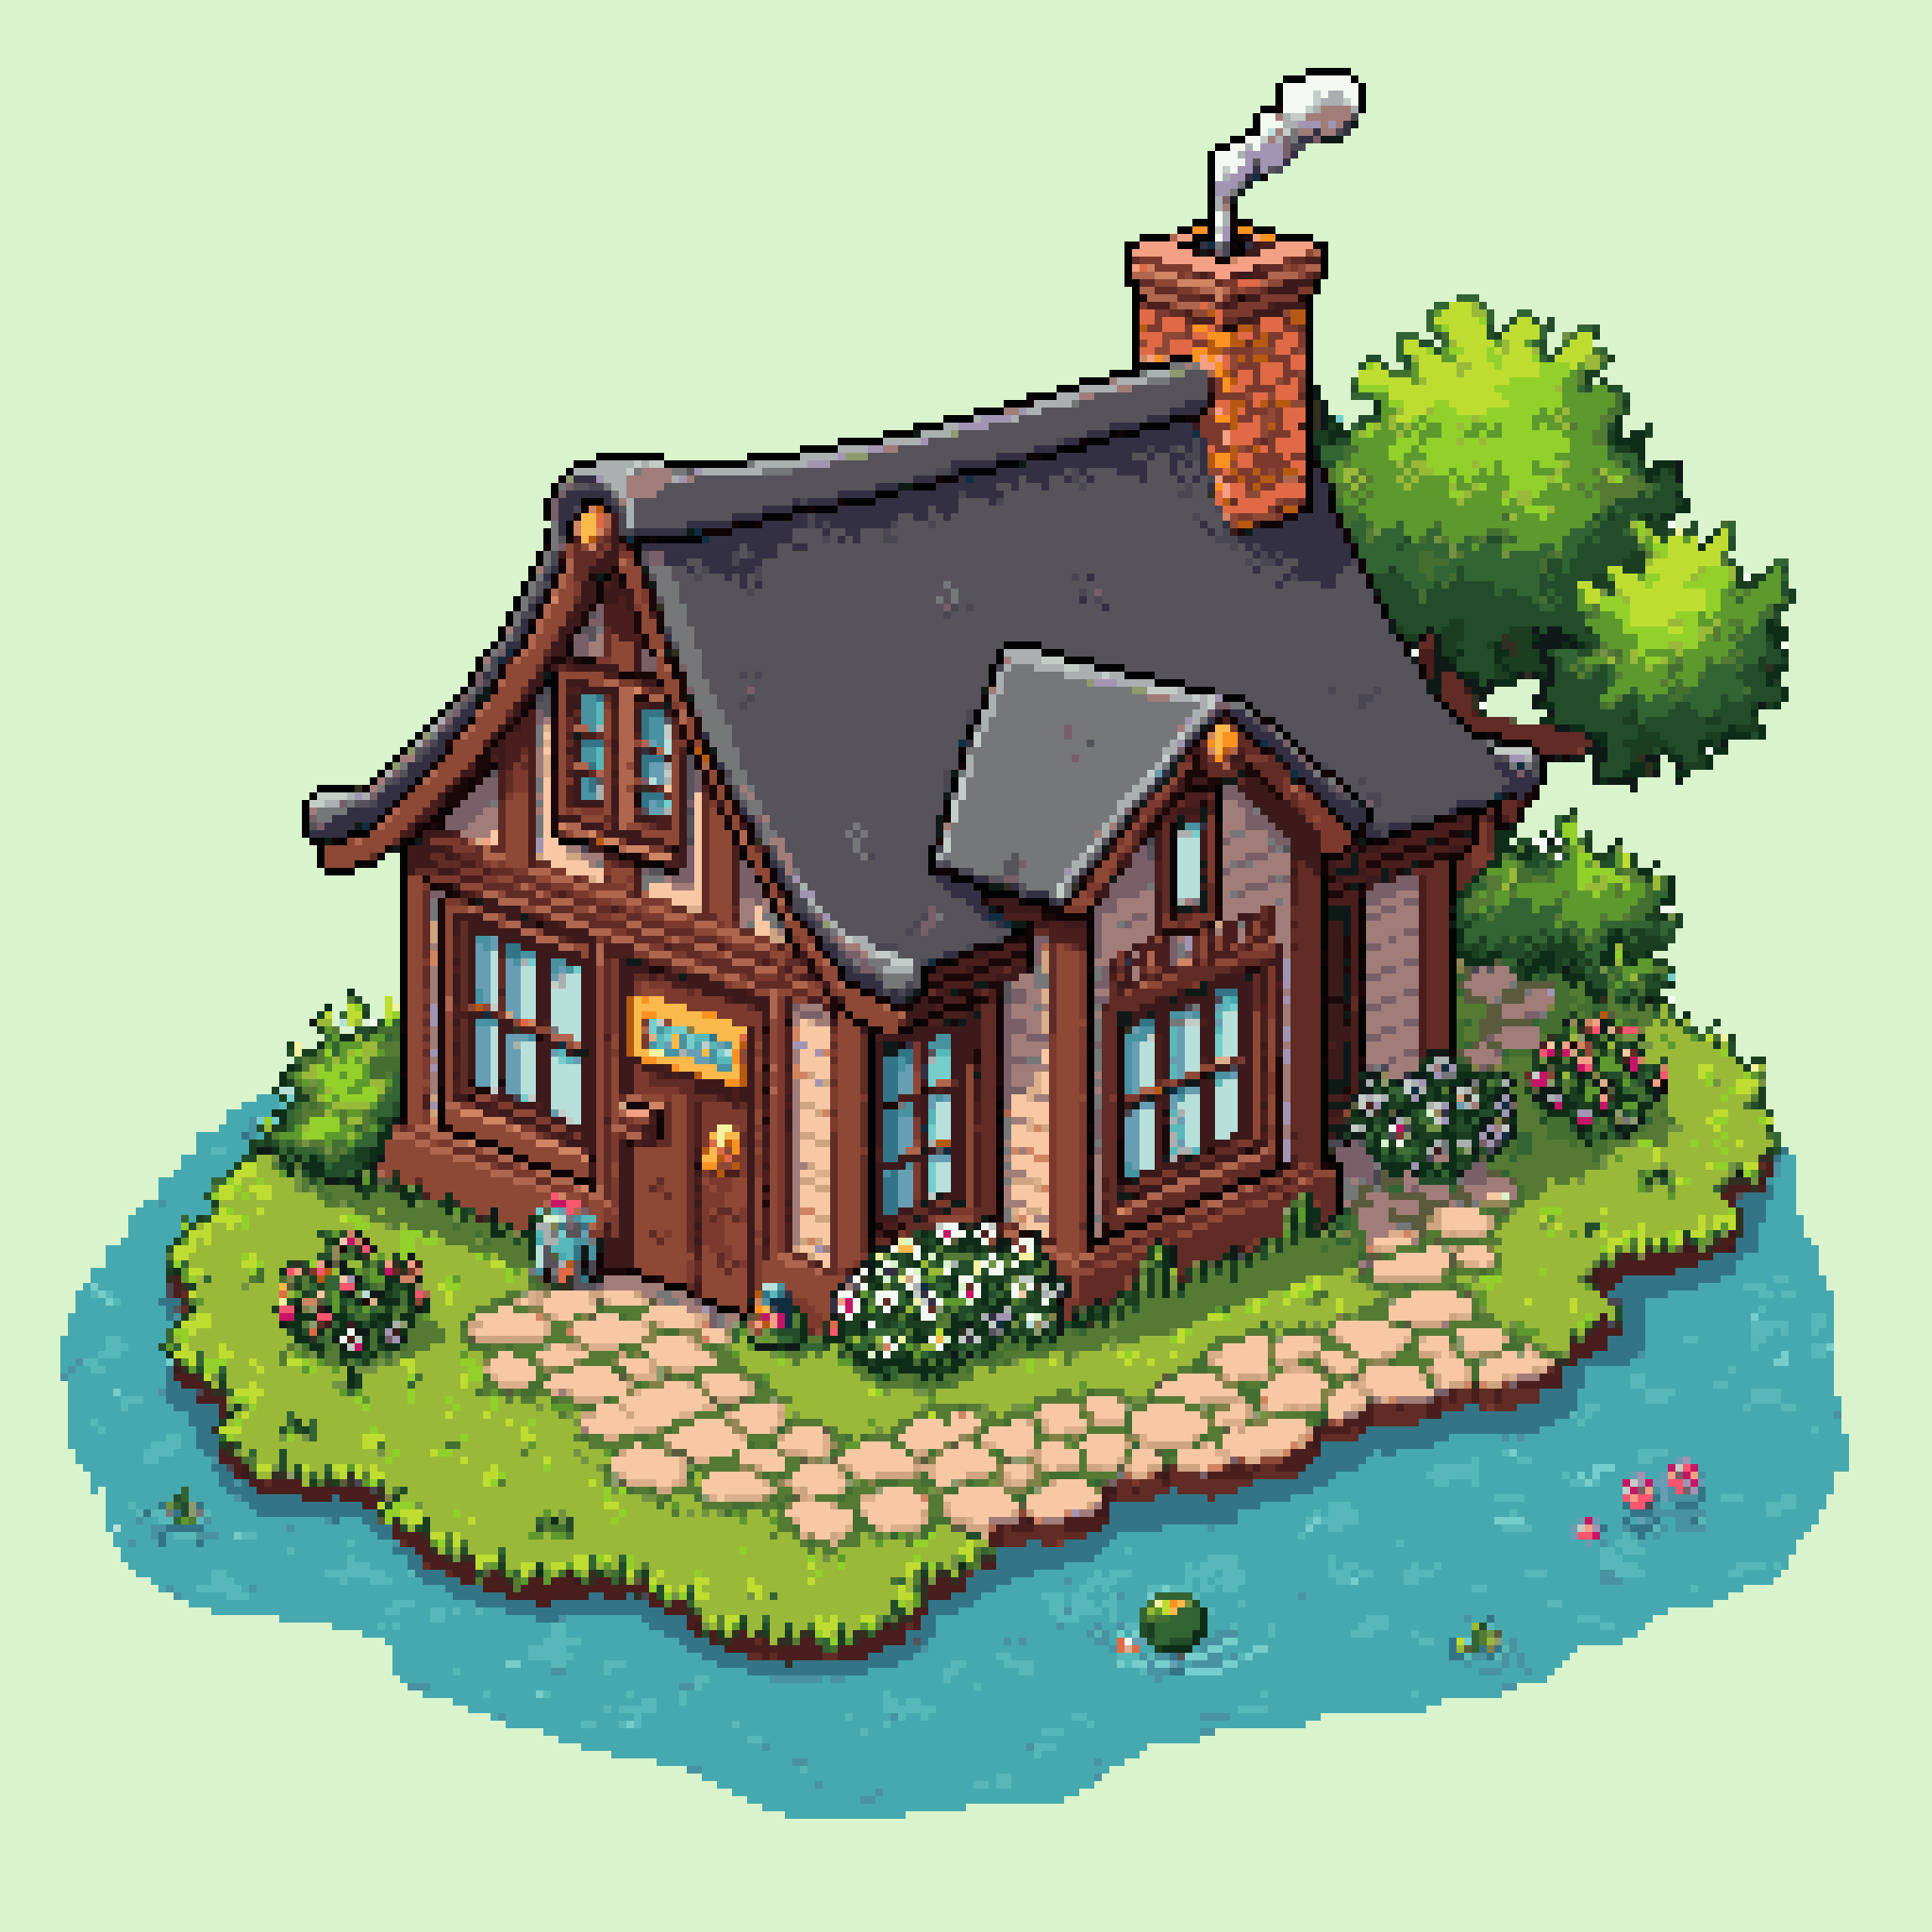
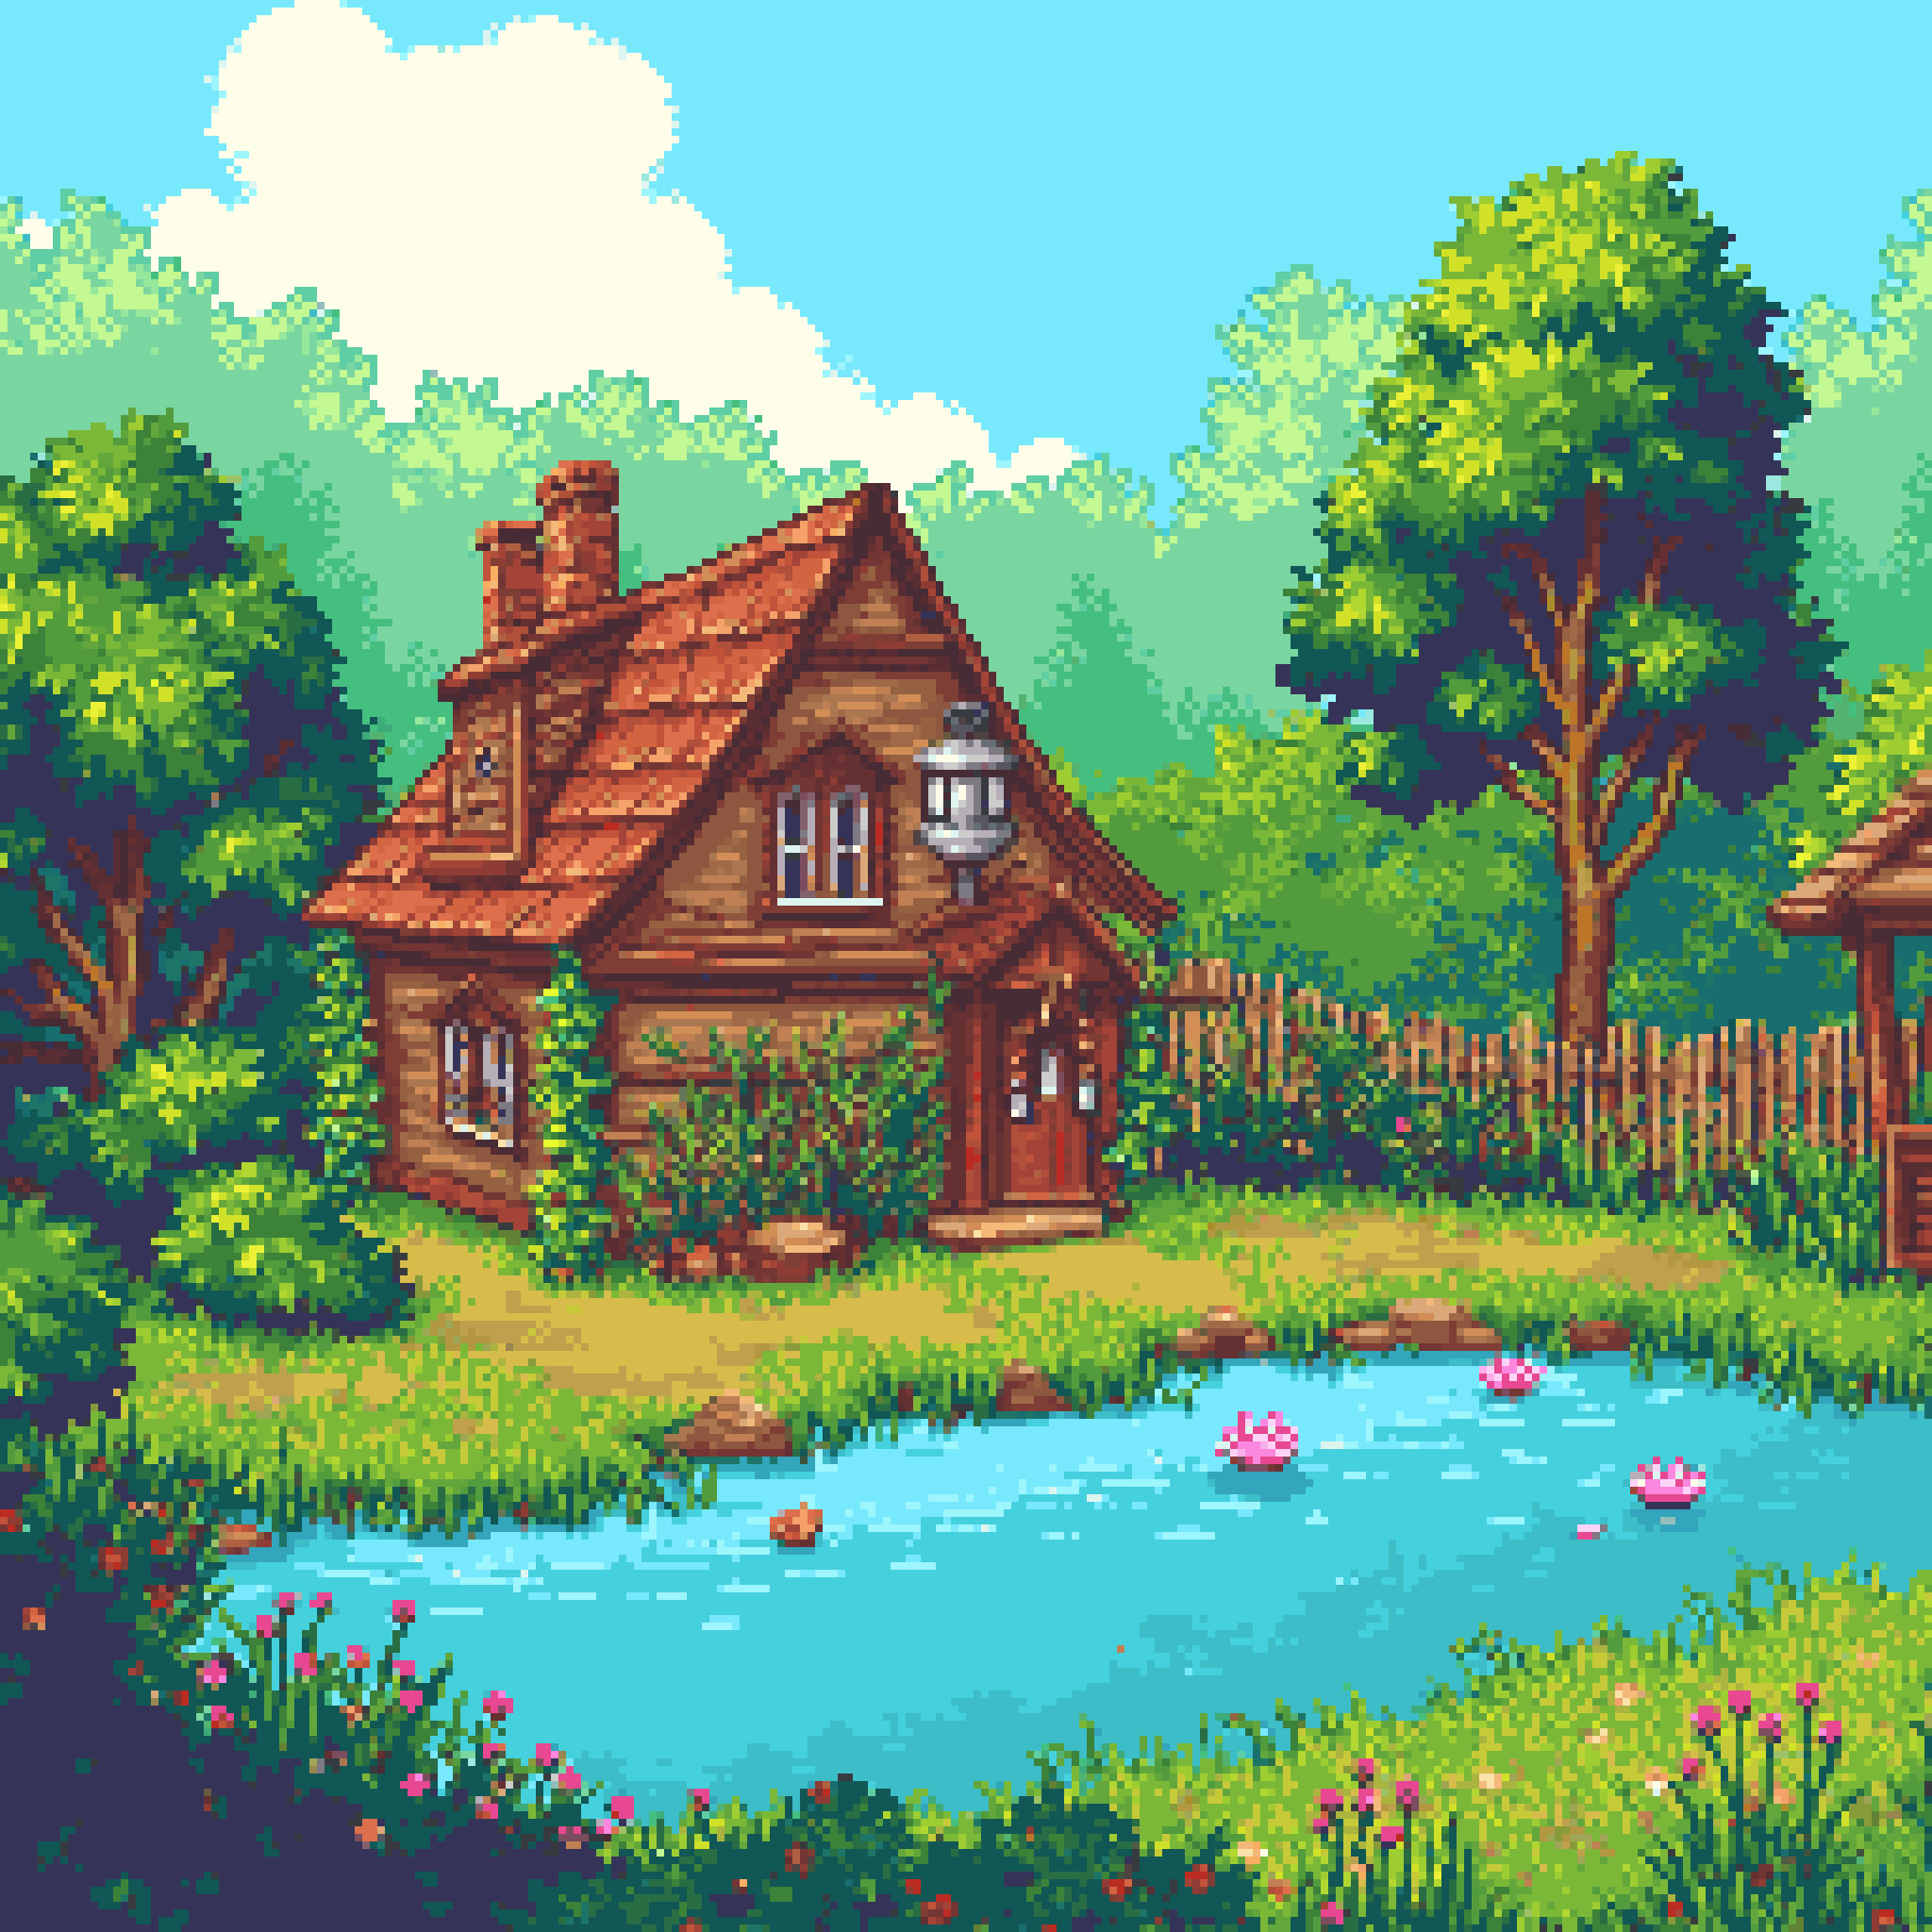
Style families you'll see across models
| Family | Examples | What they make |
|---|---|---|
| General looks | Default, Simple, Detailed, Retro, Painterly, Watercolor, Cartoon, 1-bit | Full images in a particular aesthetic — from minimalist shapes to heavy shading, classic arcade looks, or two-color black & white. |
| Perspectives | Isometric, Top Down, Platformer, Environments, Dungeon Map | Scenes and levels from a specific camera angle — 45° isometric, 3/4 top down, side-scroller, or connected dungeon rooms. |
| Game assets | Game Asset, Top Down Asset/Item, Isometric Asset, Skill Icon, UI Element, UI Panel, Inventory Items | Single objects on plain backgrounds, ready to cut out — items, icons, buttons, and props. Pair with the Remove Background setting. |
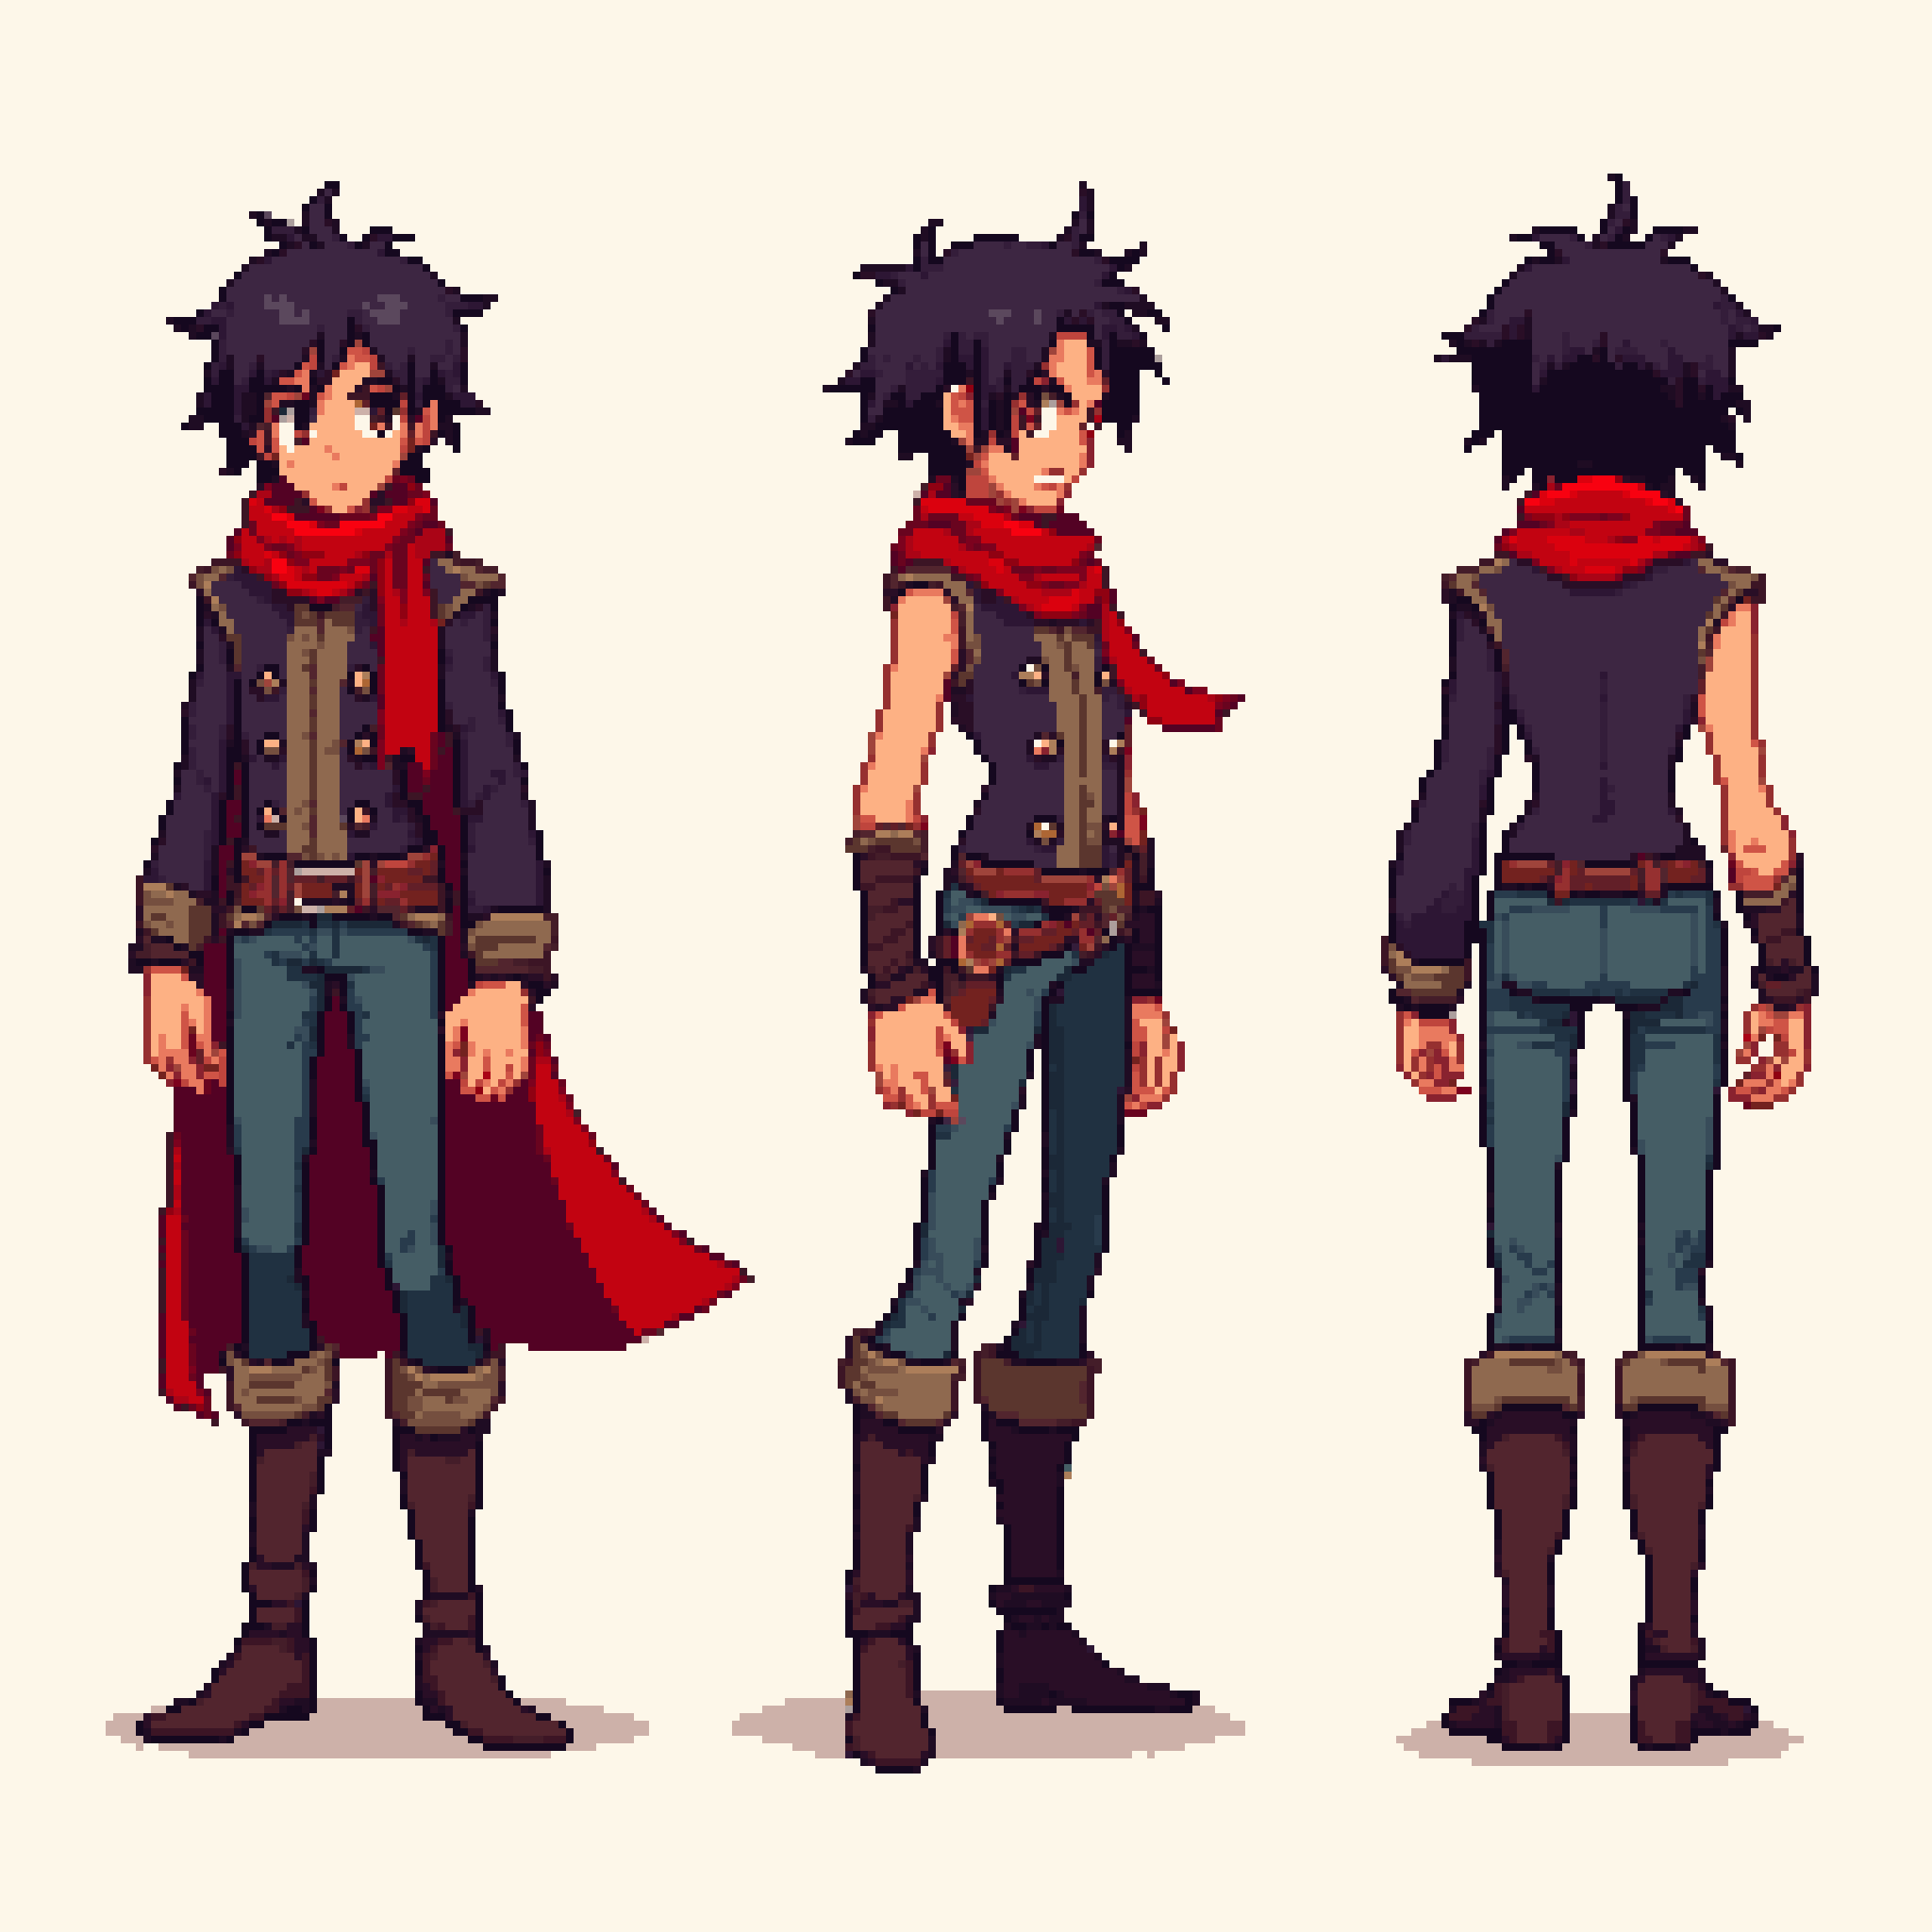
| Sheets & sets | Item Sheet, Spritesheet, Character Turnaround | Multiple related assets in one image — item collections in a grid, or a character seen from front, side, and back. |
| Textures | Texture, MC Texture, MC Item, Low Resolution | Flat material textures and Minecraft-style blocks and items, at small sizes (16–128 px). |
| Image transforms | Edit, Pixelate (RD Pro) | Start from an uploaded image: Pixelate converts any image into pixel art; Edit changes an existing image based on your description, with up to 9 references. |
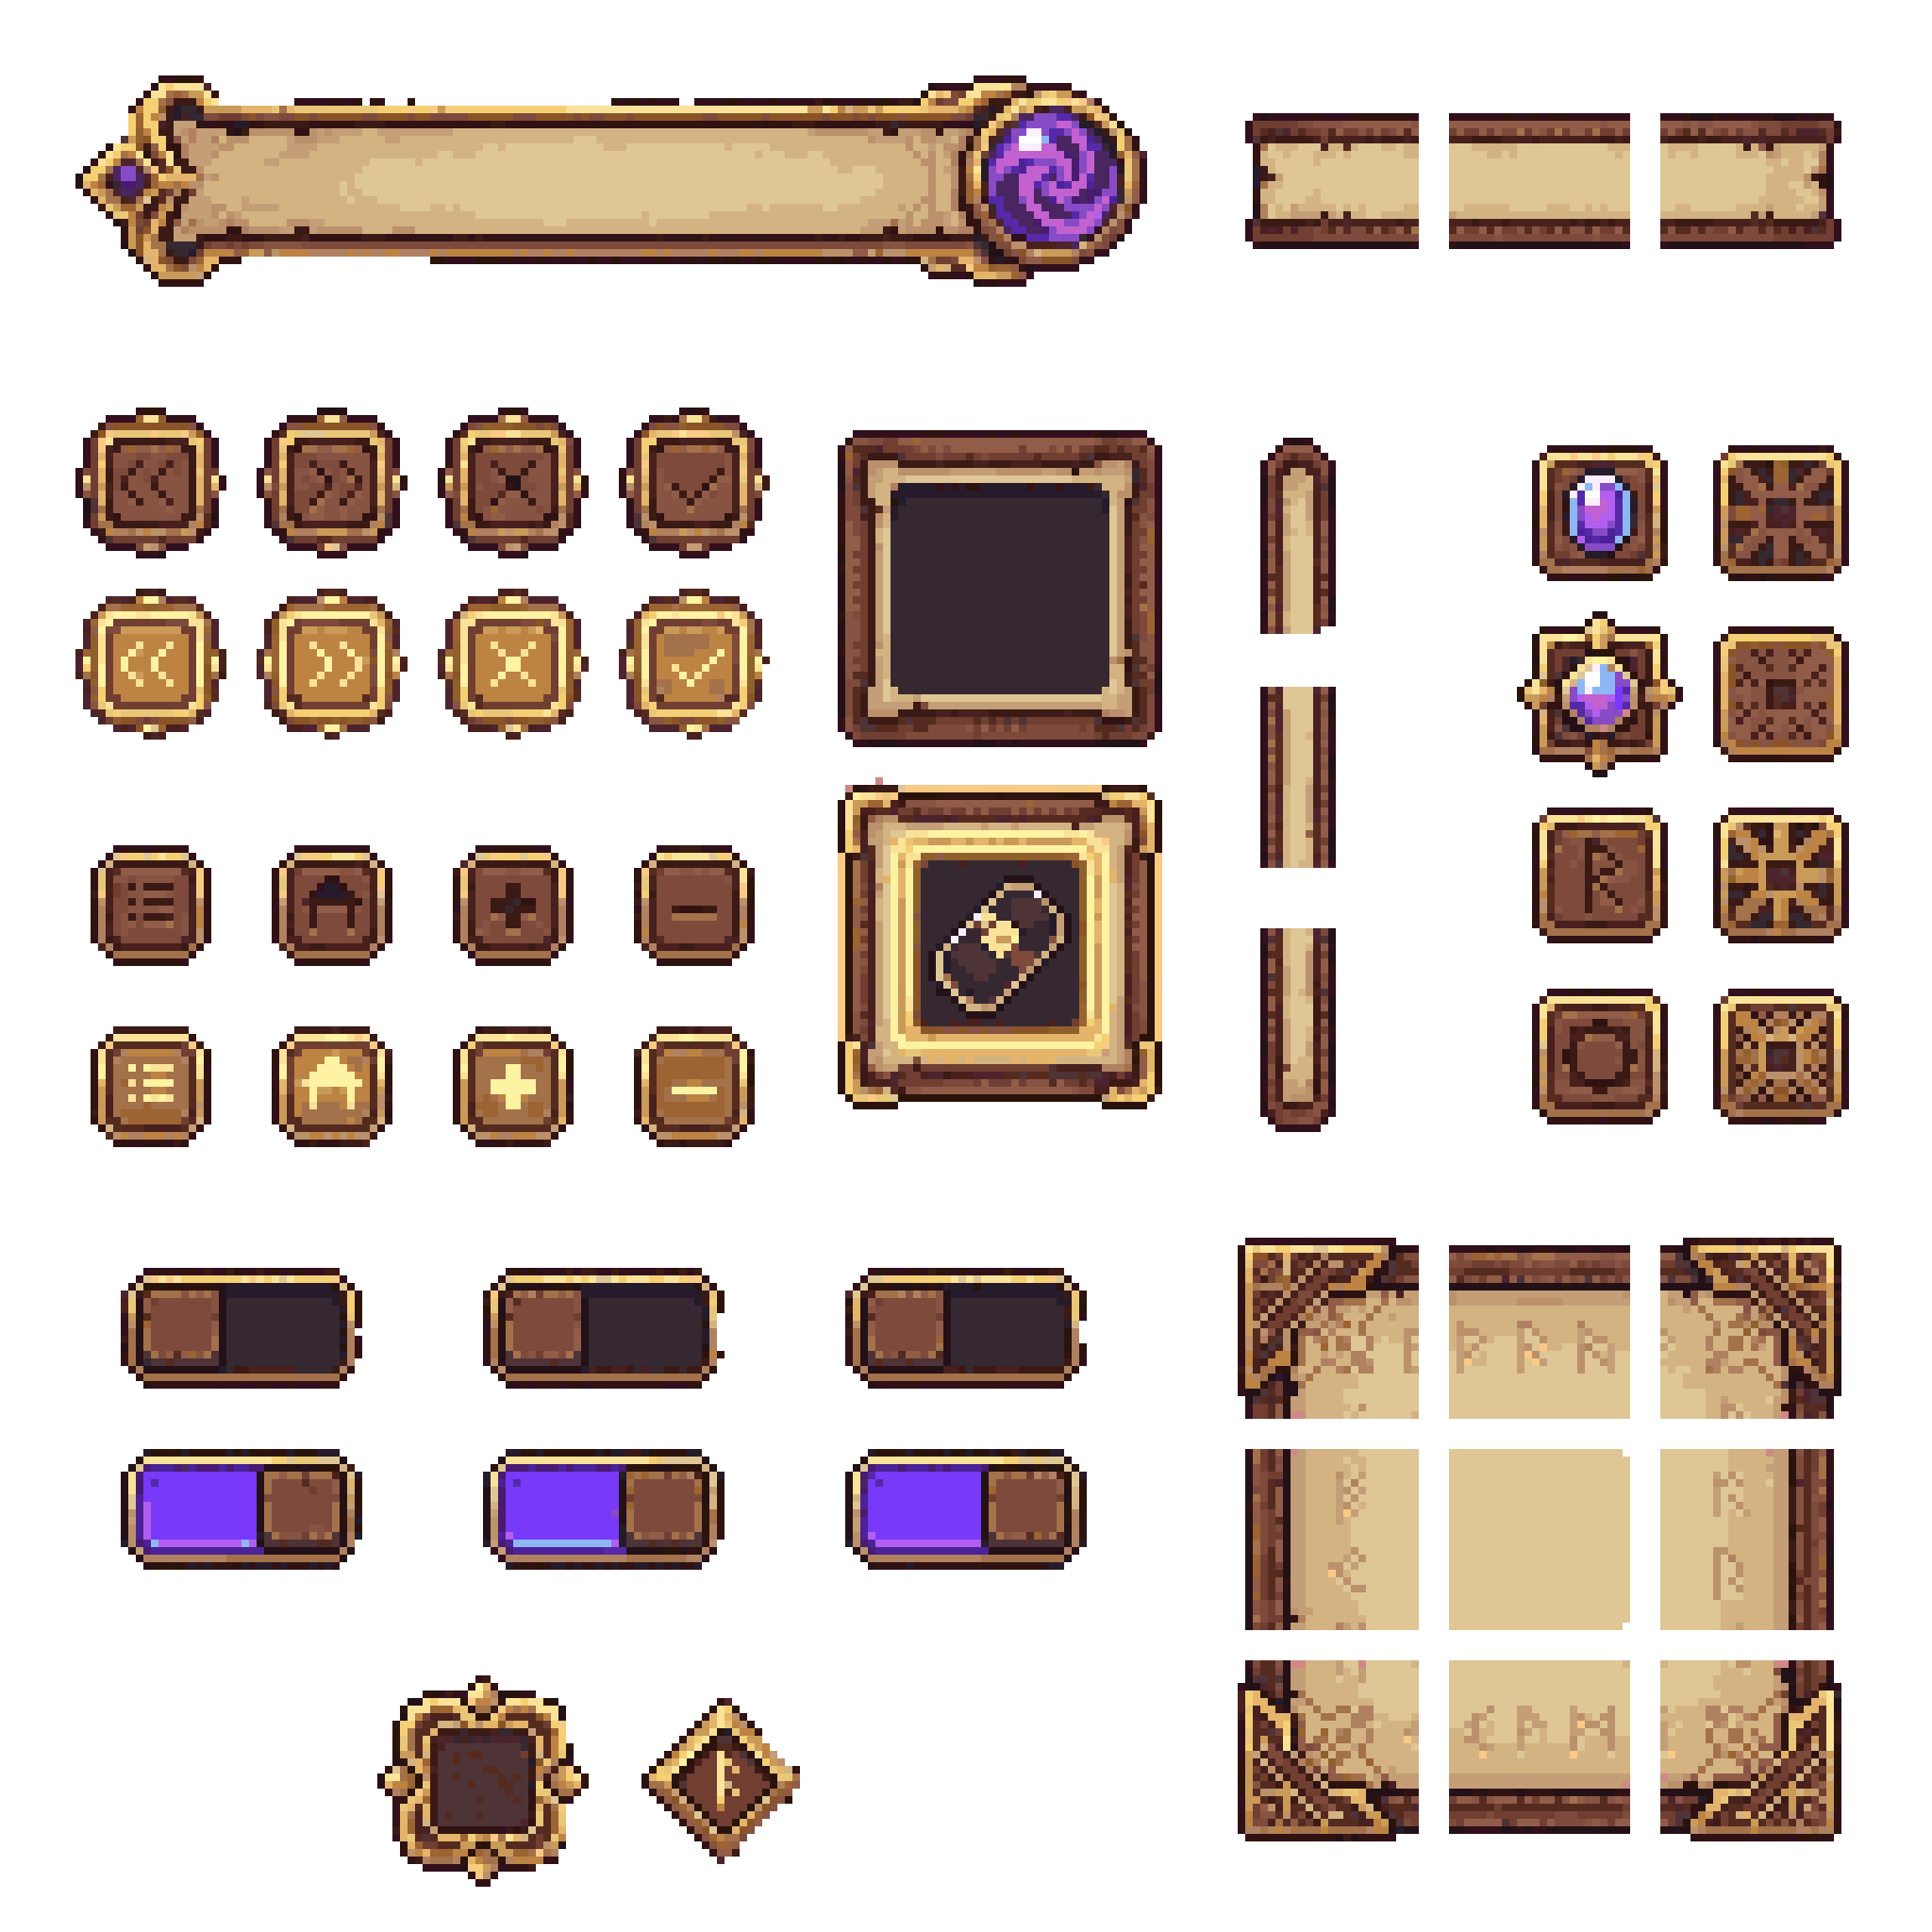
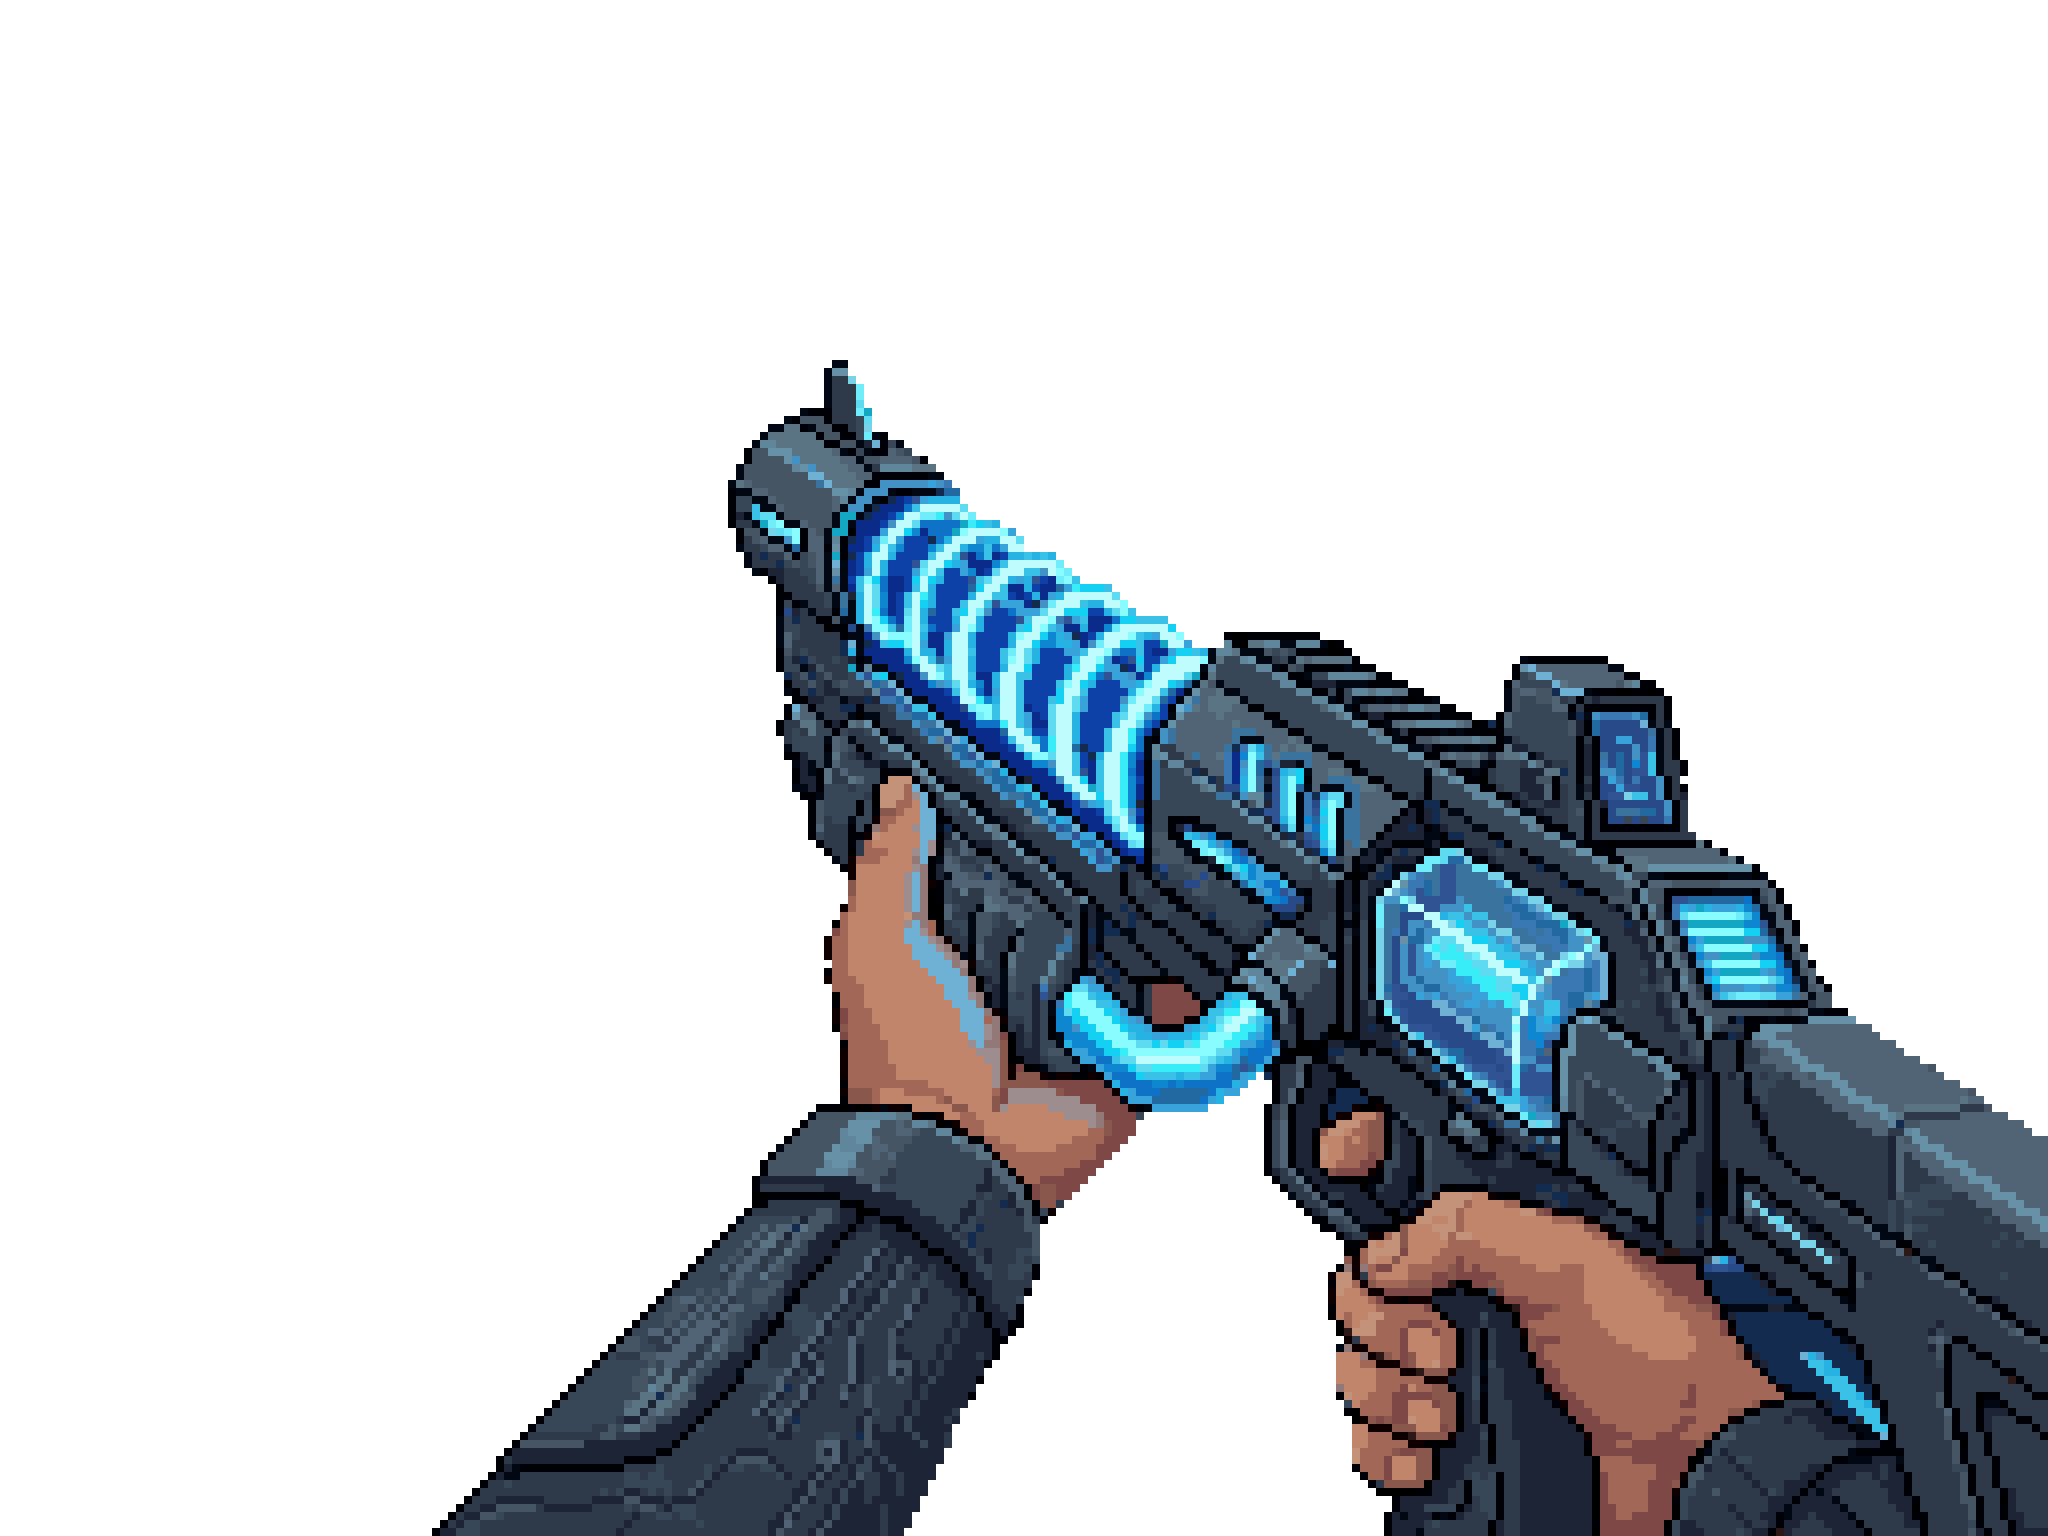
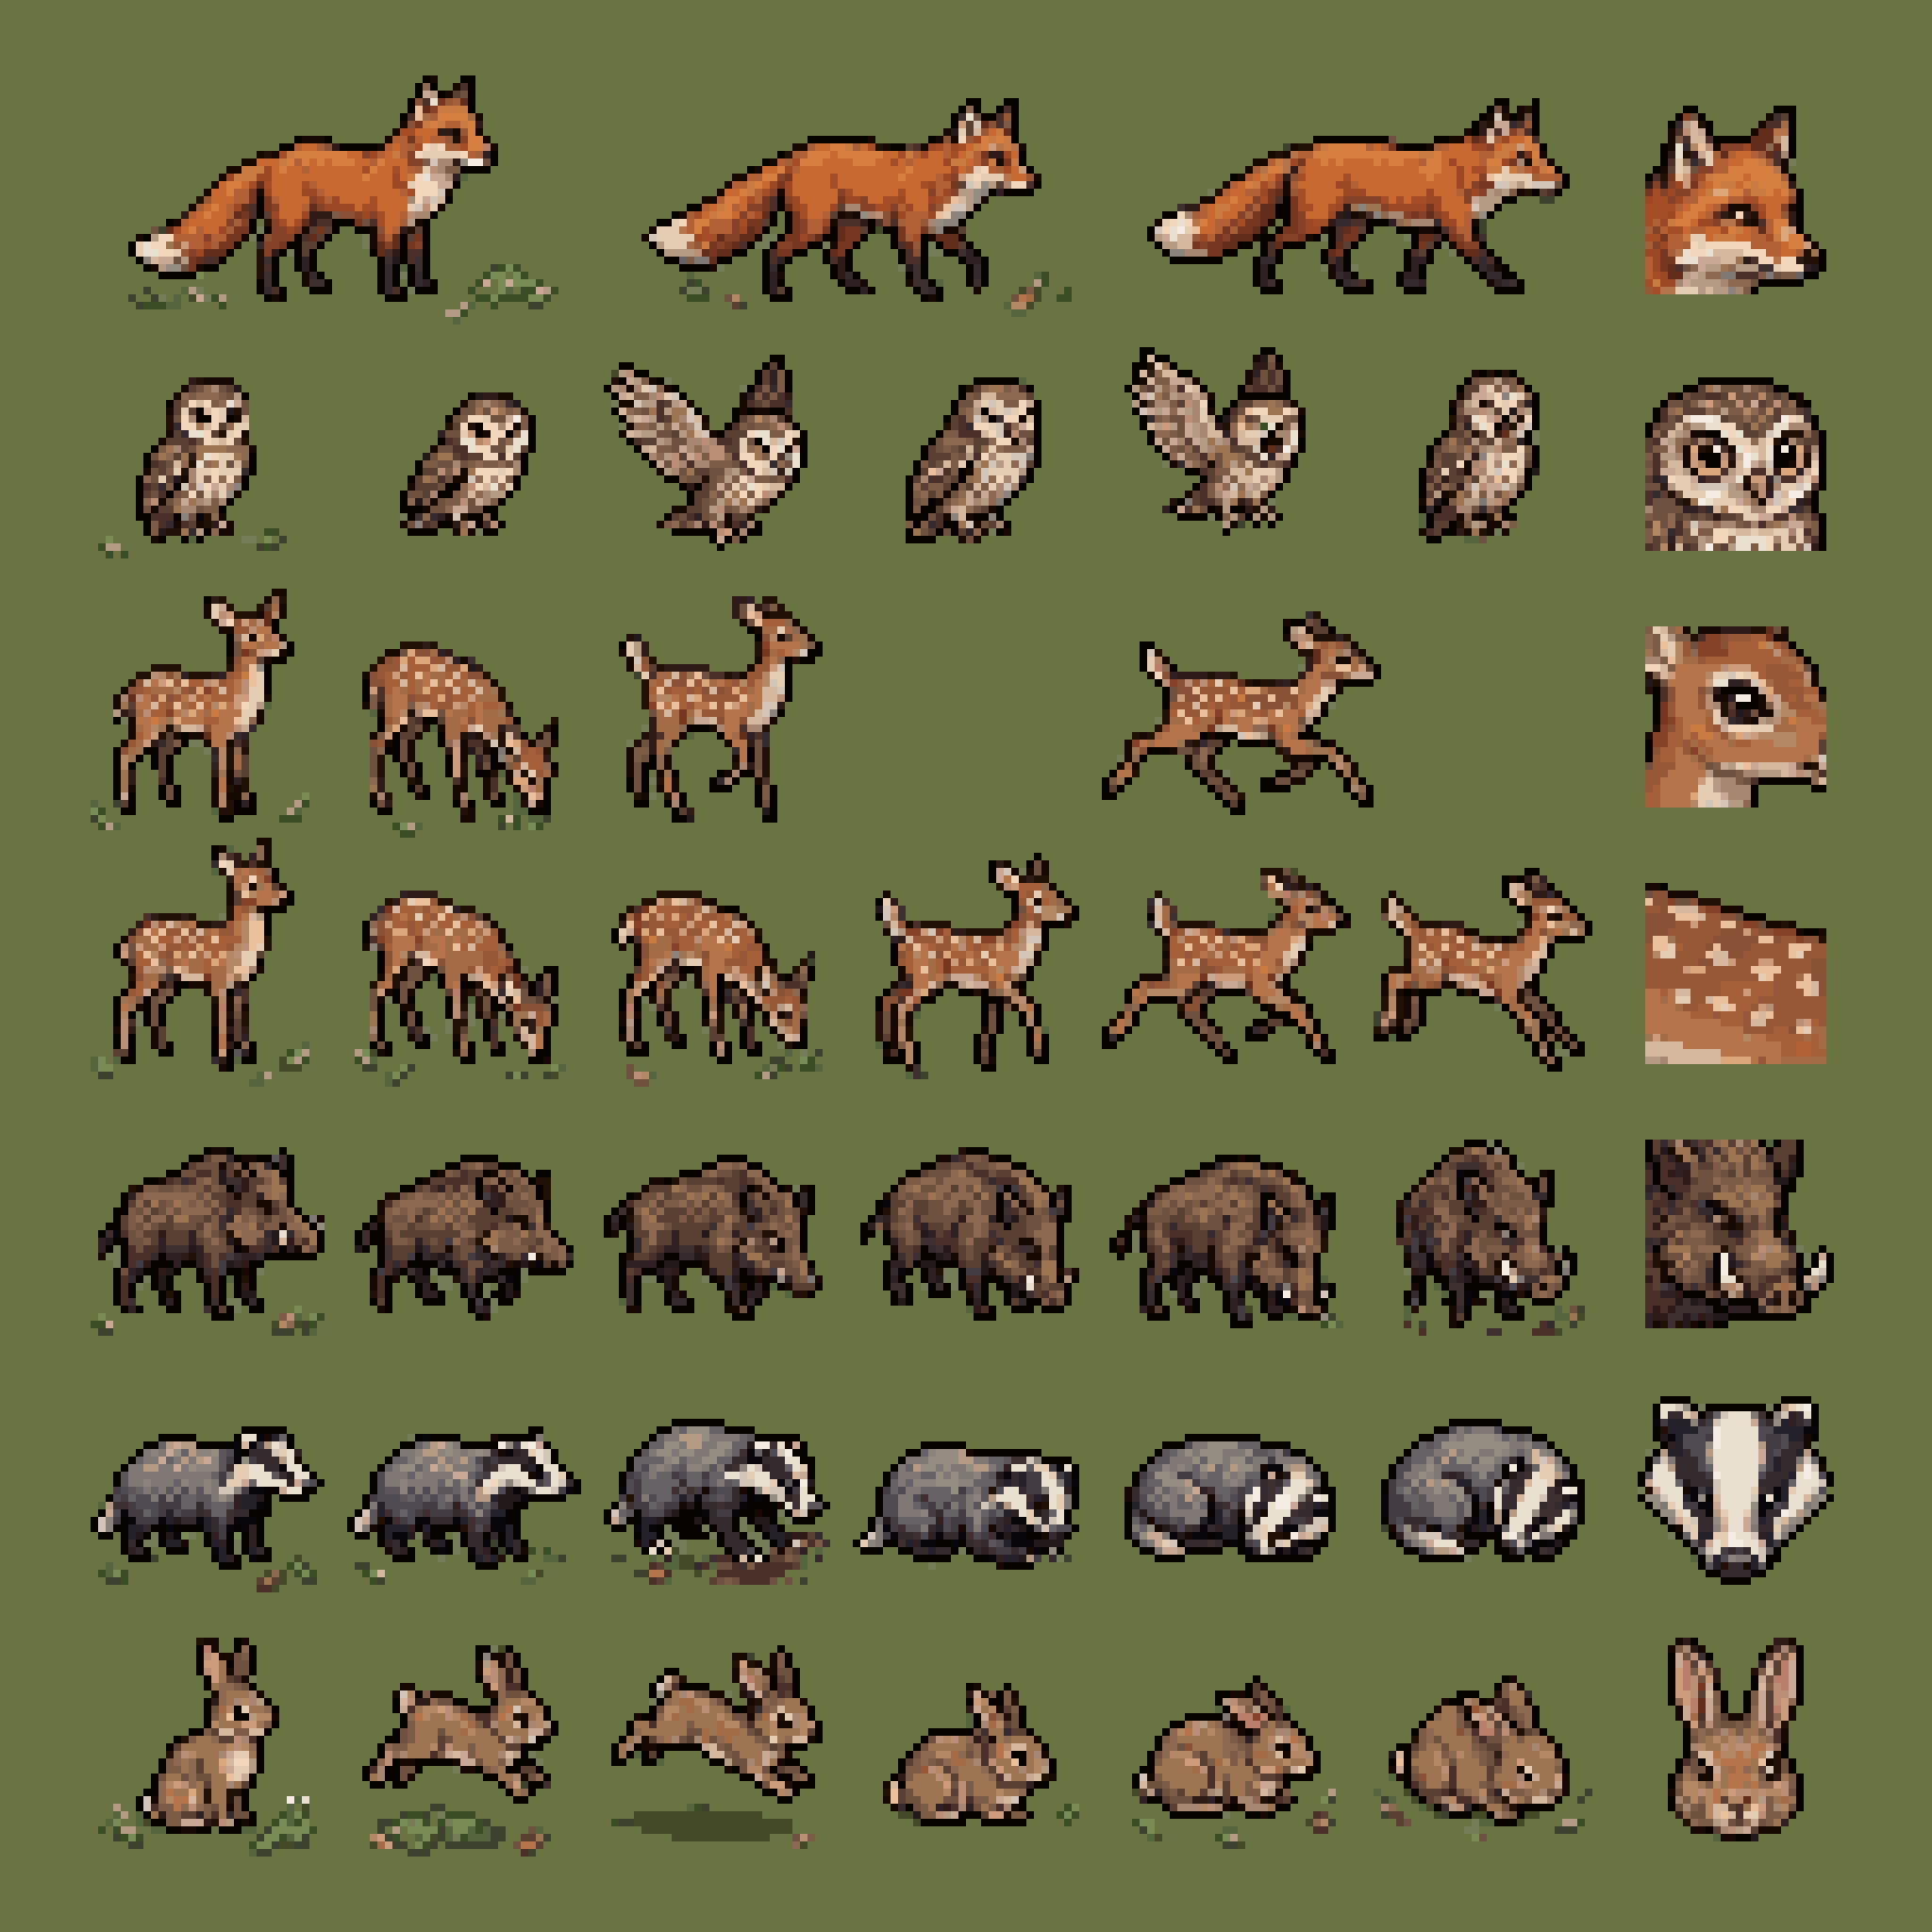
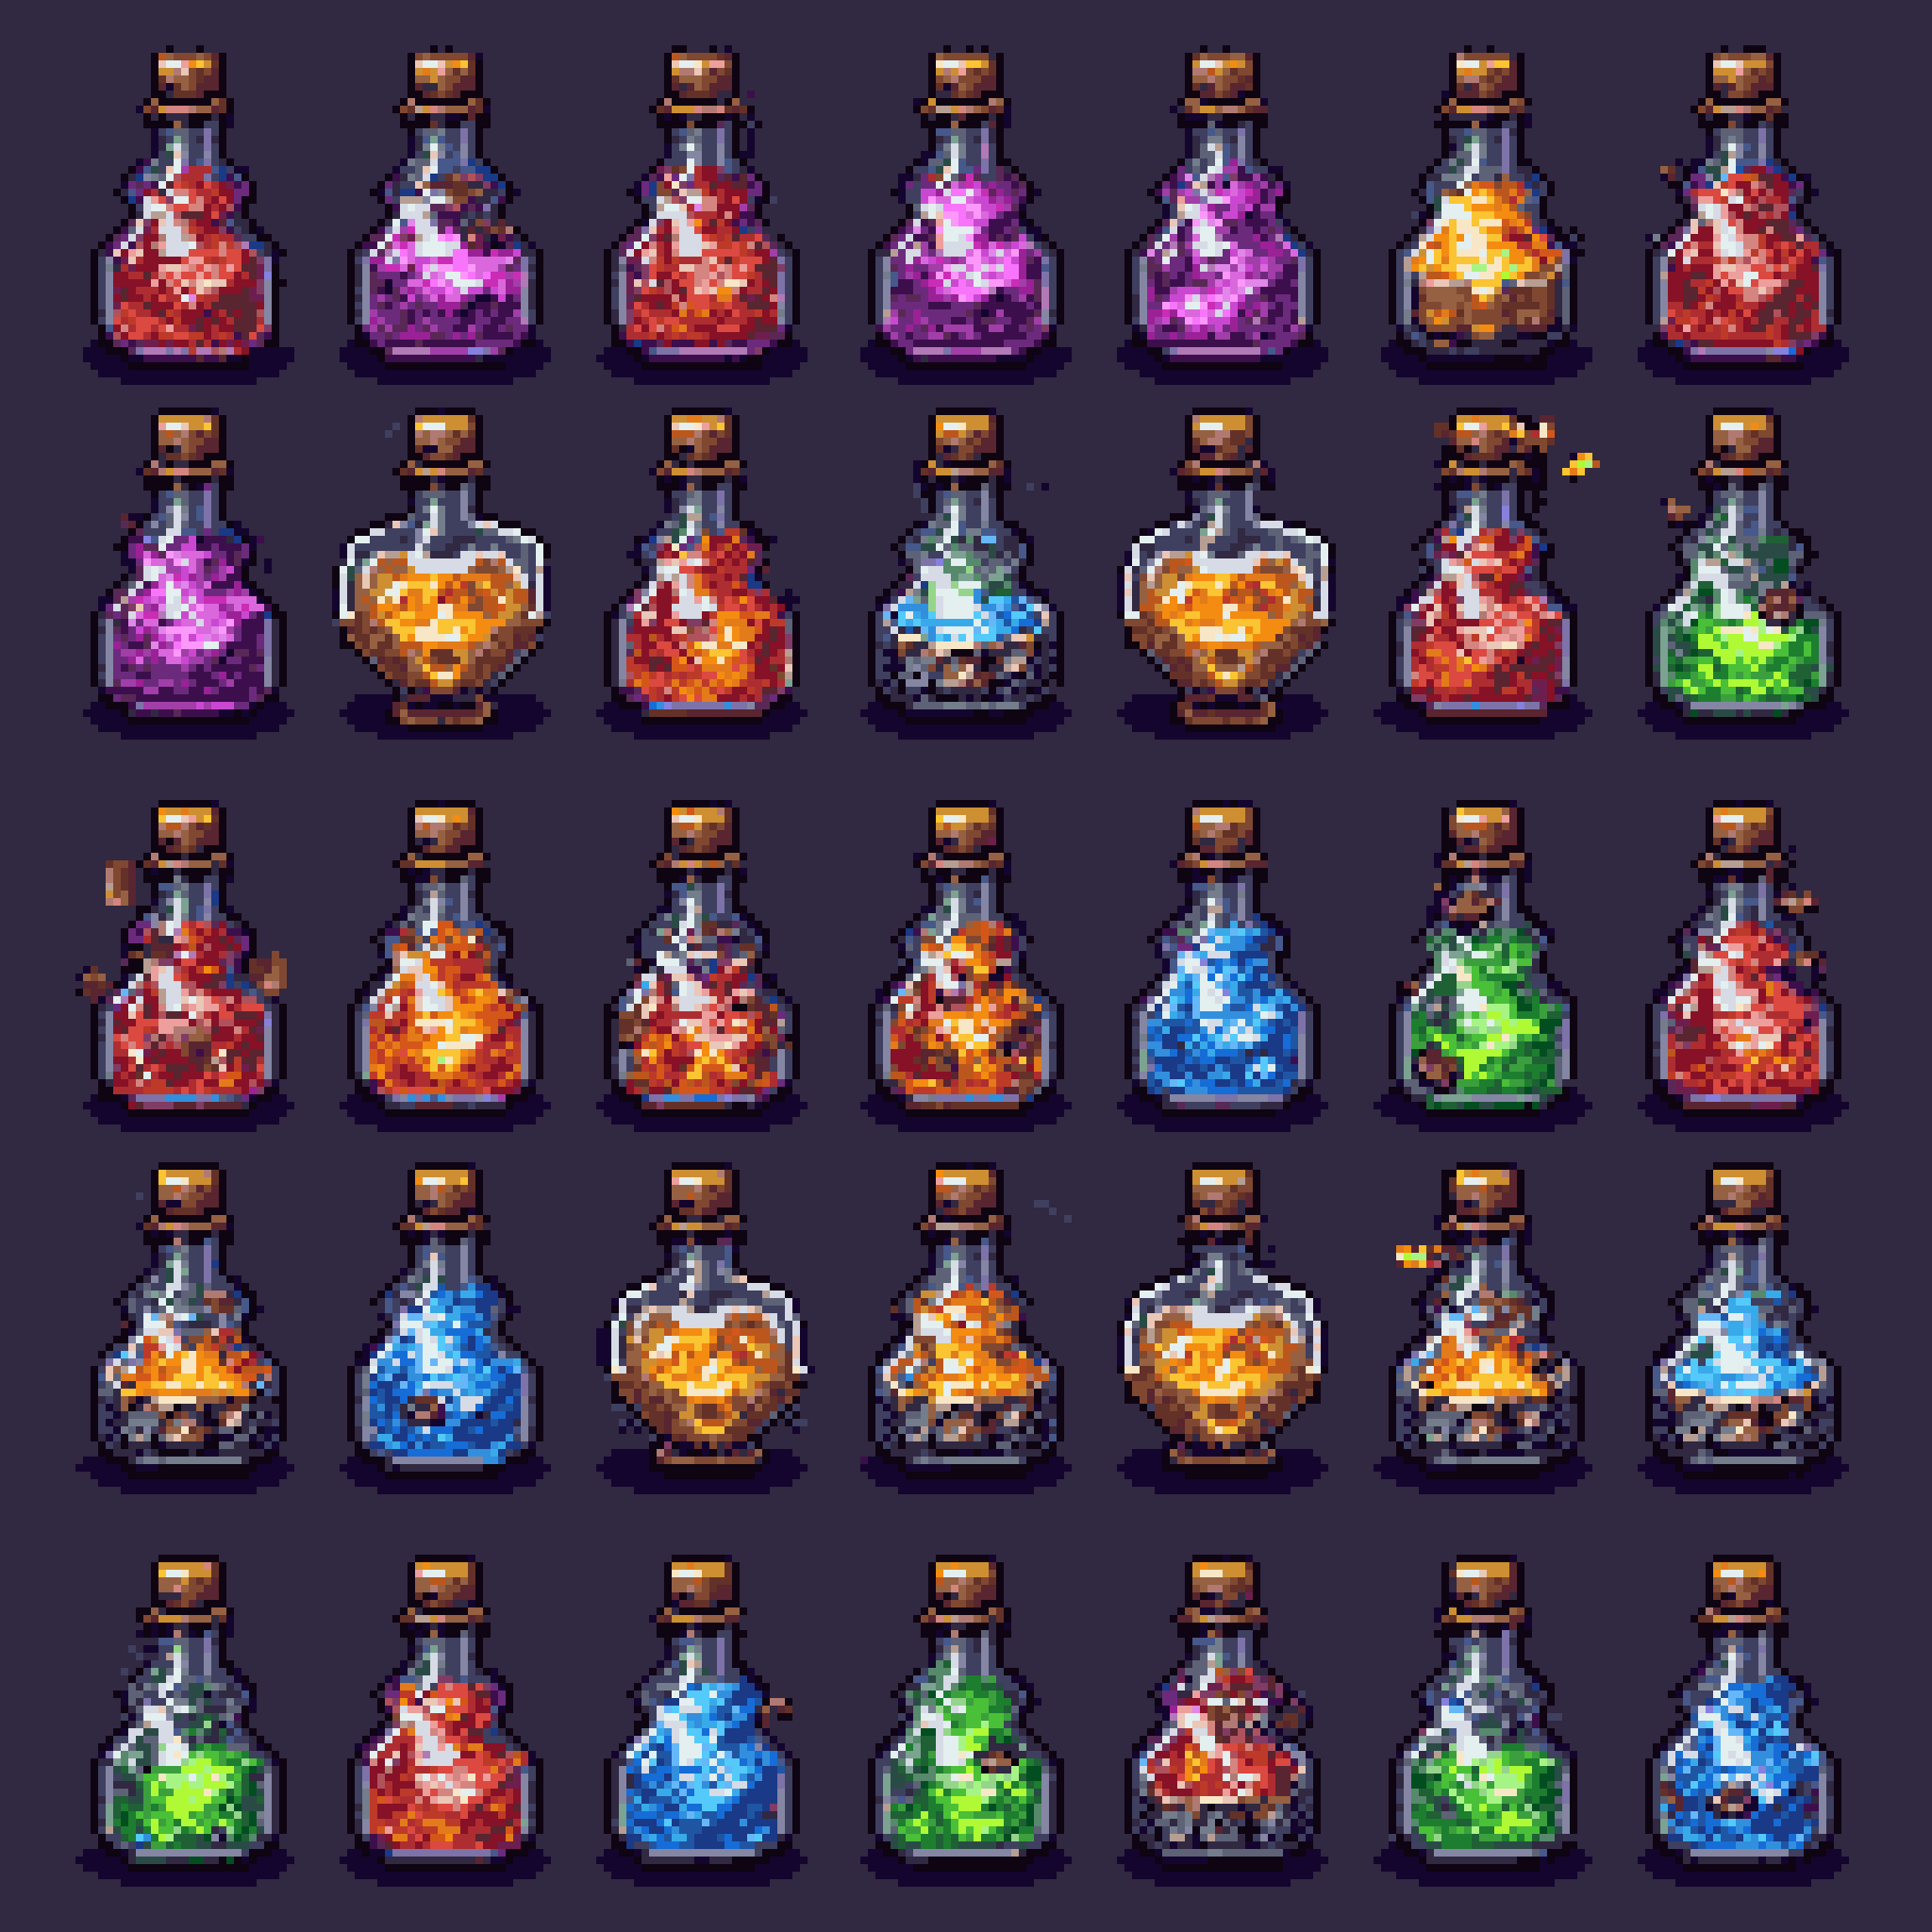
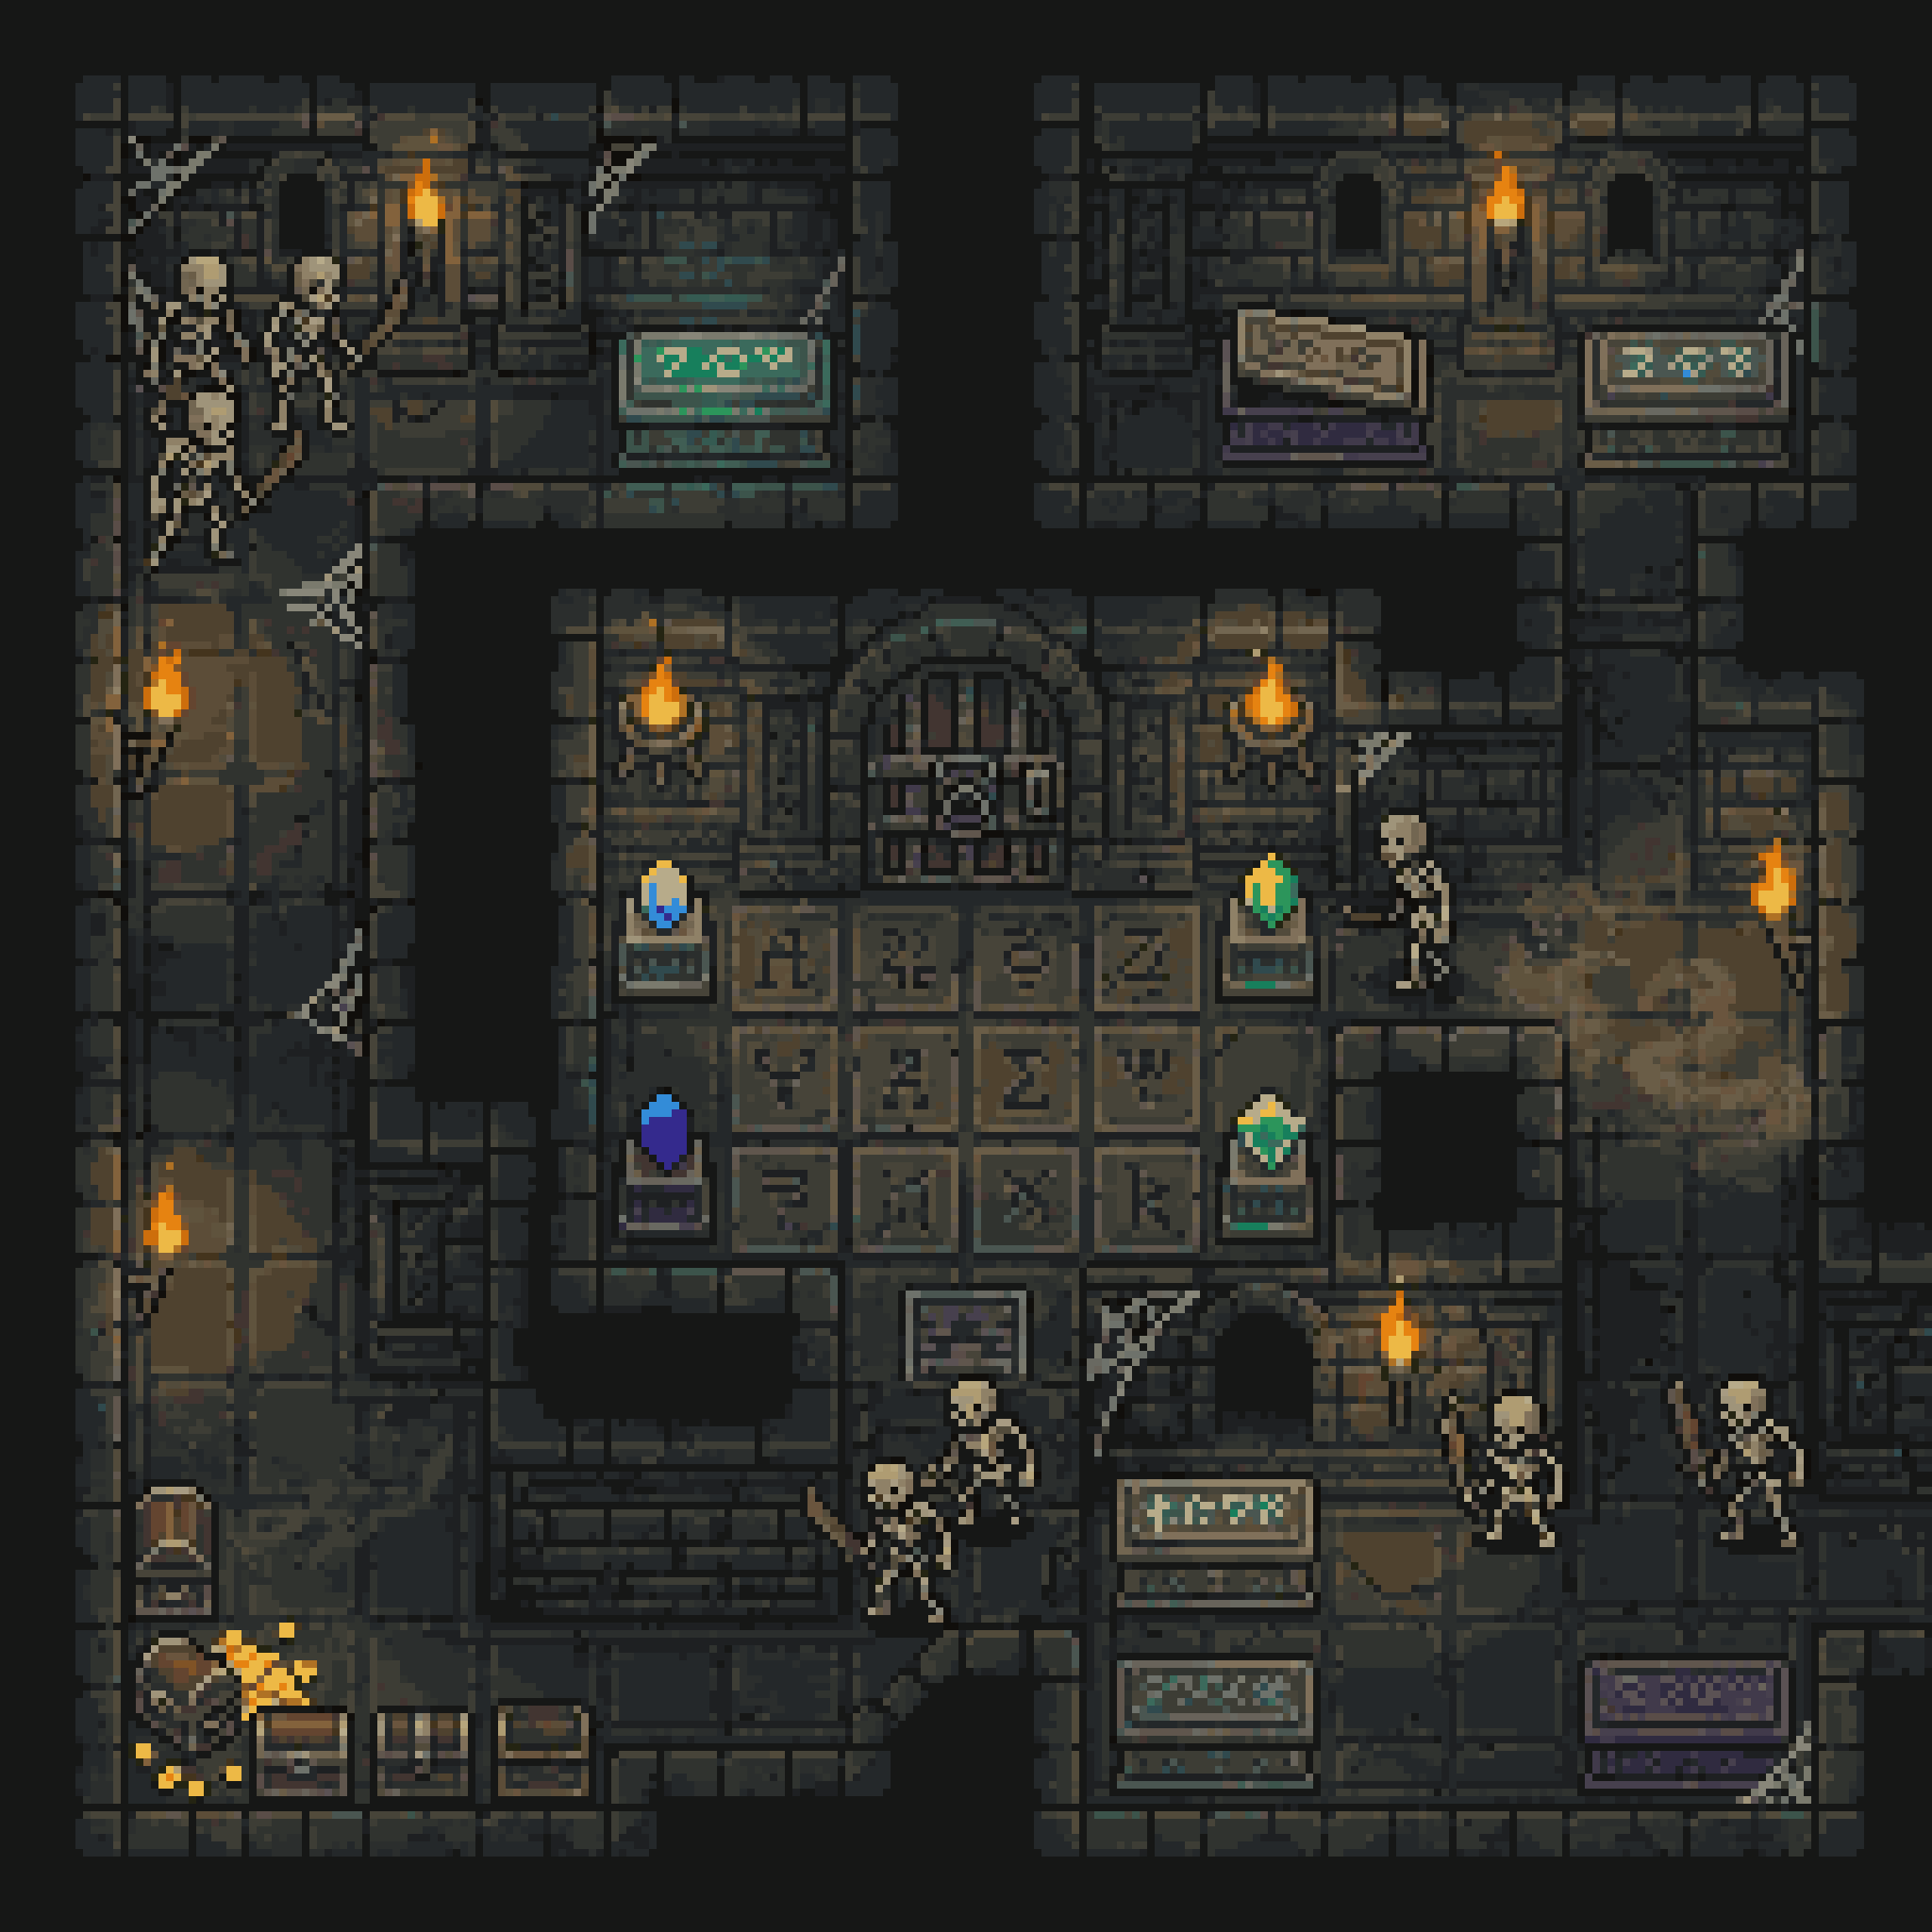
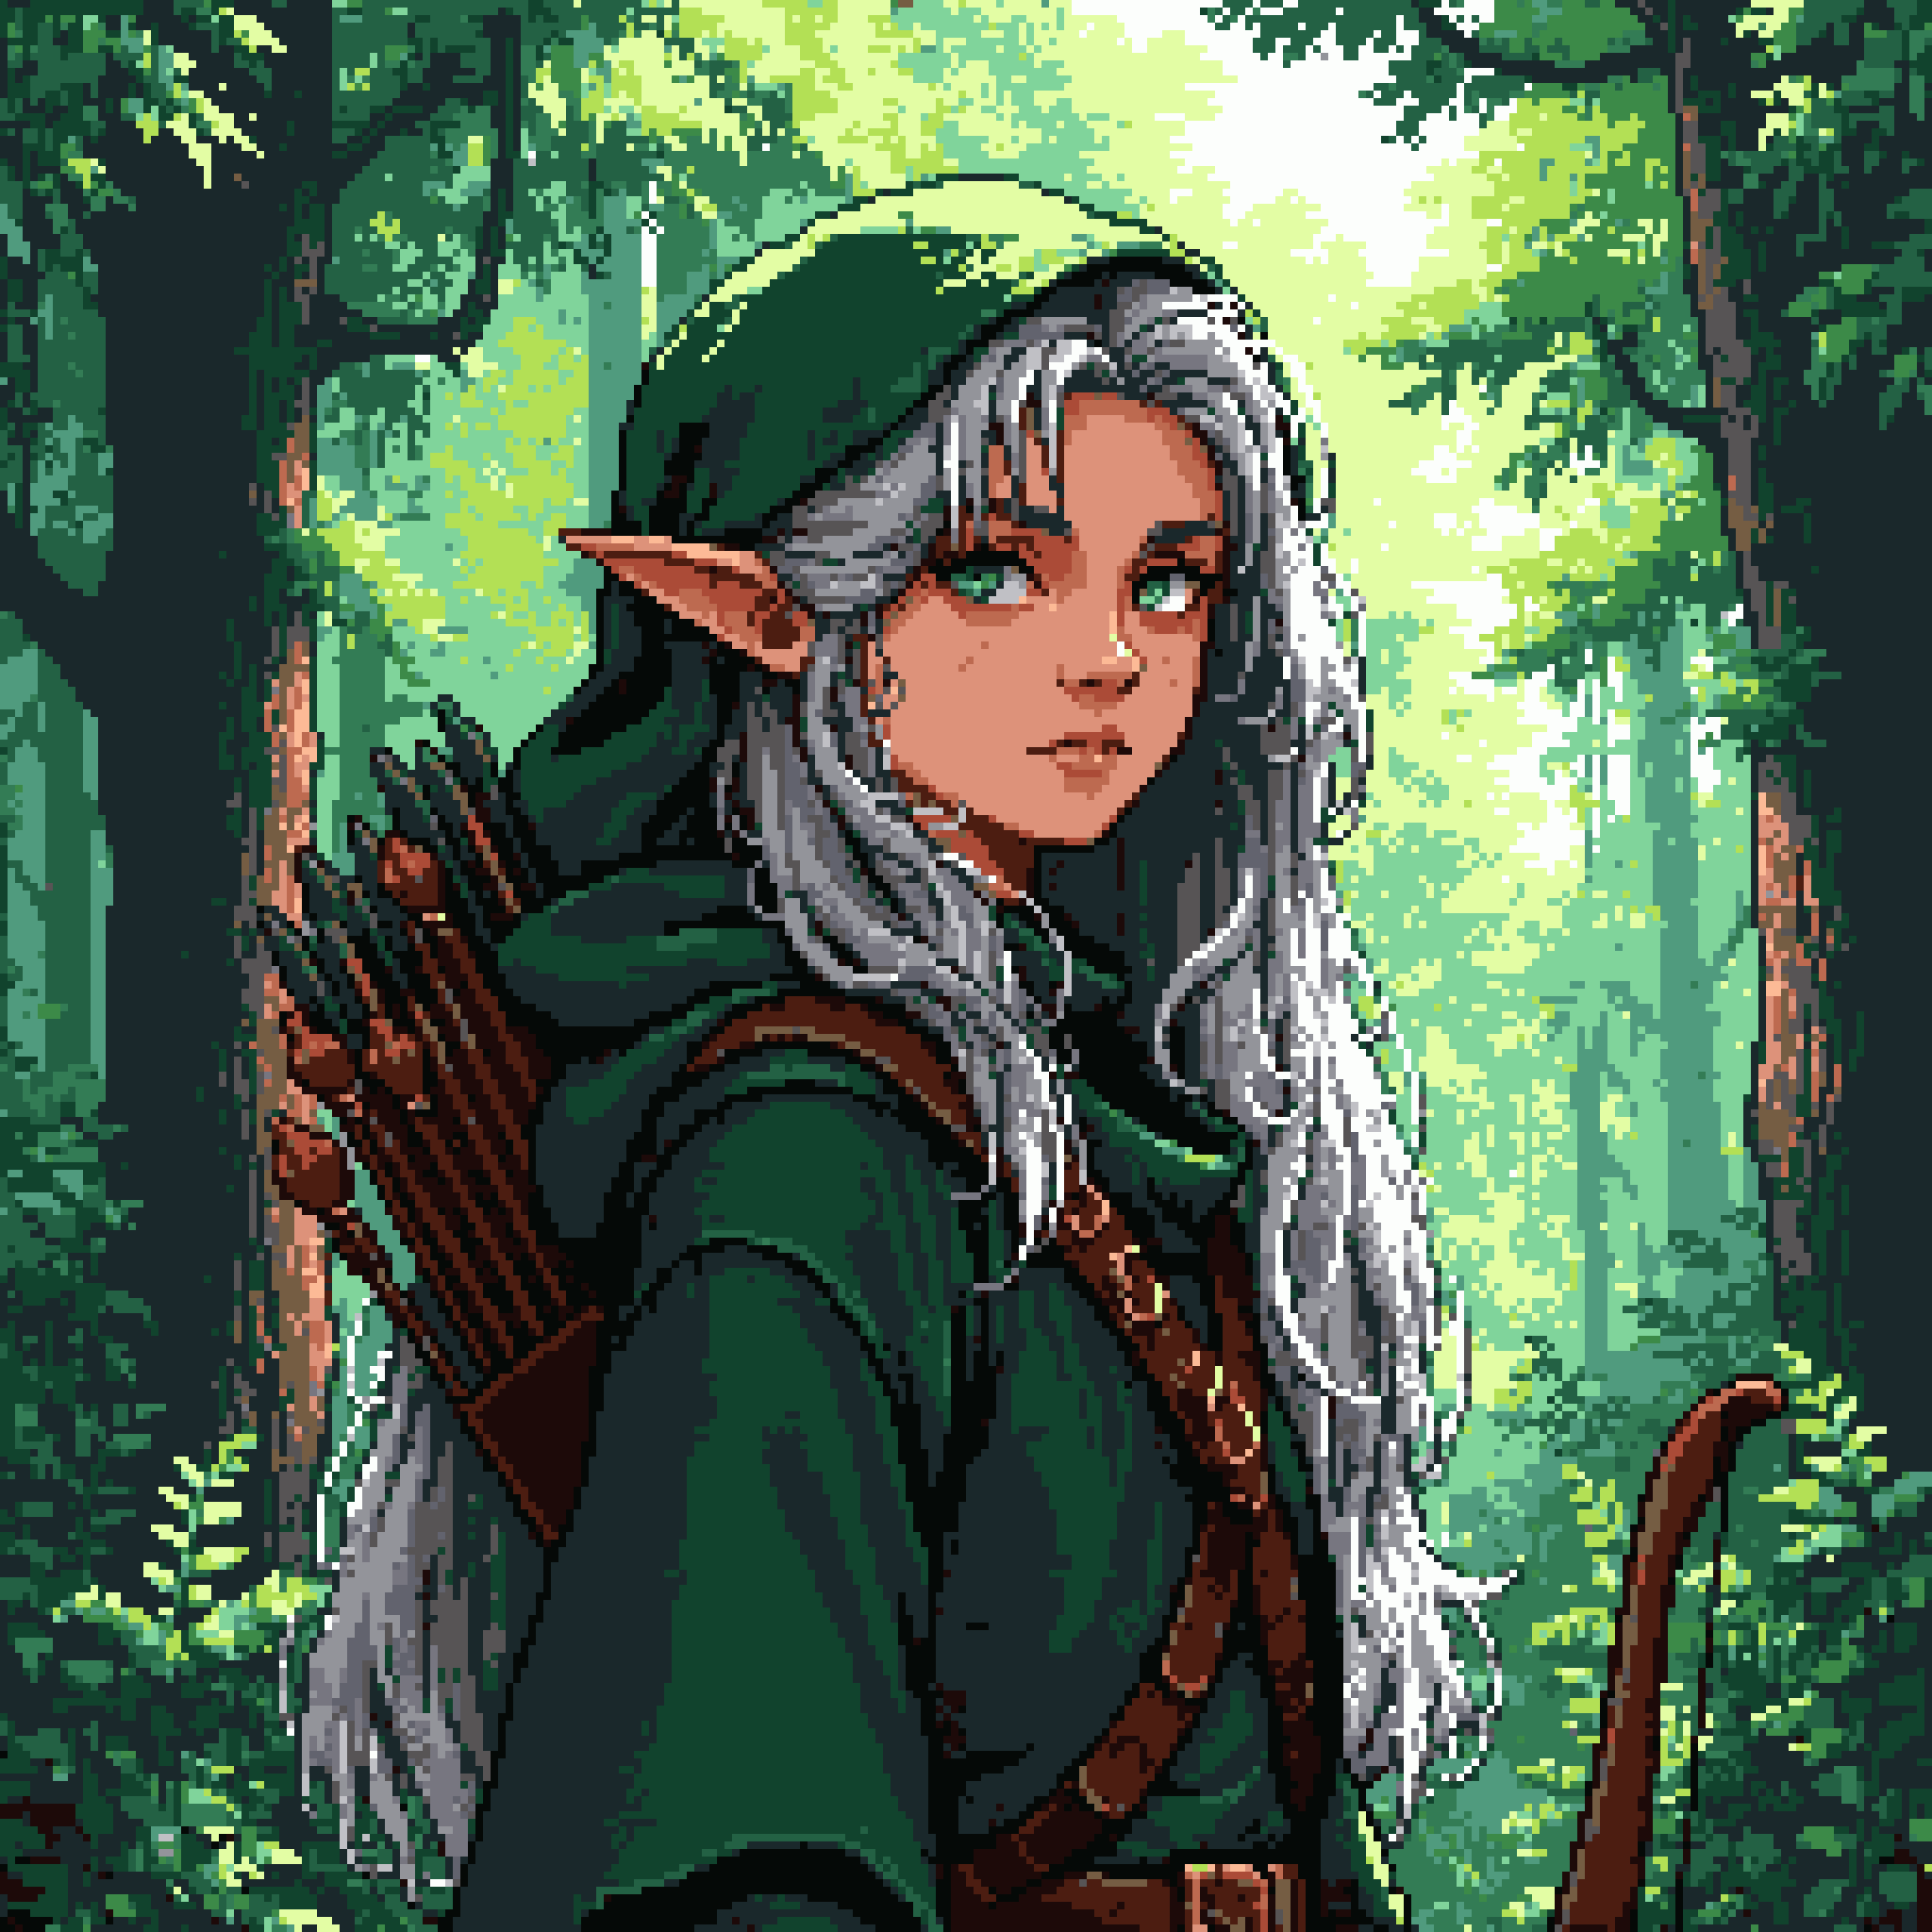
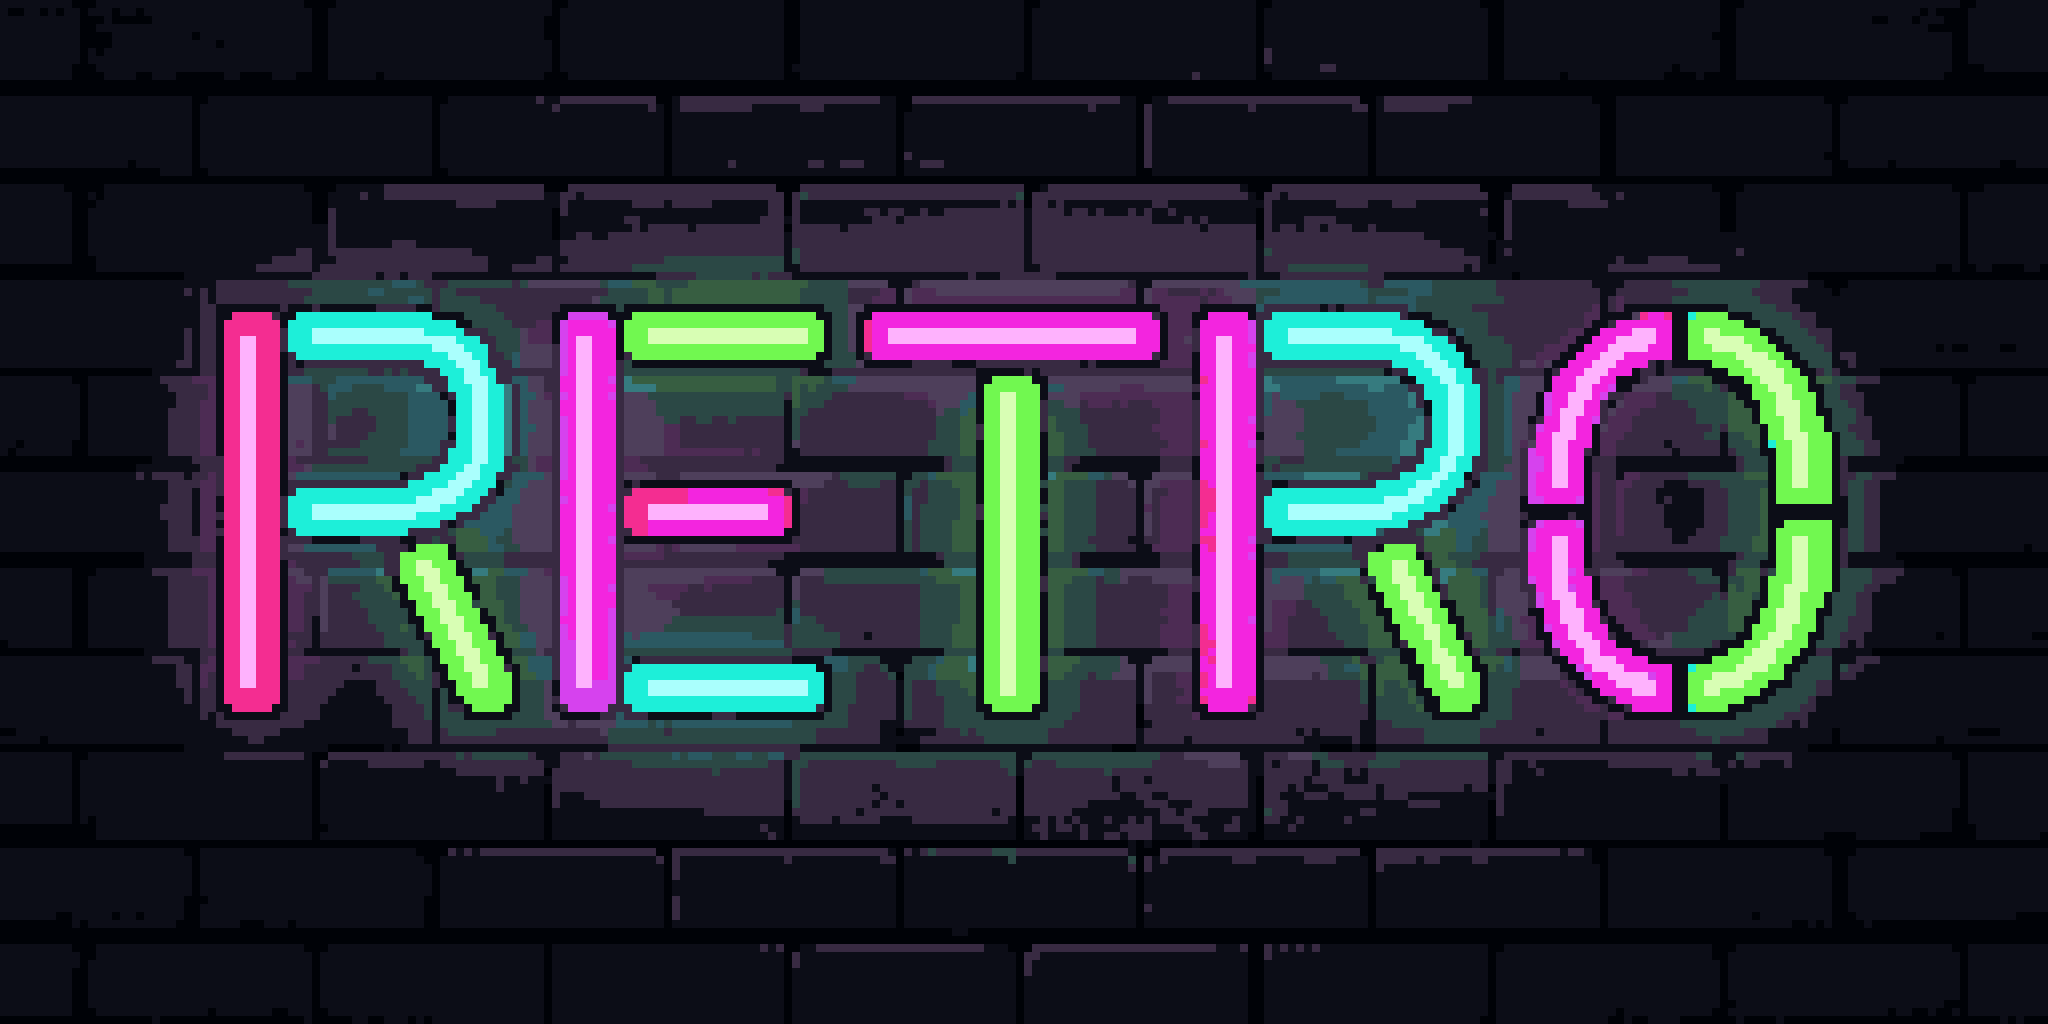
Specialty styles go far beyond scenes — UI kits, weapons, sheets, levels, icons, and portraits:
Settings
Settings appear and disappear based on the selected style — you only see what applies. Here is the full list.
| Setting | What it does |
|---|---|
| Width / Height | Output size in pixels, within the style's limits (16–384 px depending on style). This is the real pixel resolution — downloads can be upscaled, but the art is made at this size. Some styles snap to multiples or fix the aspect ratio; a Snap Size button appears for styles that can detect the pixel size of your input image. |
| Seed | The randomness source. Leave it blank for a random result every time, or set a number to make generations repeatable — same seed + same settings ≈ same image. The dice button clears it back to random. |
| Image Count | How many images to generate in one batch (up to 16 for most Fast/Plus/Mini styles, 4 for RD Pro, 1 for most animations). Cost scales with count. |
| Tiling (X-Axis / Y-Axis) | Makes the image wrap seamlessly horizontally and/or vertically — for repeating textures and backgrounds. Not available in styles where it doesn't make sense (e.g. RD Pro, animations). |
| Remove Background | Outputs a transparent PNG with the background stripped — ideal for game assets. Disabled while tiling is on; some asset styles handle transparency automatically. |
| Input Image + Change slider | Upload (or drag from History) a starting image. The Change slider (1–100%) controls how much the model departs from it: low = subtle restyling, high = loose inspiration. Some styles require an input image (Pixelate, Tile Variation), others don't accept one. |
| Reference Images | RD Pro styles and some animation styles accept up to 9 reference images. Unlike an input image, references guide style and content without being directly redrawn — perfect for keeping a consistent character or matching your game's existing art. |
| Palette | Upload an image containing your color palette and the output will be constrained to those colors. Use your game's palette to keep every generated asset consistent. |
| Duration / Loop | Animation styles only: frame count (4–16 frames) and whether the animation loops back to its first frame. |
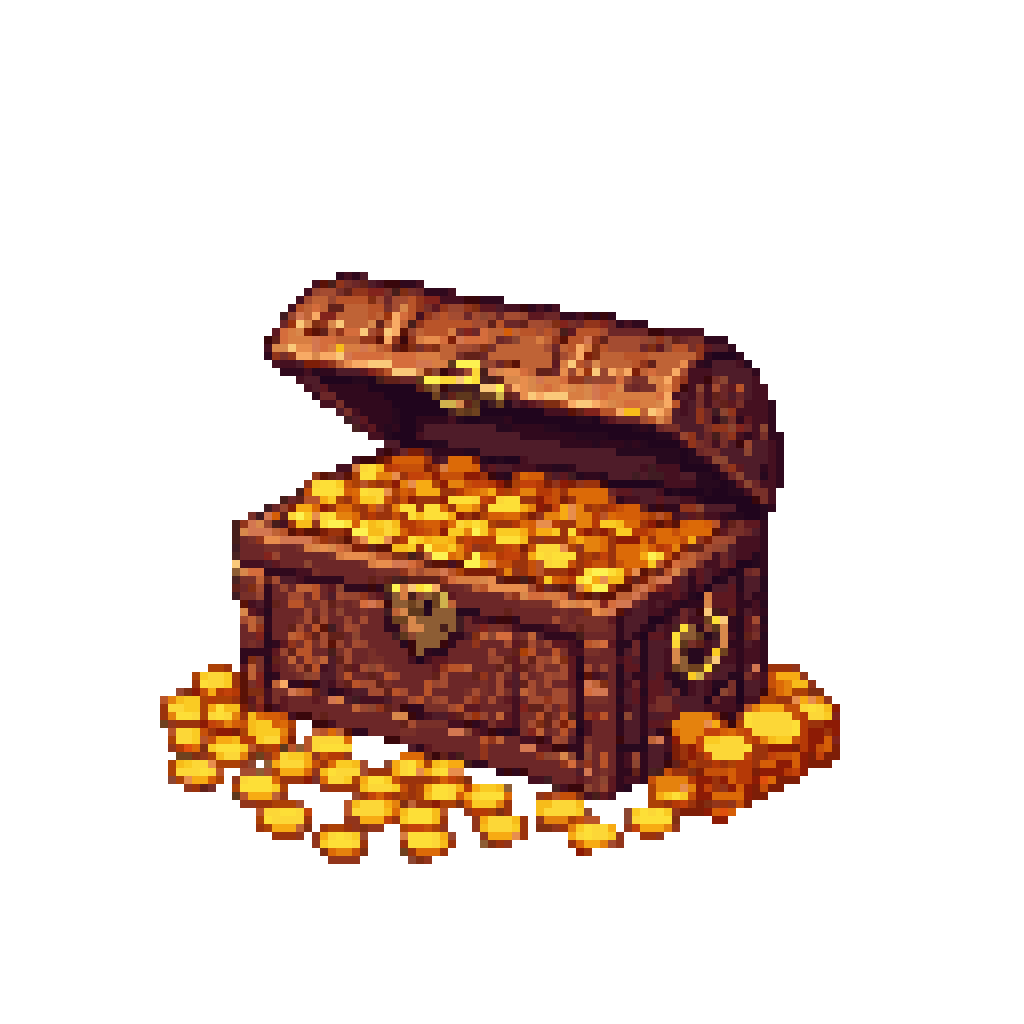
Some of these settings in action:
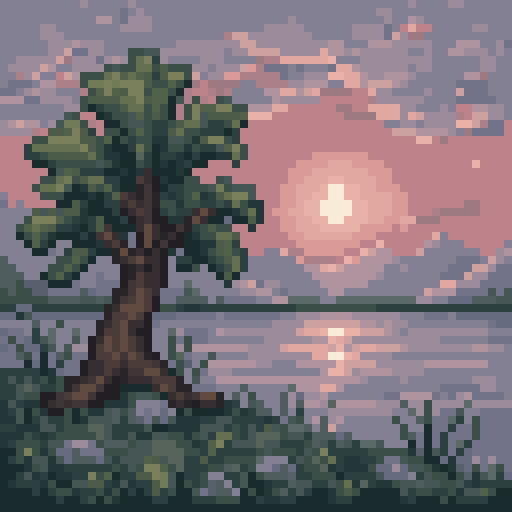
Editing Tools
The tool rail beside the canvas edits whatever generation is currently selected — including images you've uploaded. Each tool opens a small panel with its options and an Apply button that shows the exact cost. Several tools are completely free.
| Tool | Cost | What it does |
|---|---|---|
| Image Edit | $0.18 | Describe a change and the whole image is redrawn to match. |
| Inpainting | $0.18 | Paint a mask over part of the image and describe what should be there — only the masked area changes. Brush, eraser, and undo/redo included. |
| Outpainting | $0.18 | Expand the canvas in any direction and let the model fill in the new space to match. |
| Seam Tiling | $0.18 | Make an existing texture tile seamlessly, with a live scrolling tiled preview to verify it. |
| Background Remover | $0.01 | Strip the background to transparency, with a threshold control and a solid pixels option. |
| Color Style Transfer | $0.01 | Recolor the image using the palette and mood of a reference image. |
| Color Reducer | Free | Reduce the image to a set number of colors (2–256) with optional dithering — classic pixel art cleanup. |
| Palette Converter | Free | Remap the image's colors to a palette image you provide. |
| K-Centroid Downscale | Free | Smart-downscale an image to a target pixel size while keeping shapes crisp — great for turning big images into true low-res art. |
| Pixel Correction experimental | Free | Clean up stray, isolated pixels automatically. |
| Rotate experimental | Free | Rotate pixel art by any angle with edge-aware reconstruction instead of blurry resampling. |
A typical asset pipeline: generate → Inpaint the details you want changed → Background Remover → Color Reducer or Palette Converter to match your game's palette → download at original size.
Fix enlarged or softened pixel art
The standalone Pixel Art Fixer detects the underlying grid in enlarged, softened, AI-rendered, or compression-damaged pixel art and reconstructs the native pixels. Processing runs locally in your browser with the Rust/WASM engine, so the image is not uploaded for processing. Download the repaired art at its native 1× size or a crisp 4× preview.
My Styles
My Styles lets you build a custom style from your own artwork. It works with reference images — you supply examples, and generations follow their look. No training wait, no extra fee to create a style; you only pay for the generations you run with it.
Creating a style
- Go to My Styles and click Create New Style.
- Choose a template (RD Pro is the standard reference-image style) and give the style a name.
- Upload 1–4 reference images that clearly show the style you want — consistent examples work far better than a mixed bag.
- Optionally add a Prompt Modifier — extra text merged into every prompt. It must contain
{prompt}where your per-generation prompt should be inserted. - Optionally force a color palette so every generation sticks to your colors.
- Use Test Style inside the editor to run trial generations (charged like normal generations, results are temporary previews), tweak, and save.
Using and sharing
- Your styles appear under the My Styles tab in the generator's model panel — select one and generate as usual, with up to 9 reference images per generation.
- Choose who can use each style: Private (only you), Link (anyone with the link, kept out of Explore; make a new link any time to turn the old one off) or Public (listed in Explore with a cover image).
- Styles you add from Explore or a link stay connected to the original and pick up its creator's updates. Change anything and save, and it becomes your own remix, credited back to the original.
Explore & Community
Explore is where community art lives: images people have shared and styles anyone can add to their own My Styles. Find something you like, then make your own with the same settings or style in one click.
Images
- Browse, search and filter by model, style, size and shape; sort by trending, newest, likes, saves or copies.
- Like what you enjoy, save it for later, or Use settings to open the generator with that image's prompt, style, model and size.
- Share your own images with Share to Explore on the canvas. Shared images show your name and link to your collection; you can remove them any time. Images made with free usage are public.
Styles and remixes
- Every community style has a cover and the images people made with it. Add style puts it in your My Styles.
- Customize an added style and it becomes your remix, always credited to the original. Popular styles show their remix tree: every public remix, branching from the original.
API & Automation
Retro Diffusion is available over a simple HTTP API — generate images, run edit tools, repair softened pixel art, and manage custom styles from scripts, game engines, or build pipelines.
1. Get an API key
- Go to Developer Tools and click the + button under API Keys. You can have up to 5 keys.
- The full key (starting with
rdpk-) is shown once at creation — store it somewhere safe. The page only ever shows the prefix afterwards. - API usage spends the same account balance as the website. Revoke a key any time from the same page.
2. Generate an image
Send a POST request to the inferences endpoint with your key in the X-RD-Token header:
import base64
import time
import requests

url = "https://api.retrodiffusion.ai/v2/inferences"
headers = {"X-RD-Token": "YOUR_API_KEY"}
payload = {
    "prompt": "A wizard's tower on a floating island, waterfalls",
    "prompt_style": "rd_fast__default",
    "width": 128,
    "height": 128,
    "num_images": 1,
}

start = requests.post(url, headers=headers, json=payload)
start.raise_for_status()
task_id = start.json()["task_id"]

while True:
    response = requests.get(f"{url}/tasks/{task_id}", headers=headers)
    response.raise_for_status()
    task = response.json()
    if task["status"] in ("pending", "running"):
        time.sleep(2)
        continue
    if task["status"] == "failed":
        error = task["error"]
        raise RuntimeError(f"{error['code']} (request {error['request_id']})")
    data = task["result"]
    break

for i, image in enumerate(data["base64_images"]):
    with open(f"output_{i}.png", "wb") as f:
        f.write(base64.b64decode(image))

print(f"Remaining balance: ${data['remaining_balance']}")
What else the API can do
- Every model, style, animation, and tileset workflow on the site — plus editing tools (from $0.001 per run) and the Pixel Fixer ($0.002 per call) — through a handful of endpoints.
- Free cost checks before generating, async job queueing, style discovery, and programmatic custom style creation.
- Low-Poly 3D models: generate, revise, animate, and export them from code.
- Assistant sessions: the Generation Assistant as an API. Your program chats, gets priced plans, and approves them.
- An MCP server so AI assistants and agents (Claude Code, Cursor, Codex, and others) can generate or repair pixel art directly — setup guides for every client live in the retro-diffusion-mcp repo on GitHub.
The full reference — every endpoint, every field, working examples, and a copy-paste context block for AI agents — lives on its own page:
Costs & Balance
Retro Diffusion is pay-per-generation from a prepaid USD balance that never expires. New accounts start with $0.50 of balance, no card needed. Your balance is always visible in the top-right corner.
- Every price is shown before you commit. The Generate button and every edit tool's Apply button display the exact cost of that action.
- What affects price: the model and the image count. Images are a flat price at any size: RD Fast $0.03, RD Plus and RD Mini $0.06 (Mini's fast styles $0.03), RD Pro $0.18. Animations and tilesets have flat per-run prices. Low-Poly 3D models are priced by size (see Low-Poly 3D).
- The Generation Assistant is free to chat with on the site; you pay only for the plans you approve.
- Top up by clicking your balance or visiting the Top Up page — packages from $5, with a bonus on larger amounts, paid through Stripe.
- Auto-refill can be configured under Payment Methods so long sessions and API workloads never stall.
- Failed generations are refunded automatically.
- Some free editing tools just require a small positive balance to use.
- Monthly invoicing — teams and enterprise customers can skip prepaid top-ups entirely and receive an invoice each month based on actual spend. Reach out on Discord or email support@retrodiffusion.com to get that set up.
Top up from $5, with a bonus on larger amounts. Use it next week or next year.
New accounts start with $0.50 of balance, no card needed. Enough for 16 RD Fast images or 2 RD Pro images.
Set it up under Payment Methods and your balance tops itself up, so long sessions never stall.
check_cost API flag lets automated workflows verify prices before running.